Welcome to the launch of my first official info packed blog post for my new site! My name is Vashi Nedomansky and I’m a feature film editor based in Los Angeles who embraces filmmaking, technology, life and all things that put a smile on my face. I’ve cut films for David Zucker, Vincent Laforet and edited more than 25 projects for Shane Hurlbut ASC…all after I played 10 years of professional hockey. I love a good challenge, a great meal and a cold vodka gimlet at day’s end.
I’ve created this website to share the most interesting filmmaking experiences I’ve had and to reveal the techniques and methods that make my madness comprehensible. I hope you enjoy my ramblings as I navigate the treacherous waters of Hollywood and life. Thank you for stopping by!
The best part of directing a zero budget rap video for an “Inc. 500” company was that every decision both creatively and technically was left up to me. The worst part was if I made one bad decision…the entire project could collapse upon itself and never see the light of day. In order to invest my time and energy on a project with these self-imposed constraints…I had to be a little reckless. I’m Vashi Nedomansky…editor, filmmaker, idiot du jour.
ymarketing, a Los Angeles based company, was about to launch their blog and the decision was made that an SEO (Search Engine Optimization) rap would be the vehicle used to propel the launch. One might not usually envision internet optimization and rapping to coexist in the same world…and that is exactly the reason I decided to merge the two. I pitched them that a rap video would have more impact than just releasing a rap audio mp3. They agreed in principle and emphasized that the budget was zero as they wanted the content to come organically from inside the company. I said “You guys write it…I will shoot it…if you don’t like it…don’t use it.” With such a convincing argument and no financial risk on their part…they gave me the green light. Let’s roll the dice!
I had just finished 2 months of editing a short film I directed for Adobe…which just won their 2012 Film Festival…and aged me 3 years in the process. I had a week of down time to decompress and crawl out of my edit cave. The vodka monkeys were still swirling around my head and I needed to feel the sun on my face. I had talked myself into delivering a free rap video with no guarantee of it ever airing and that was, to be honest…invigorating. I love a challenge and with no creative limits (nor budget)…I decided to see what I could create in my week off. I also wanted to make sure I made this endeavor fun and whimsical with the least amount of stress possible.
AnnMarie at ymarketing had written a rap that incorporated classic hip-hop rhyming conventions such as: “canonicalization, optimization, backlinks, schema microdata and rich snippets.” Her co-worker, social media extraordinaire Manny Cortez contributed the worthy title…Pimp in the “SERP” (Search Engine Results Page).
Some of my favorite comedic situations are those where the characters take themselves so seriously that they cannot sense the absurdity. They play it straight and the viewer fills in the comedy. That sensibility was my plan for the video. My initial gut feeling was to channel all my accrued years of “Yo! MTV Raps” viewing knowledge to shoot dynamic visuals and blend with editing tricks to create an interesting and fun stylistic video.
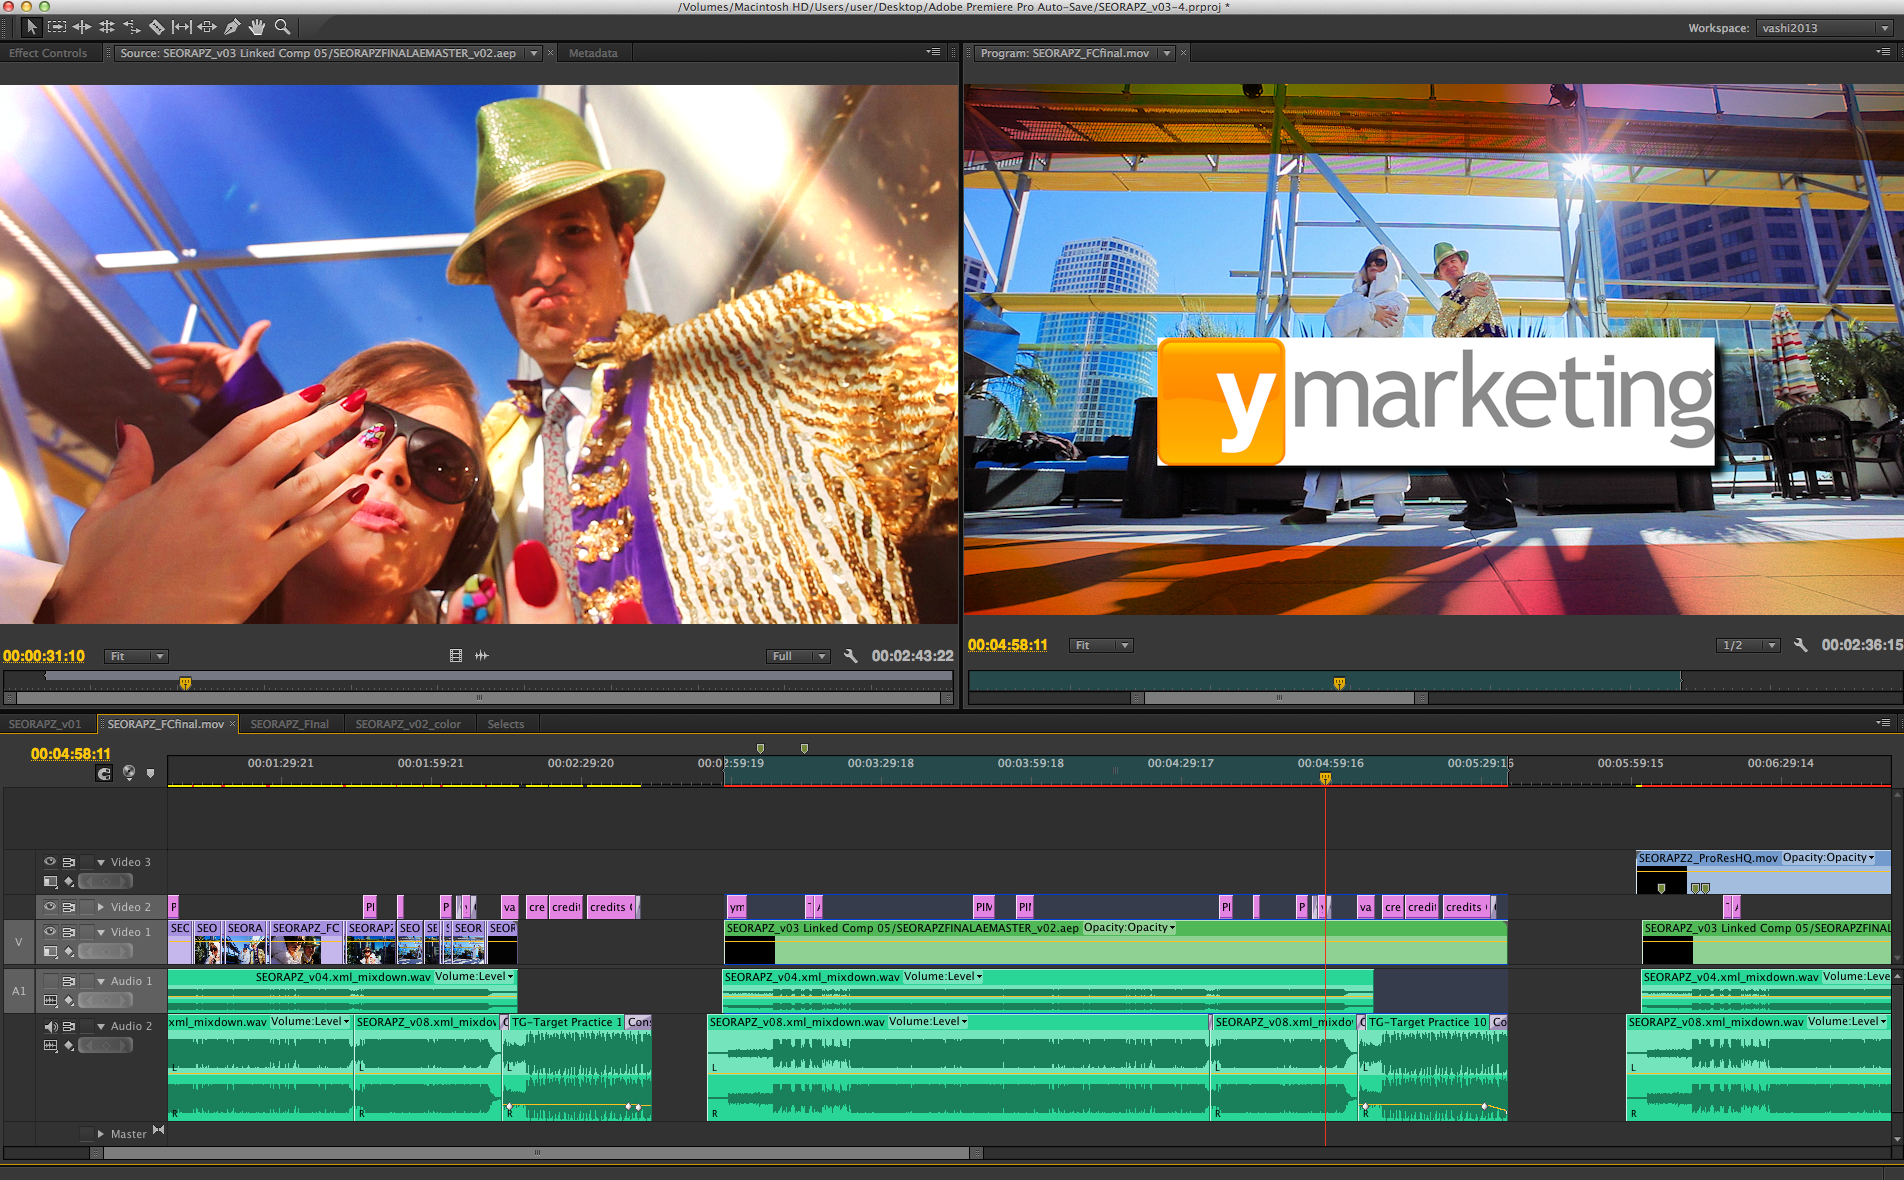
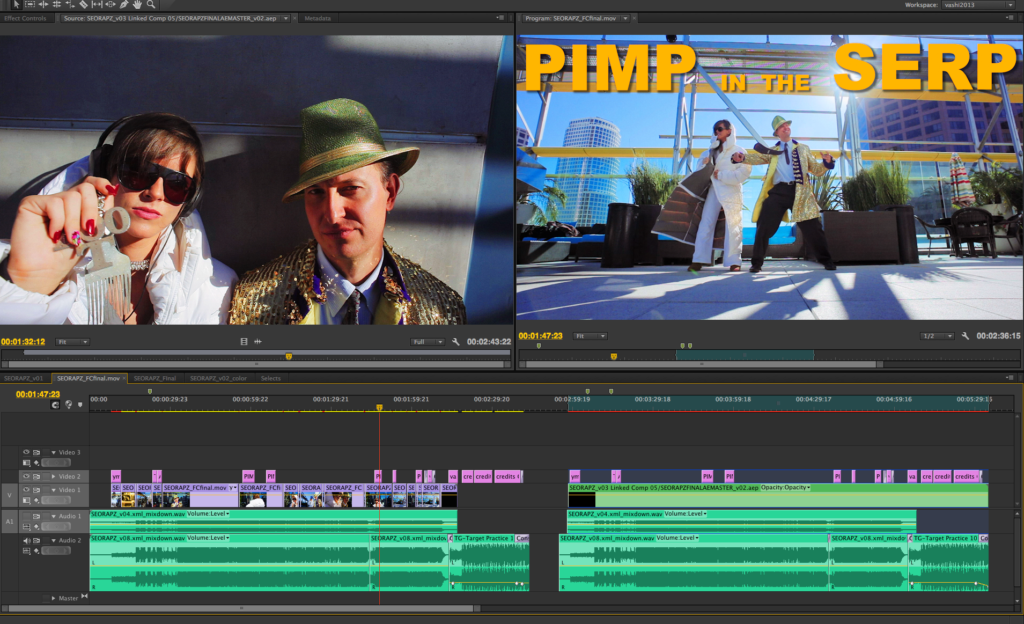
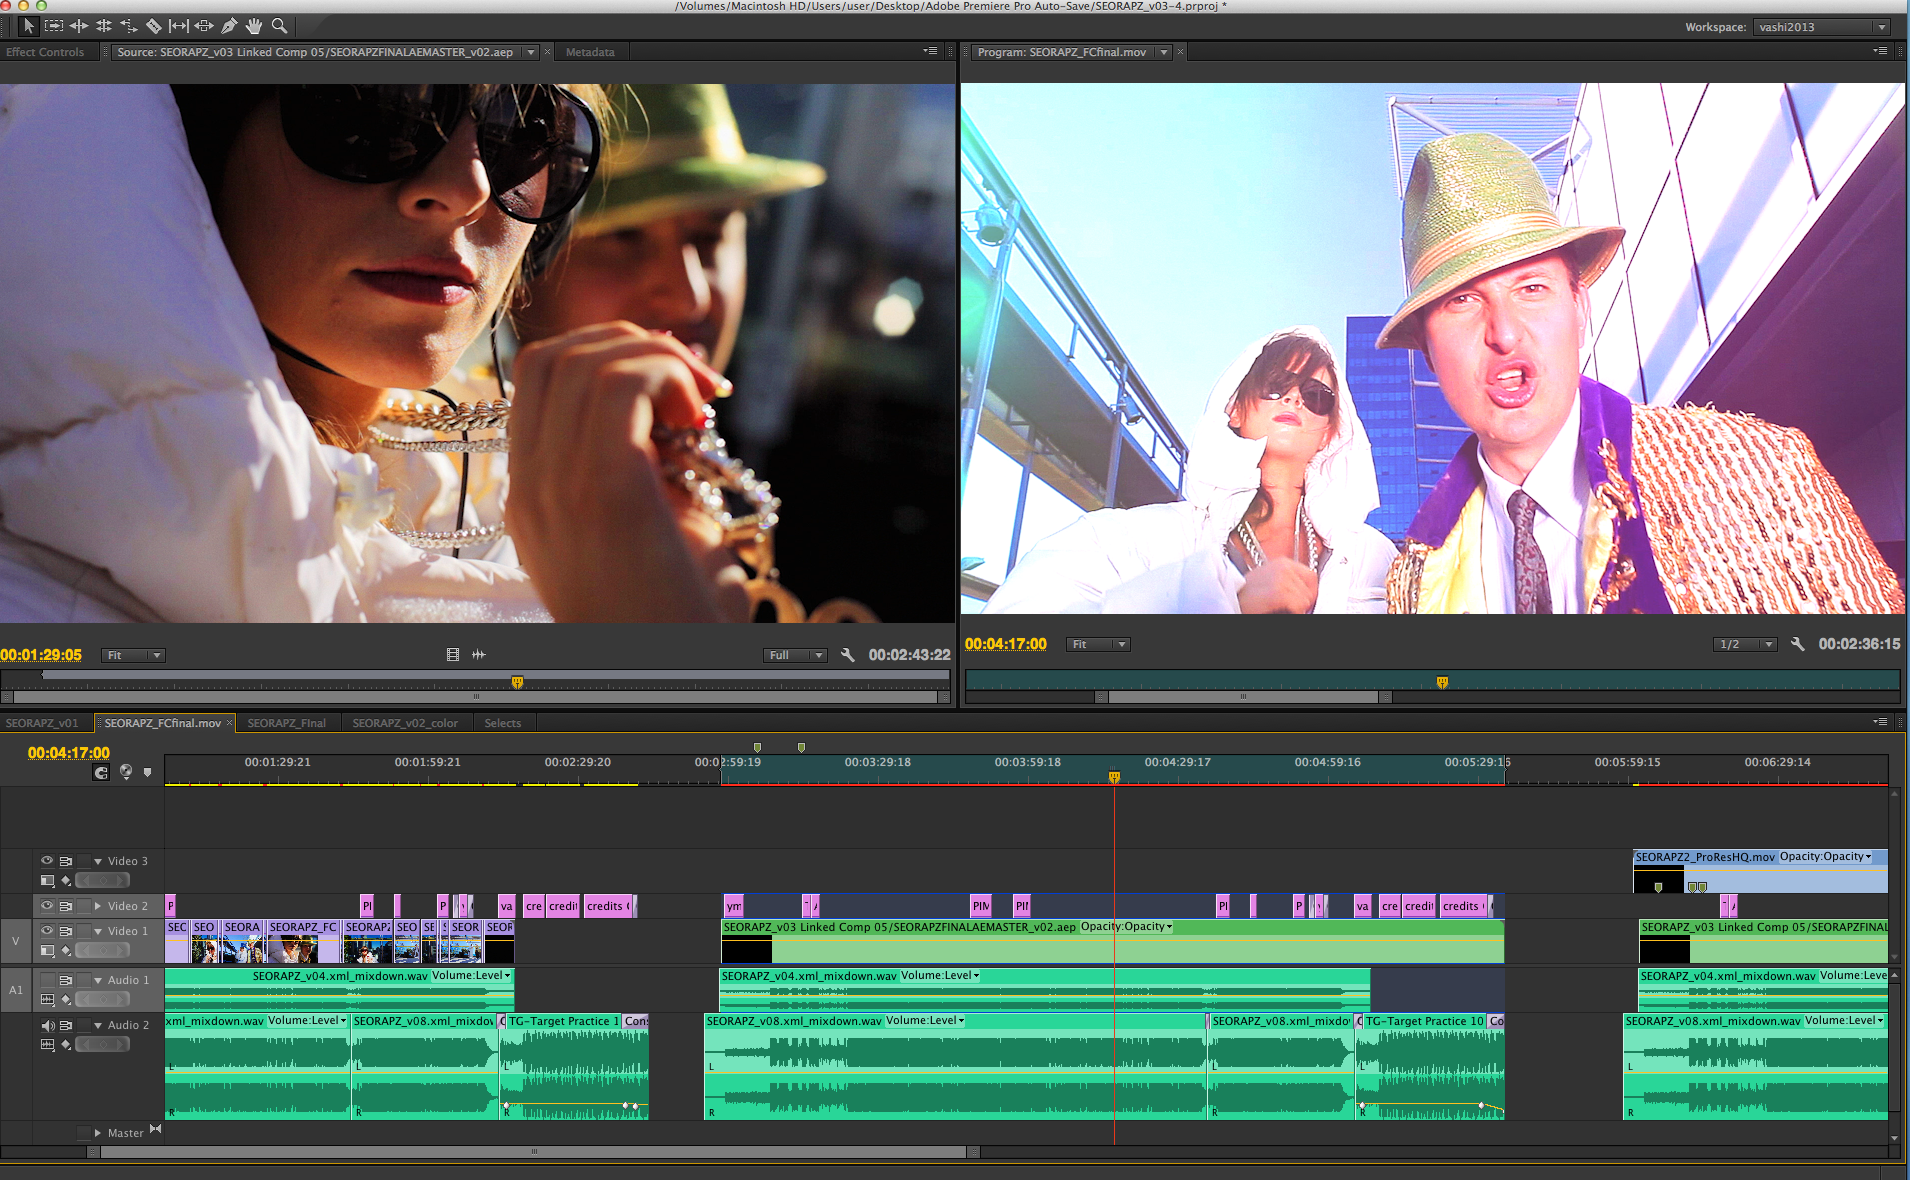
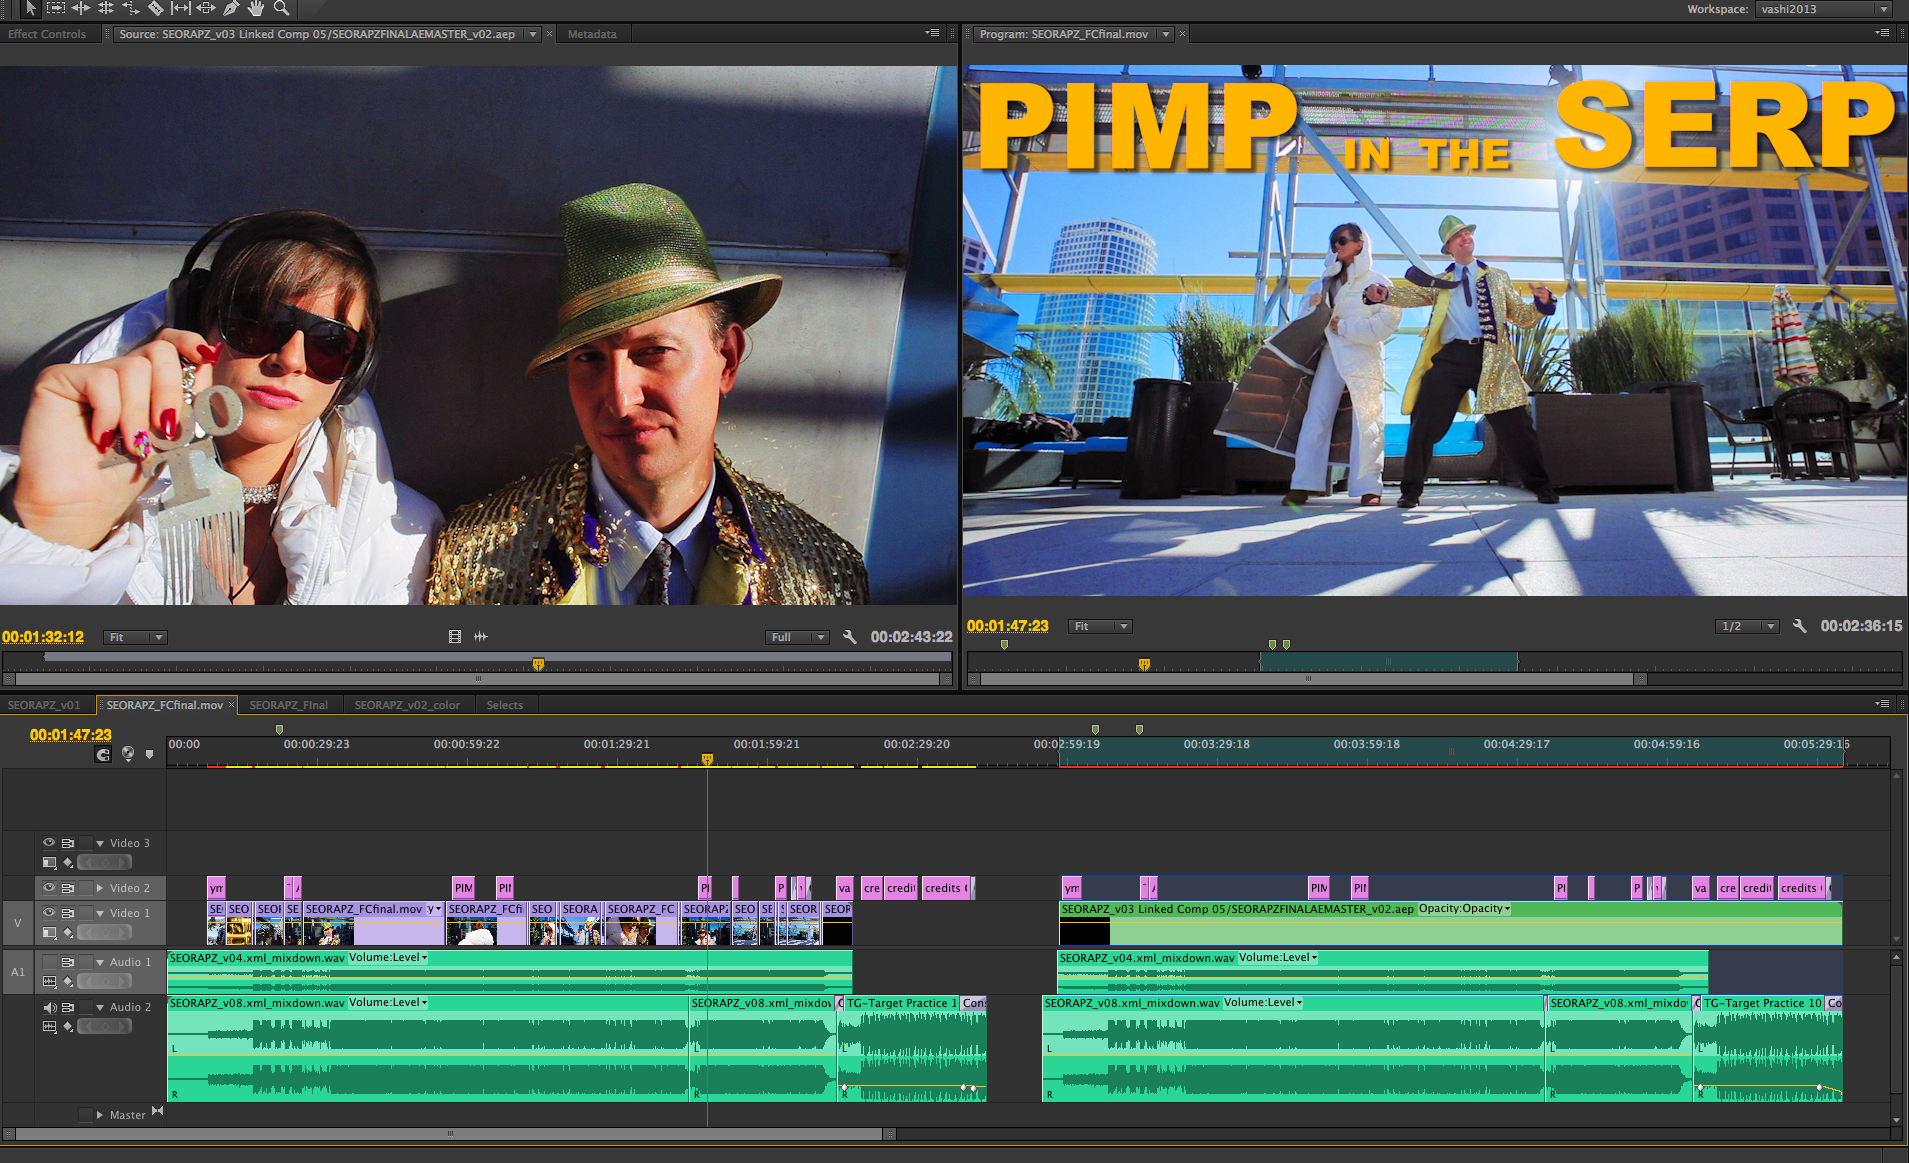
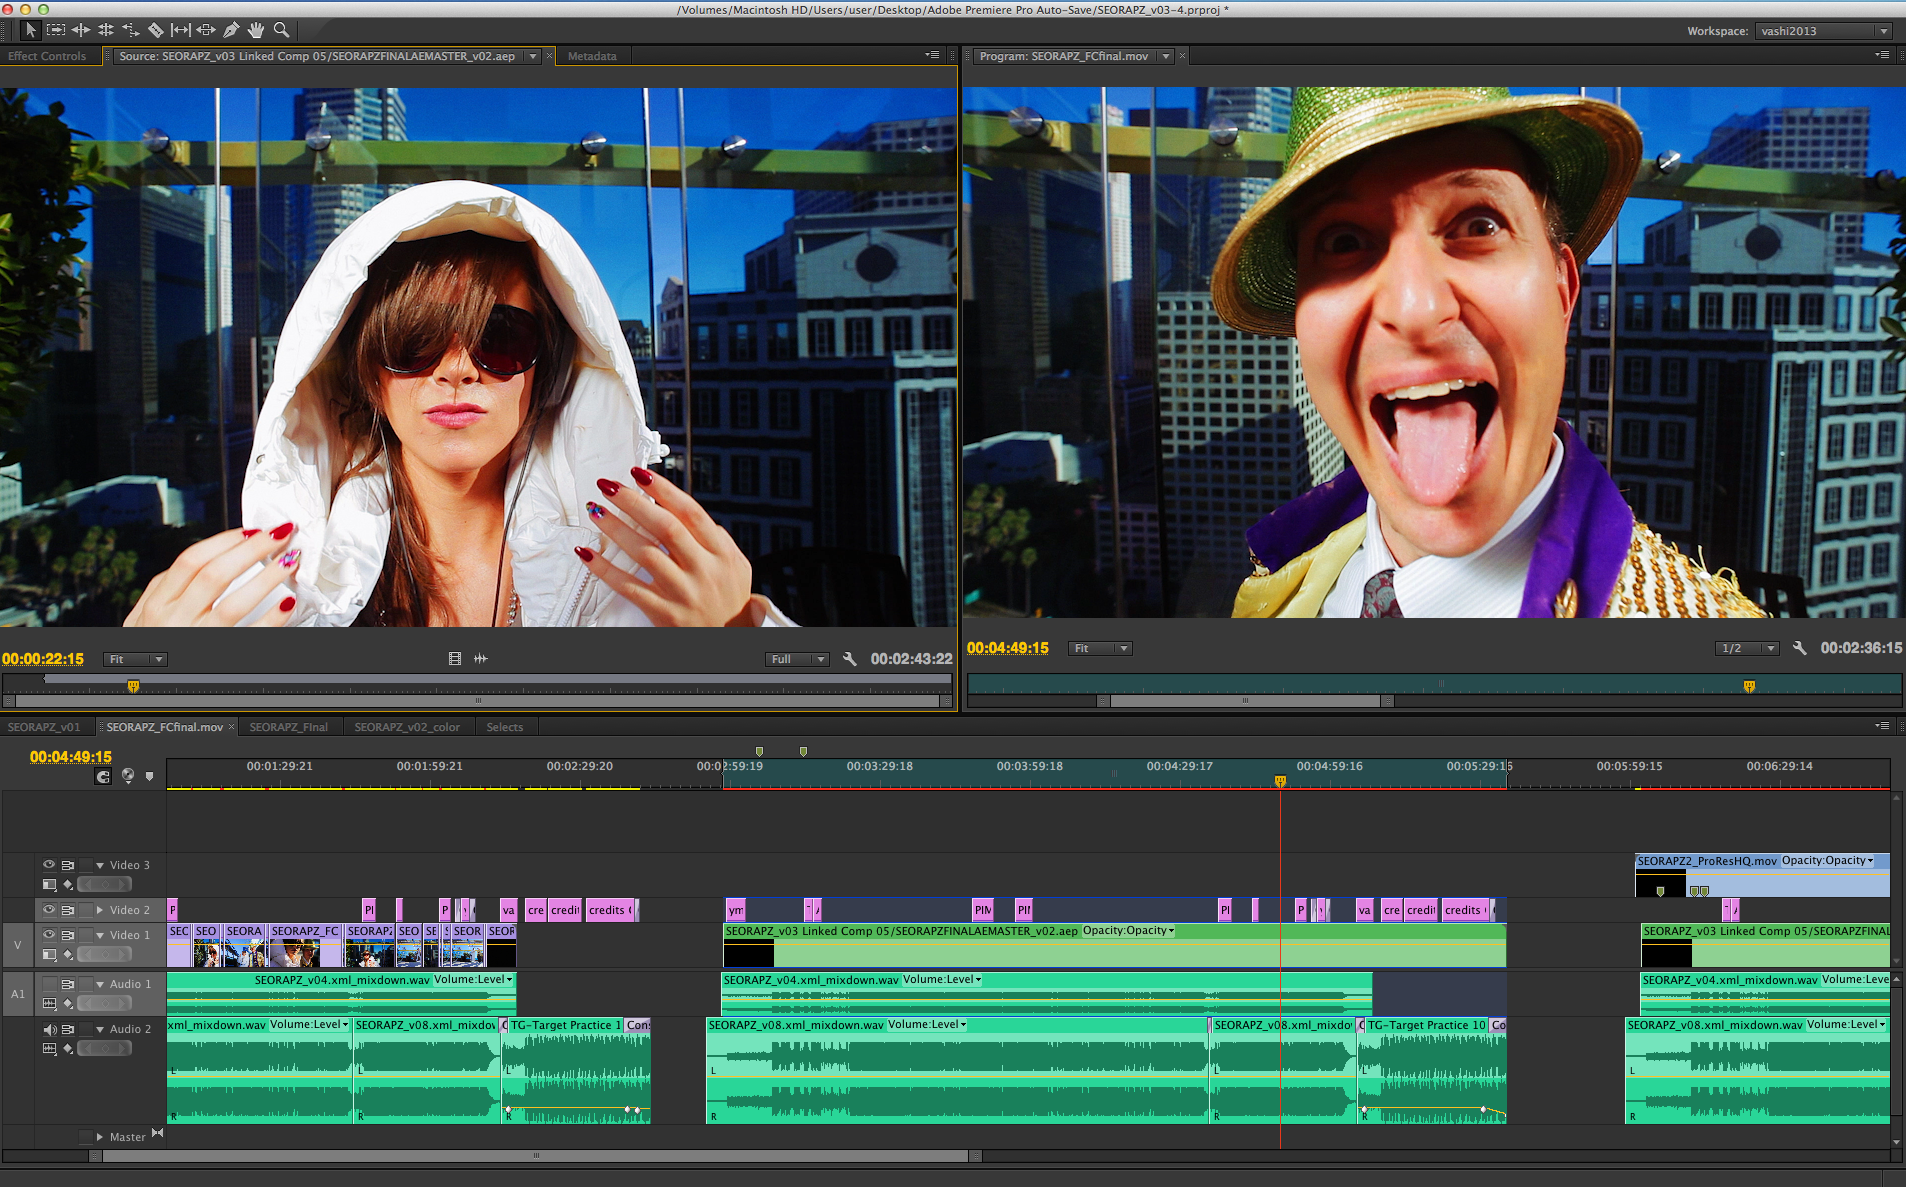
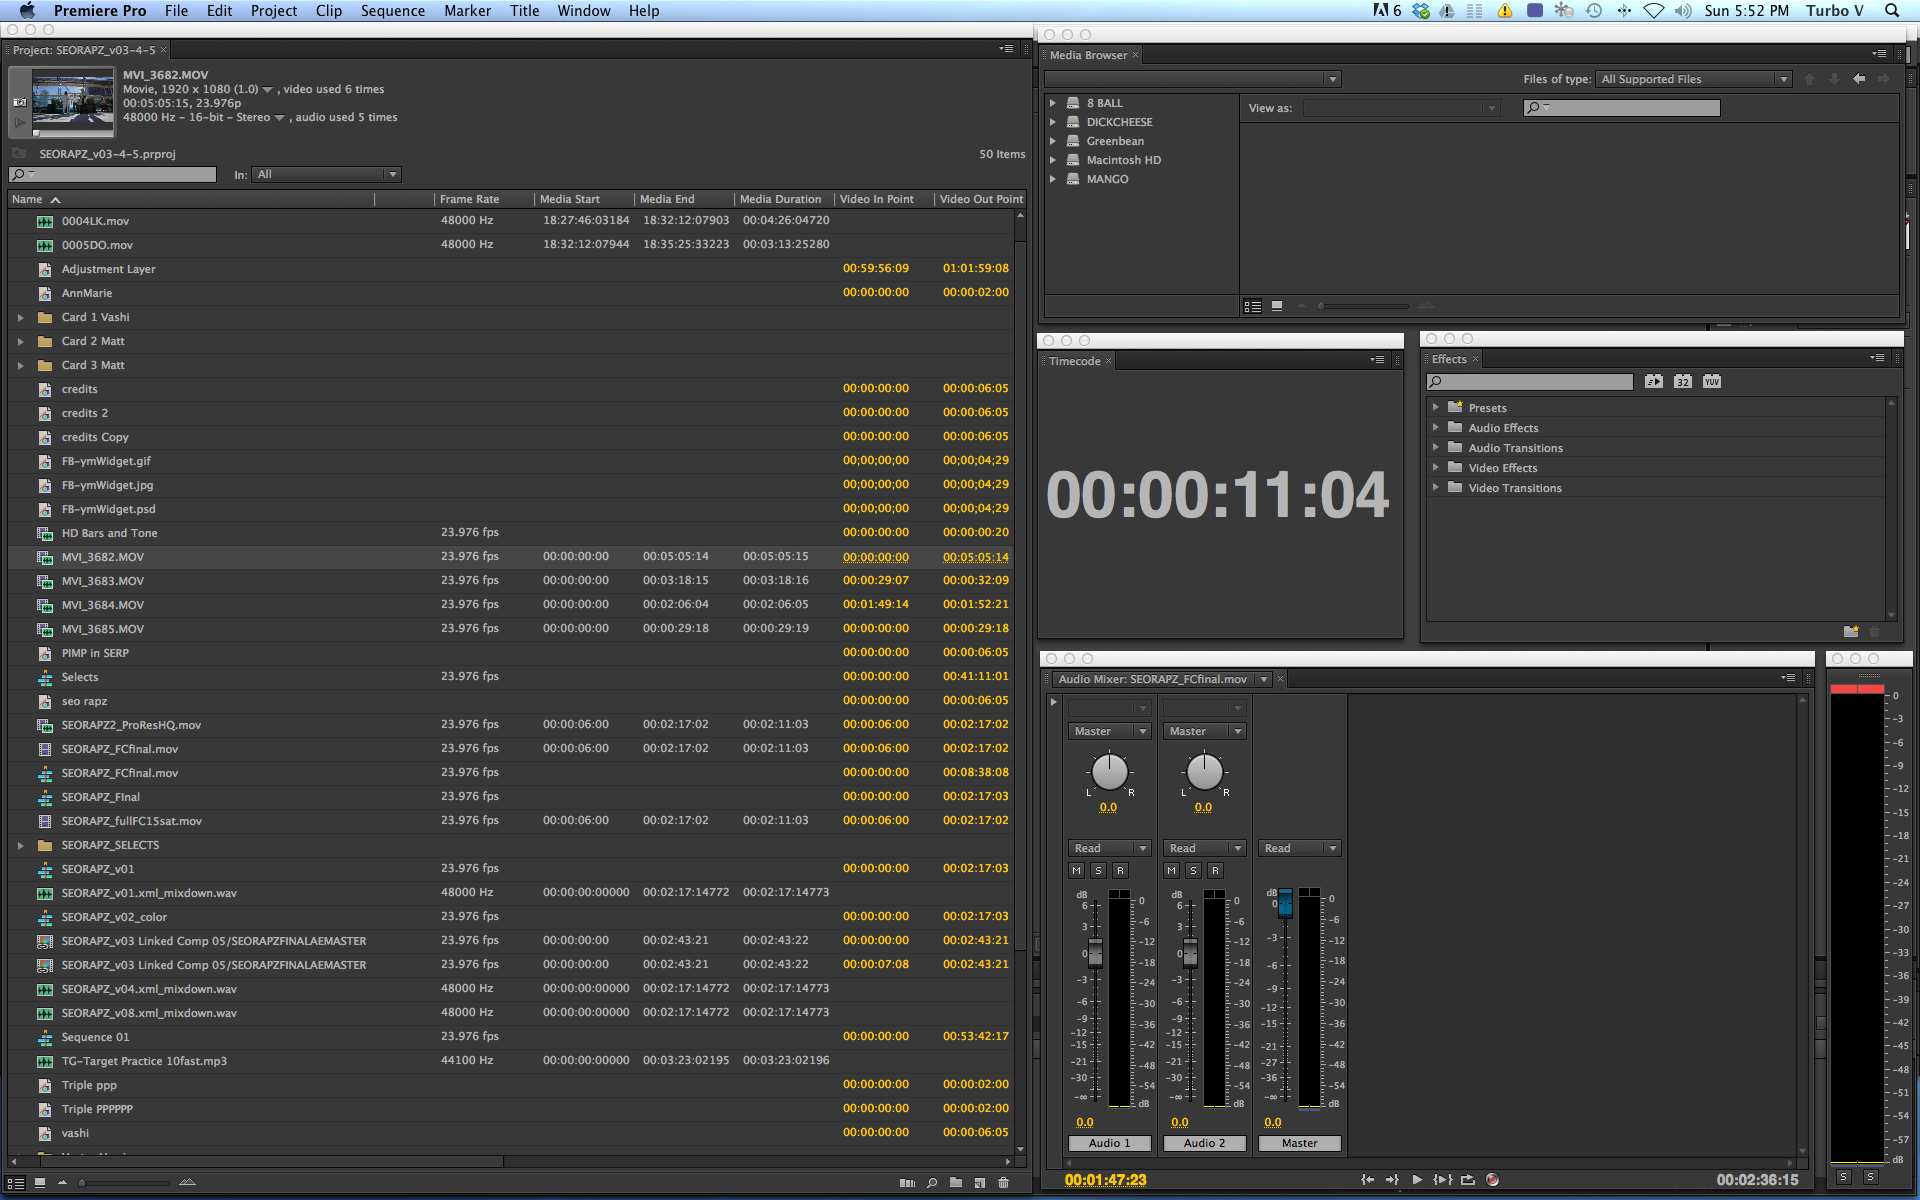
My timeline for “PIMP in the SERP” music video
Preproduction consisted of breaking down the project into several components…each one essential and critical for a successful shoot. I can’t stress enough that the time spent on the front end will make the post run smoother and help you deliver a solid product that you can be proud of.
Here are the steps that I took to prep and flesh out the “Pimp in the SERP” production.
1. THE TEAM: ($0)
Filmmaking (and rap video making) is a collaborative art so I immediately turned my one-man fiasco squad into a two-man wrecking crew by asking my super talented friend and cohort Matt Macar to help me shoot and DP. 2 cameras would roll on the day to grab as much footage as time allowed. Also, if anything goes wrong…I have someone to blame. I’m not going down alone Macar! AnnMarie (ymarketing’s SEO Account Manager) was cast as the female rap star. She fully committed to her role and even though she had no formal rap experience (who does?) she had a blast during the shoot.
AnnMarie cracked up laughing every take and I knew to maintain the “serious-ostitude” of her rap character, I could never show her laughing or smiling during the final edit. I remember reading that Peter Sellers may have lost the Oscar for best actor in “Being There” because the end credits were outtakes of him cracking up and breaking character from the role of Chauncey Gardiner who was defined by his lack of emotional expression and restrained physical motions. If you haven’t seen it…he barely emotes at all but in doing so, the people around him project their thoughts unto his tabla rasa. I’m by no means comparing this rap video to “Being There”…just emphasizing the power of consistency to help define a character.
For the other rapper, I cast my childhood friend Peter, who hails from Detroit and is a top secret engineering Wizard. Peter read the rap and brought the lyrics to life after honing his skills with years of freelance underground rap performances and complete dedication to the cause of being odd and manifesting his character…Triple P. I’m not even close to kidding. He relished his role and I do believe he gave his rapper a backstory including 8 kids with 7 baby mamas.
From the first time I saw the sun flashing off his gold sequined pimp coat…I knew fun would be had.
2. THE LOCATION: ($0)
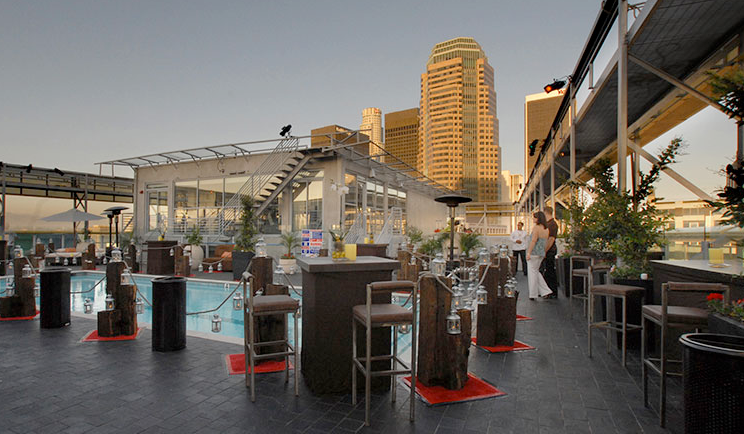
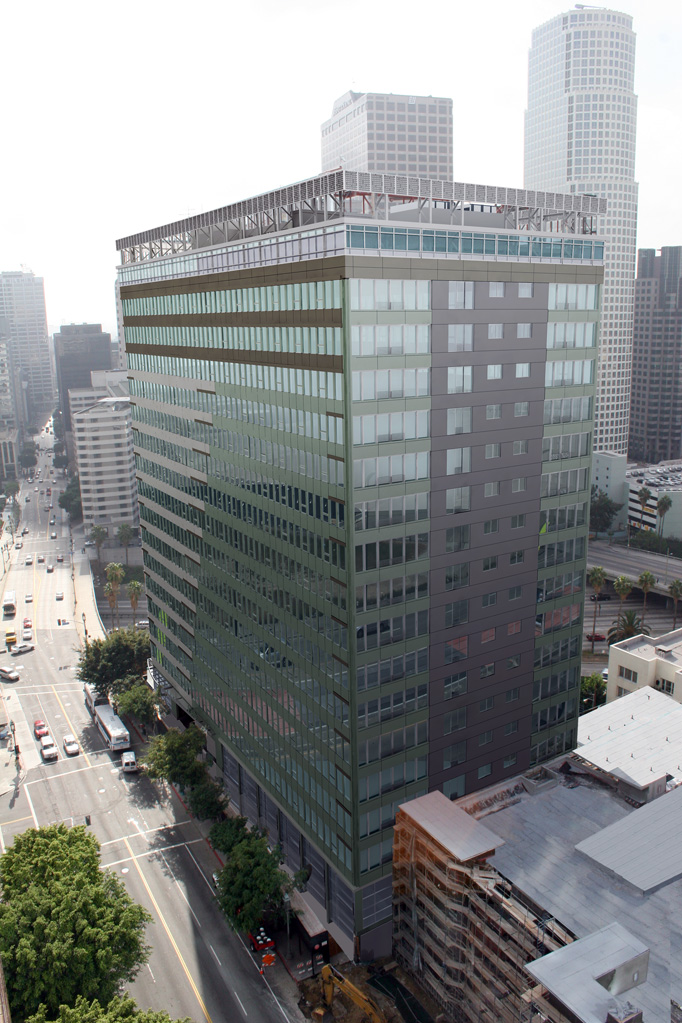
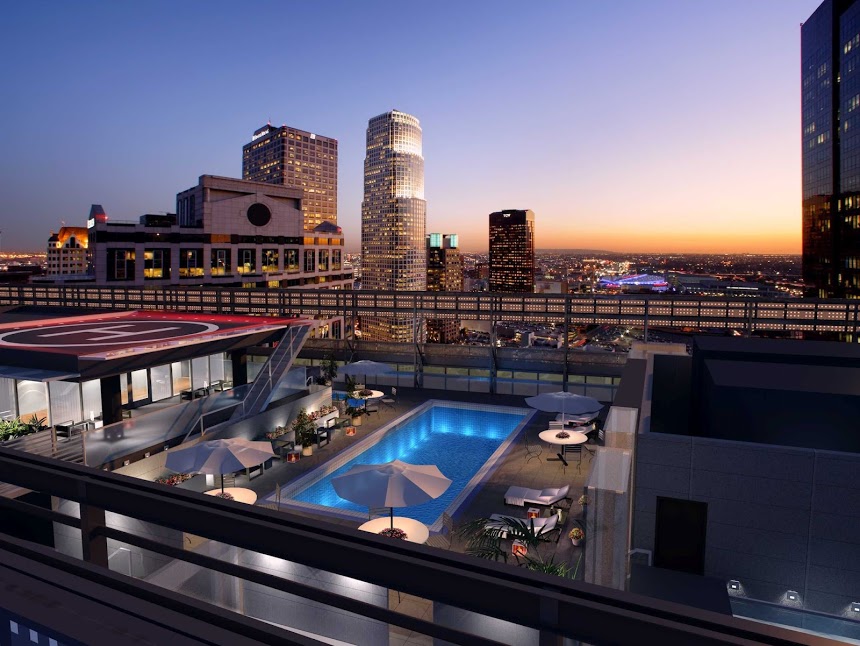
ymarketing has a downtown Los Angeles office on Wilshire that overlooks much of downtown. The building has a huge rooftop with beautiful thick glass, framed metal walls, pool, seating areas and many interesting architectural nooks and crannies. We asked permission from ymarketing and received access to shoot on a Saturday afternoon when the sun would be raking cinematically across the rooftop.
I spent a couple of hours shooting stills and tech scouting possible locations on the rooftop. The building has residents that use that area for their leisure activities so I tried to pick spots that we could isolate and keep the locals out of my shots. I zeroed in on a couple impressive LA backdrop angles and a couple of long corridors that gave us nice spacial variety of depth and scale. We chose 15 set-ups in all.
3. THE WARDROBE: ($0)
I wanted to have an eye-catching yet ironic motif for the two rappers. I felt long, heavy, flowing jackets would play well visually while looking comically out of place in a sunny, summer rooftop location. AnnMarie borrowed some serious “bling” from Lauren Murphy (ymarketing’s Social Media Associate) including the “Boo-T” platinum hairpick she constantly flashed. I loaned her my official 2010 Vancouver Winter Olympics Slovakian Ice Hockey Team Parka to complete her all-white look. Peter wore his Armani suit and tie for the corporate rapper look and borrowed the pimp gold lame jacket and hat from my neighbor Spyder.
Yes…his name is Spyder and he toured the world with the Black Crowes for many years and has an extensive collection of Elvis outfits, Suede jumpsuits, Wizard cloaks and the beautiful pimpalicious ensemble Peter wore. The day we shot happened to be 98 degrees in downtown LA and both AnnMarie and Peter were drenched in sweat when we wrapped. Ah…the life of glamorous rap stars!
4. THE GEAR: ($0)
The venerable Canon 5Dmkii was our main camera. Its image is still so pleasing and cinematic when used properly despite the slew of new cameras that have flooded the market lately. Use what you have! I brought both of mine and Matt brought one of his as a back-up. We wanted to be mobile, creative and efficient. After working with Shane Hurlbut as part of his Elite Team on dozens of projects and learning some of his limitless secrets, I knew I could capture striking and engaging visuals.
Both Matt and I own a couple of cine-modded Nikon AIS lens sets and we chose to ride the 20mm 2.8, 50mm 1.4 and the 135mm 2.8 as our 3 main lenses. I love the 20mm 2.8 and wanted to acknowledge the classic rap videos of the 80’s and 90’s where the rappers would “attack” the camera by moving forward and back while the camera stayed relatively static. I shot the low wide master, all the close-ups and the moving shots with the 20mm.
I’ve always used the neutral picture style (0,-4,-2,0) but for this project I put to work the Visioncolor picture style. I really love the skin tones it produces and the general image rendering of this style. It is very close to neutral with some minor color shifts that I find extremely appealing.
One way I wanted the image to stand out visually was to set the shutter to 1/1000 or higher exclusively to achieve crispy, blur-free movement as the rappers moved actively in front of the lens. I encouraged them to use their hands or faces to invade the space between themselves and the camera so the wide lens and high shutter speed would enhance and exaggerate these motions.
I did not want to use polarizers or ND filters to control the light and for the 20mm shots (majority of the shoot) I set exposure to f/8 and f/11 for a larger depth of field on the full frame 5Dmkii. No pulling focus needed for our 2-man crew! I opted for speed and simplicity to capture the footage and grab as many set-ups as time allowed.
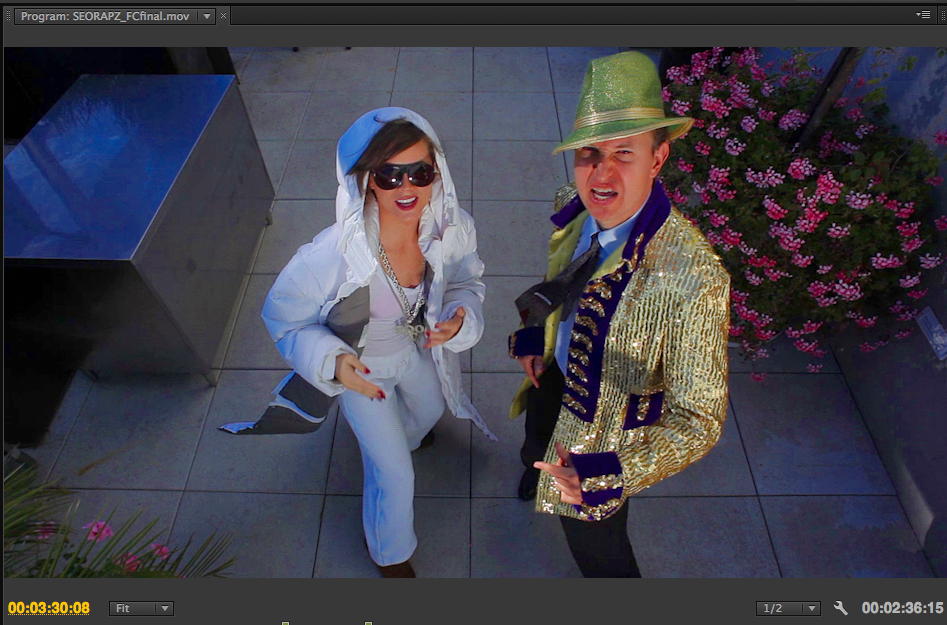
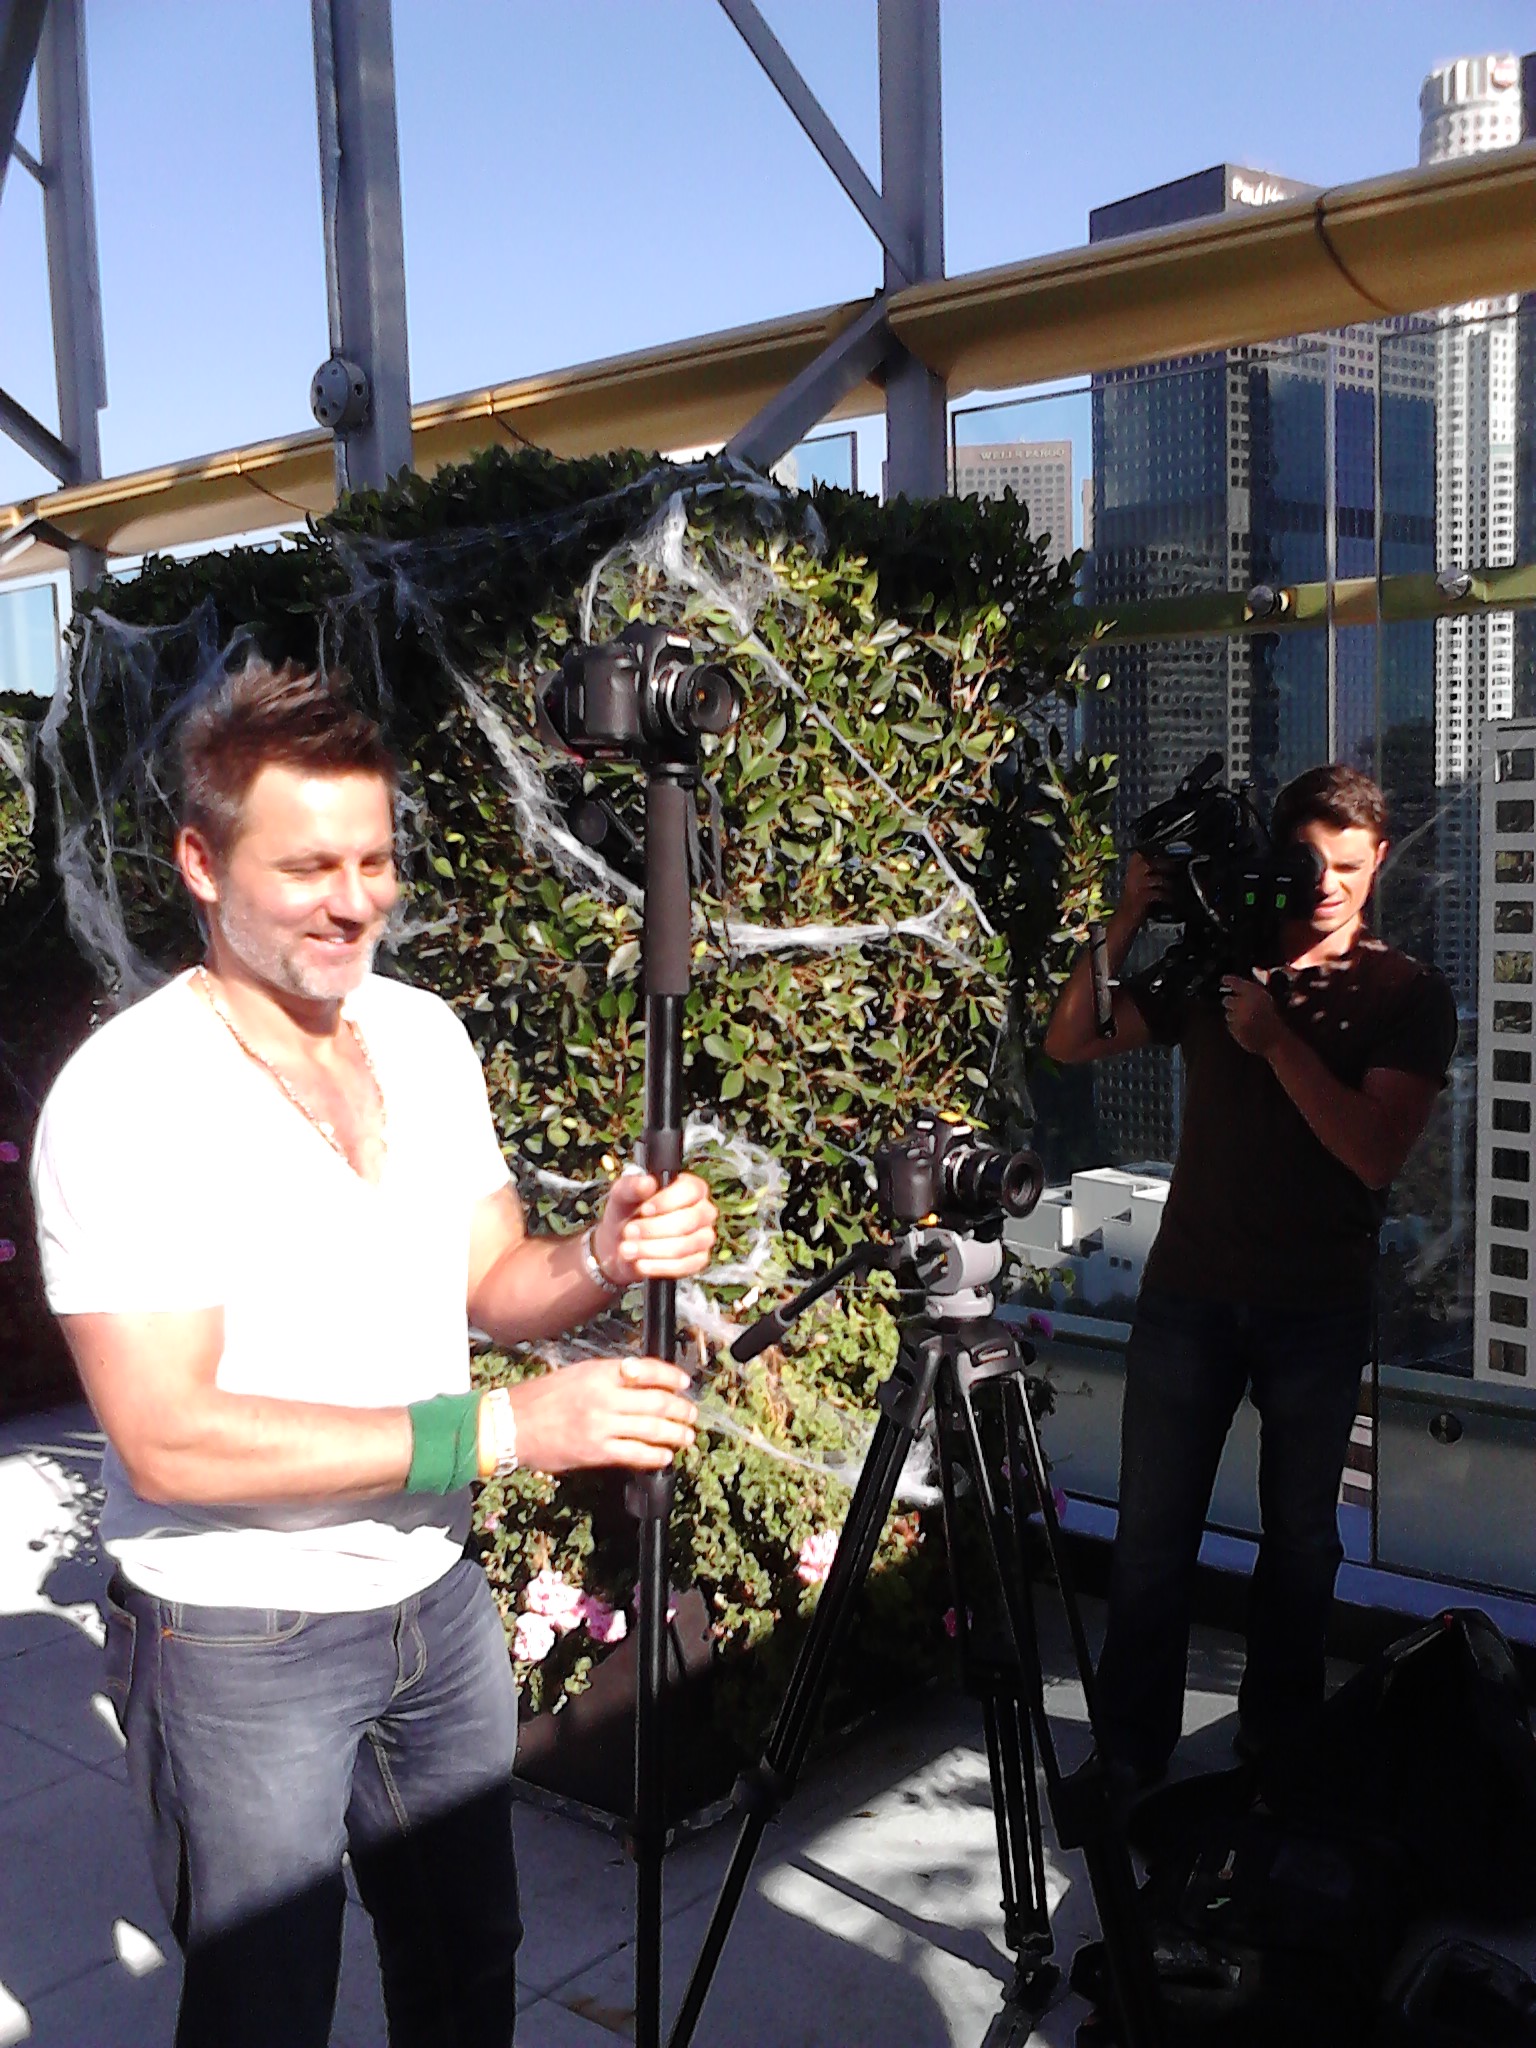
My main camera support was a Opteka M900 71-inch monopod. I used this to quickly reset for each set-up and get stable shots from various angles. On close-ups I set the height equal to the face of the actors and on the 2-shots I set a very low, upward looking angle to give dramatic scale to the rappers with a blue sky background.
At this low angle, they could lean in and play to the camera like I had seen in countless vintage rap videos. For one tracking shot, I extended the monopod to the full 71-inches and held it over my head pointing down as I walked backwards. The rappers looked up and performed to the camera while walking forward and it gave me a very dynamic angle.
Lastly, for the low angle master shot, I set my 5Dmkii on a Pico Dolly right on the deck about 15 feet away from the rappers to take in as much as possible.
On the second 5Dmkii, Matt worked off a Manfrotto 503 tripod for his 135mm panning shots during the static performances. Finally, for additional B-roll, Matt broke out his MCS “Shane Hurlbut” handheld rig for 50mm work before the sun ducked behind the downtown skyscrapers.
5. THE LIGHT ($0)
Our entire lighting kit consisted of one source…the sun. By planning the shoot in the late afternoon, God was our DP and he gave us brilliant, sideangled light that shone beautifully through the metal frameworks and railings to give us plenty of shadows to interact with. Being the editor of Mobius, directed by Vincent Laforet, I was reminded that all the daytime exterior footage I cut for Mobius was shot with no lights and only bounce cards. The results were realistic and beautiful.
Matt Macar used a beautiful “light sandwich” technique to light the close-ups. We positioned the rappers with the LA skyline behind them and the sun at a 90-degree angle. Matt then busted out his Home Depot 4’x2’ insulation panel (the ultimate tool for cheap video lighting) with a silver metal backing surface. He stood on the other side of the talent (just off camera) and bounced the sun back as equal fill to “sandwich” the talent with sunlight. On the tracking shots, we backlit with the sun and Matt bounced with the silver side again up into the rappers’ faces to get good exposure. That’s it for lighting…super simple, quick and hopefully you would agree…successful.
6. THE MUSIC ($20)
Well, we finally reached the first out-of-pocket expense for the video. Without a killer music cue to back the rappers and propel the video forward, I wouldn’t have been happy with the final result. I record a lot of score and cues for my own work, but thick beats are not my specialty. After a quick Google perusal for royalty free rap songs, I settled on www.20dollarbeats.com. They offer both free beats and $20 beats (naturally) and after a short dig-fest through their catalog, I picked “Target Practice” from their Gangsta Rap Library. The rappers rehearsed their rhymes and timing before the shoot with the track and then on the day, we played the song on a loop using an iPad that was conveniently hidden during the takes. During post-production, Peter and AnnMarie came into my studio where we looped all the rapping against the locked cut using a Shure SM58 vocal mic.
THE WRAP UP:
Next week, I will have a follow up blog that delves deeply into the entire post-production workflow and all the steps and software I used for editing, color correction, sound mixing and master file creation.
Before I finish this blog…I would like to share with you why all this preproduction can actually save the day. As we arrived on the rooftop on Wilshire to begin our shoot…2 security guards approached us. They told us we were not allowed to film. Ouch. Not good. They said all filming needs a permit, release and a location fee payment to the building. AnnMarie stated she worked for a tenant of the building and that it was cleared internally.
The Security Guards had a pow-wow on their walkie-talkies with their higher ups and then shared with us their final decision. Since the building manager was on an international flight and unavailable for confirmation or approval…we were only granted a non-negotiable 60 minutes of filming with a Security Guard escort. Wow. Not as much time as we expected but because we were prepared, we knocked out our 15 set-ups and wrapped in 69 minutes. Boom! Last bit of good news…they waived the location fee. Win!
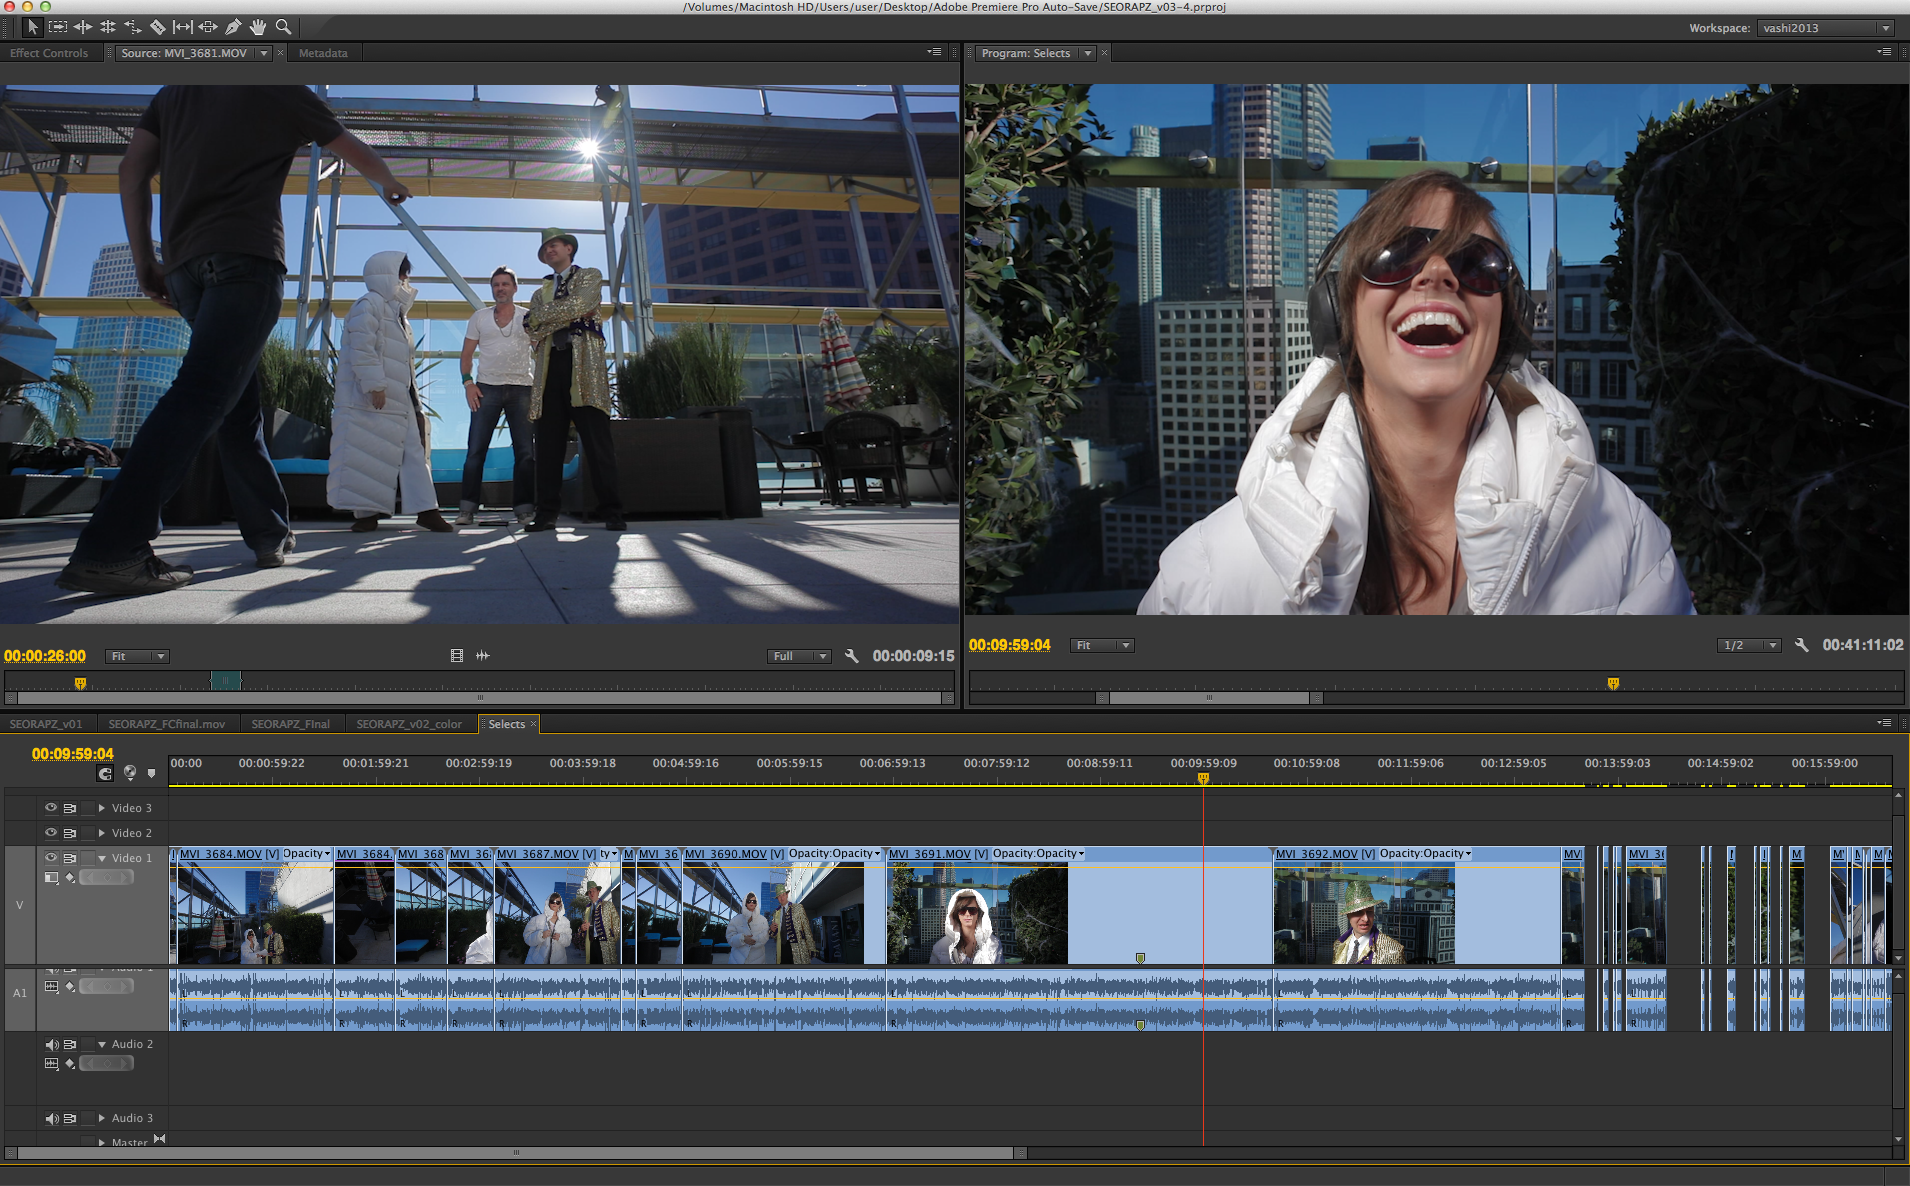
Lastly, I wanted to share with you a before and after cut of the video with the raw 5Dmkii h.264 footage and final grade with VFX work. Behold: low budget filmmaking at its best!
Next week I will detail and breakdown my process and workflow to achieve the final cut.
PART 2: The Post Production Process of The $20 Rap Video
Thank you for letting me ramble and I hope you enjoyed and/or can take away something positive from our experiences.
See you next week!

There are 19 comments
Great post, man! Had a lot of fun workin on it.
Super work Matt…thanks for making the day smooth like butter!
hey there and thank you for your information – I’ve certainly picked up something new from right here. I did however expertise several technical issues using this site, since I experienced to reload the site a lot of times previous to I could get it to load correctly. I had been wondering if your hosting is OK? Not that I’m complaining, but slow loading instances times will often affect your placement in google and could damage your high quality score if ads and marketing with Adwords. Well I am adding this RSS to my e-mail and could look out for a lot more of your respective intriguing content. Make sure you update this again very soon..
Thanks Amedar for your comment. I’m glad you picked up some tips and if you have anymore questions…please fire them off and I will answer them! All the best…
Excellent post. That’s really good work and amazing to get the shots in an hour. And with zero budget! Impressive. And thank you for taking the time to share your work. It’s so appreciated. Can’t stress that enough. Thank you for the vision color plug in tip, I guess that’s easier to lock focus with than cine style ?
I think you made to colors perfect, it’s really hip hop. Great to see them side by side, your cc creates the right vibe.
Did you stabilize any of the hand held stuff in post? What’s your take on the warp stabilizer?
The audio sounds great as well, is this using external pre’s or straight in the interface?
Looking fwd to the follow up!
Jonas…thank you so much for your very kind words. I’m glad you enjoyed the post and I’de love to answer the excellent questions you asked. The Visioncolor plug-in definitely allows easier critical focusing then Cinestyle in my opinion. This was evident in the super bright sunlight where Cinestyle (even with a hood or monitor) is hard to quickly gauge focus. In my upcoming post, I will have many more before/after pics of the raw footage using Visioncolor and final CC as I break down my entire post flow. There were 2 shots that Matt shot on the B camera that he used the Neutral color style and I will show the difference between Visioncolor on that as well.
I was very happy with the final color look as well. I wanted to push saturation but not enter the gaudy or garish look that occurs when colors start to bleed. I only stabilized one shot in the final edit. The backwards tracking shot where I held the fully extended monopod above my head pointing down at the rappers was the shot I stabilized using Warp Stabilizer in Premiere. I’ve been using Adobe Creative Suite almost exclusively for the last 3 years and the interaction and flexibility it allows by sharing the files between the different applications is a life-saver. Now that Premiere has Warp Stabilizer built in…it’s an even faster process and even the default setting is usually good enough. On Vincent Laforet’s MOBIUS, I used Warp Stabilizer to smooth out the first shot as a helicopter carrying the Canon C300 flew over the desert and revealed a dead body. I even ran it in reverse to get a more impactful effect! Without the stabilization…the shot would not have been as effective.
On PIMP int the SERP, I used the monopod for all my shots and did not feel the need to stabilize as there was enough inherent “life” in those shots where the camera was still moving the smallest amount as I reframed and kept it steady. With 15 set-ups in 69 minutes of shooting…a tripod would have taken to long and pure handheld would have been “too loose” for what I was going for.
As for the audio…I recorded the rappers using a Shure SM58 into a Tascam DR40 using XLR inputs in my studio. I will go further in depth on all the audio and edit/color/mastering next week on my next blog! Please keep your eyes open for it and thank you again for my first comment and questions!
all the best…..Vashi
[…] 16, Feb 2013 | No Comments | In Editing | By vashi In Part One of my behind the scenes look into the production of “PIMP in the SERP,” I exposed how we […]
Thank you for those answers Vashi! Really helpful. Its such a gift to be able to follow you here
You are very welcome Jonas. More new blogposts and tips coming soon…check back when you can! Thanks for visiting…
I simply want to tell you that I am just all new to blogs and definitely enjoyed your web-site. Most likely I’m planning to bookmark your site . You absolutely come with amazing article content. Thanks a lot for sharing with us your webpage.
Thank you Trish for visiting my site and for your very kind words. It means a lot and I will make sure there is always fresh content and articles for you to enjoy and learn from. All the best…Vashi
I just want to mention I am newbie to blogs and truly loved your page. Probably I’m planning to bookmark your site . You surely come with amazing writings. Cheers for sharing your web page.
Title…
[…]Here are several of the web sites we suggest for our visitors[…]…
Vashi,
This is gold. Thank you. Keep it coming!
google…
Google http://www.google.com…
… [Trackback]…
[…] Read More Infos here: vashivisuals.com/the-20-rap-video-low-budget-filmmaking/ […]…
Hey, I’m a Hip Hop Artist myself and I really enjoyed this video. I’m actually looking on the internet to learn how to properly edit a video. Even though I’m an artist, I want to have a feel for the other side. There’s nothing wrong with a little versatility! What program did you use to edit? Cameras?
I love you.
I make songs to urge people to not go to prison.
Clean real talk lyrics- with funky beats
Maybe we should talk about a video or something.
Thanks Al