As a filmmaker, I always want to challenge myself both creatively and technically. I pursue projects that can stimulate me on several levels. If I am going to commit a year of my life to a feature film…it is crucial that I walk away with new skills, a successful storytelling experience and a lot of fun in the trenches with my team.
THE BEGINNING
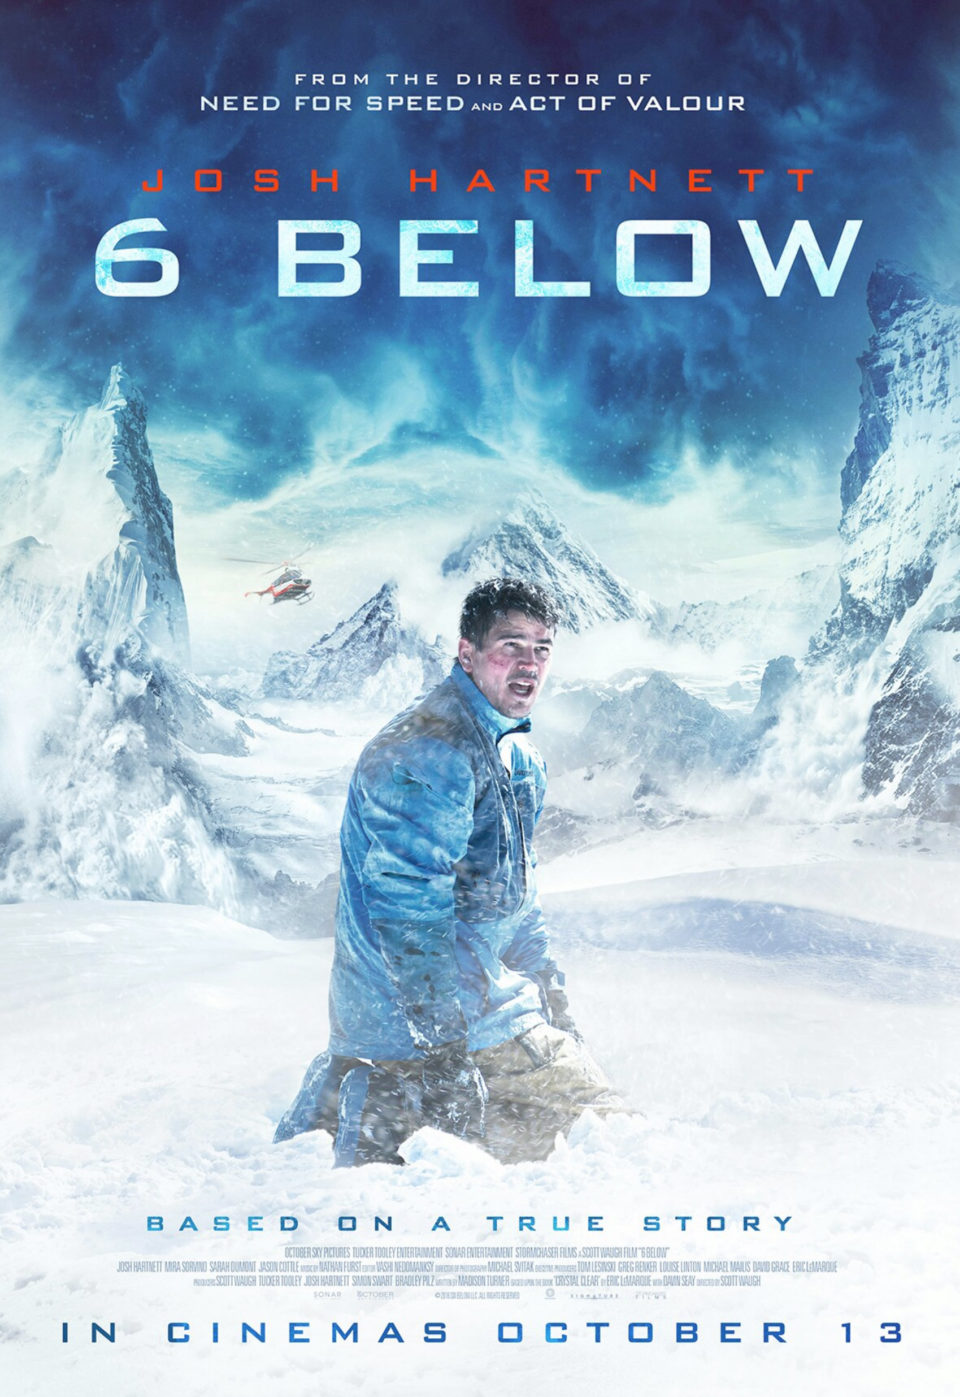
When I was asked by director Scotty Waugh to edit 6 BELOW…all my personal and professional requirements were met. All the checkboxes were ticked. The true story of Eric LeMarque, a professional hockey player, that went snowboarding and got trapped in a snowstorm on an isolated mountain for 8 days was riveting.
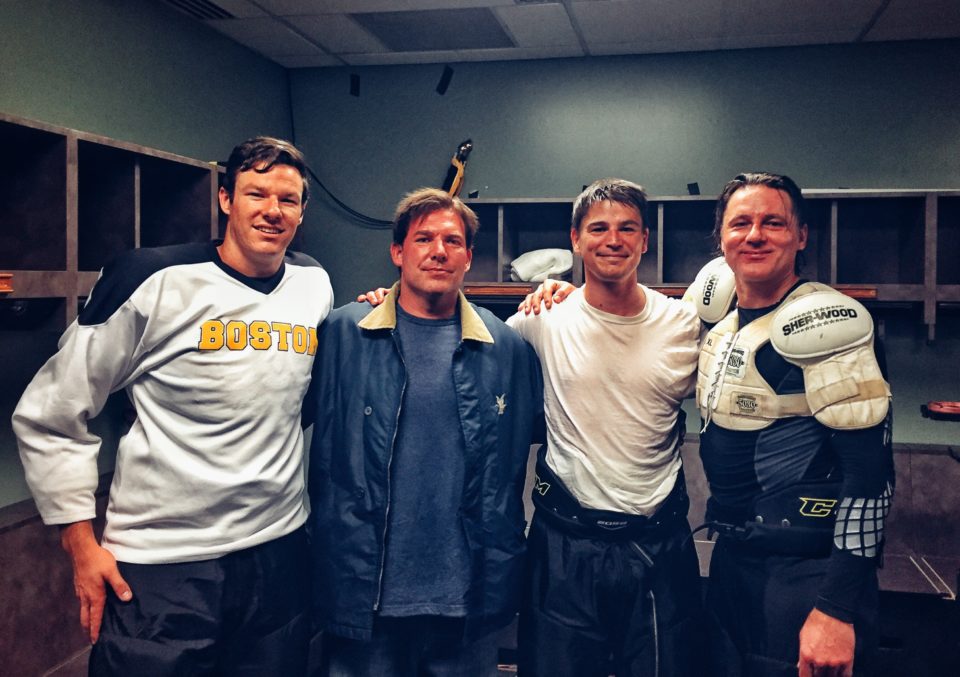
As fate would have it, Scotty didn’t know I knew Eric LeMarque when he asked me to edit the film. He didn’t know that Eric and I both played professional hockey together 15 years earlier. That only added to the immense sense of responsibility I had to deal with in telling his true story in the best manner possible. The conflict of editor versus friend.
No pressure!
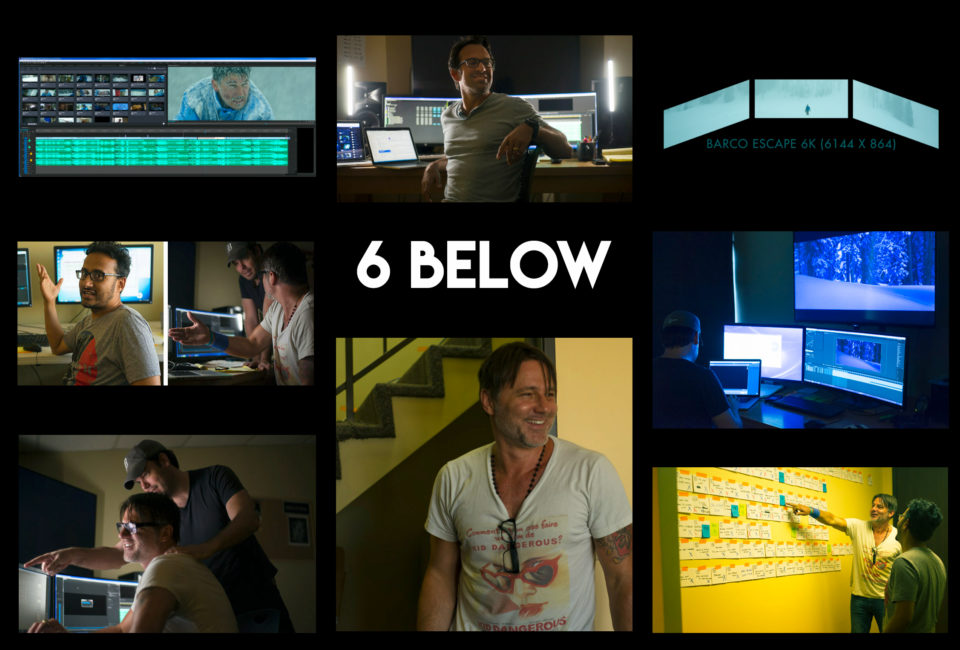
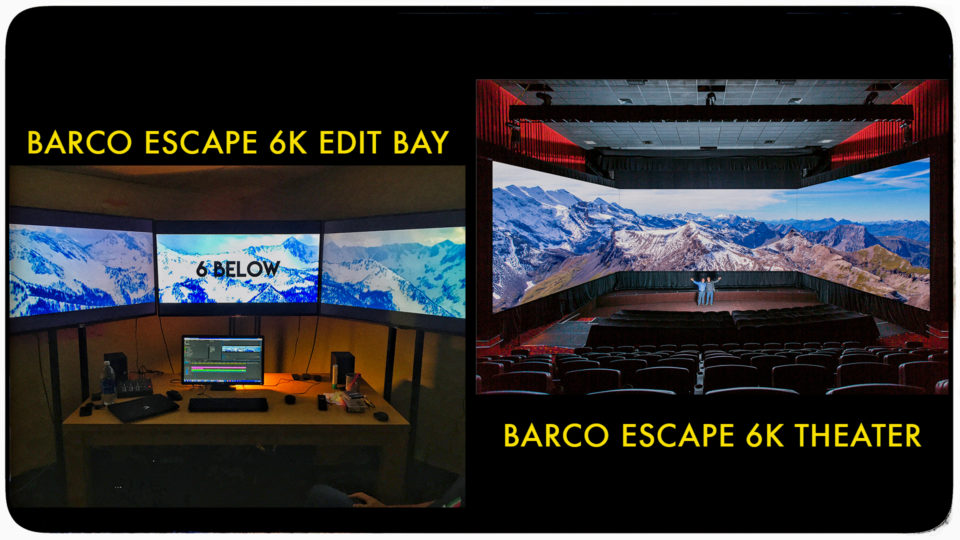
Then Scotty dropped a couple huge technical bombs on me. 6 BELOW would be the first entire feature film in the history of Hollywood to be presented in the Barco Escape format. The 7:1 aspect ratio is the widest of any format in 100 years. Three 2K DCPs are projected in sync onto 3 full-sized movie screens to create an incredibly immersive viewing experience.
On top of that, we also had to deliver a 2.76:1 aspect ratio (same as the 70mm version of “The Hateful Eight”) theatrical version for traditional one-screen theaters. That meant two complete separate feature film edits to accommodate for the different framings of each format.
After all that…there was one more surprise that Scotty had waiting for me…
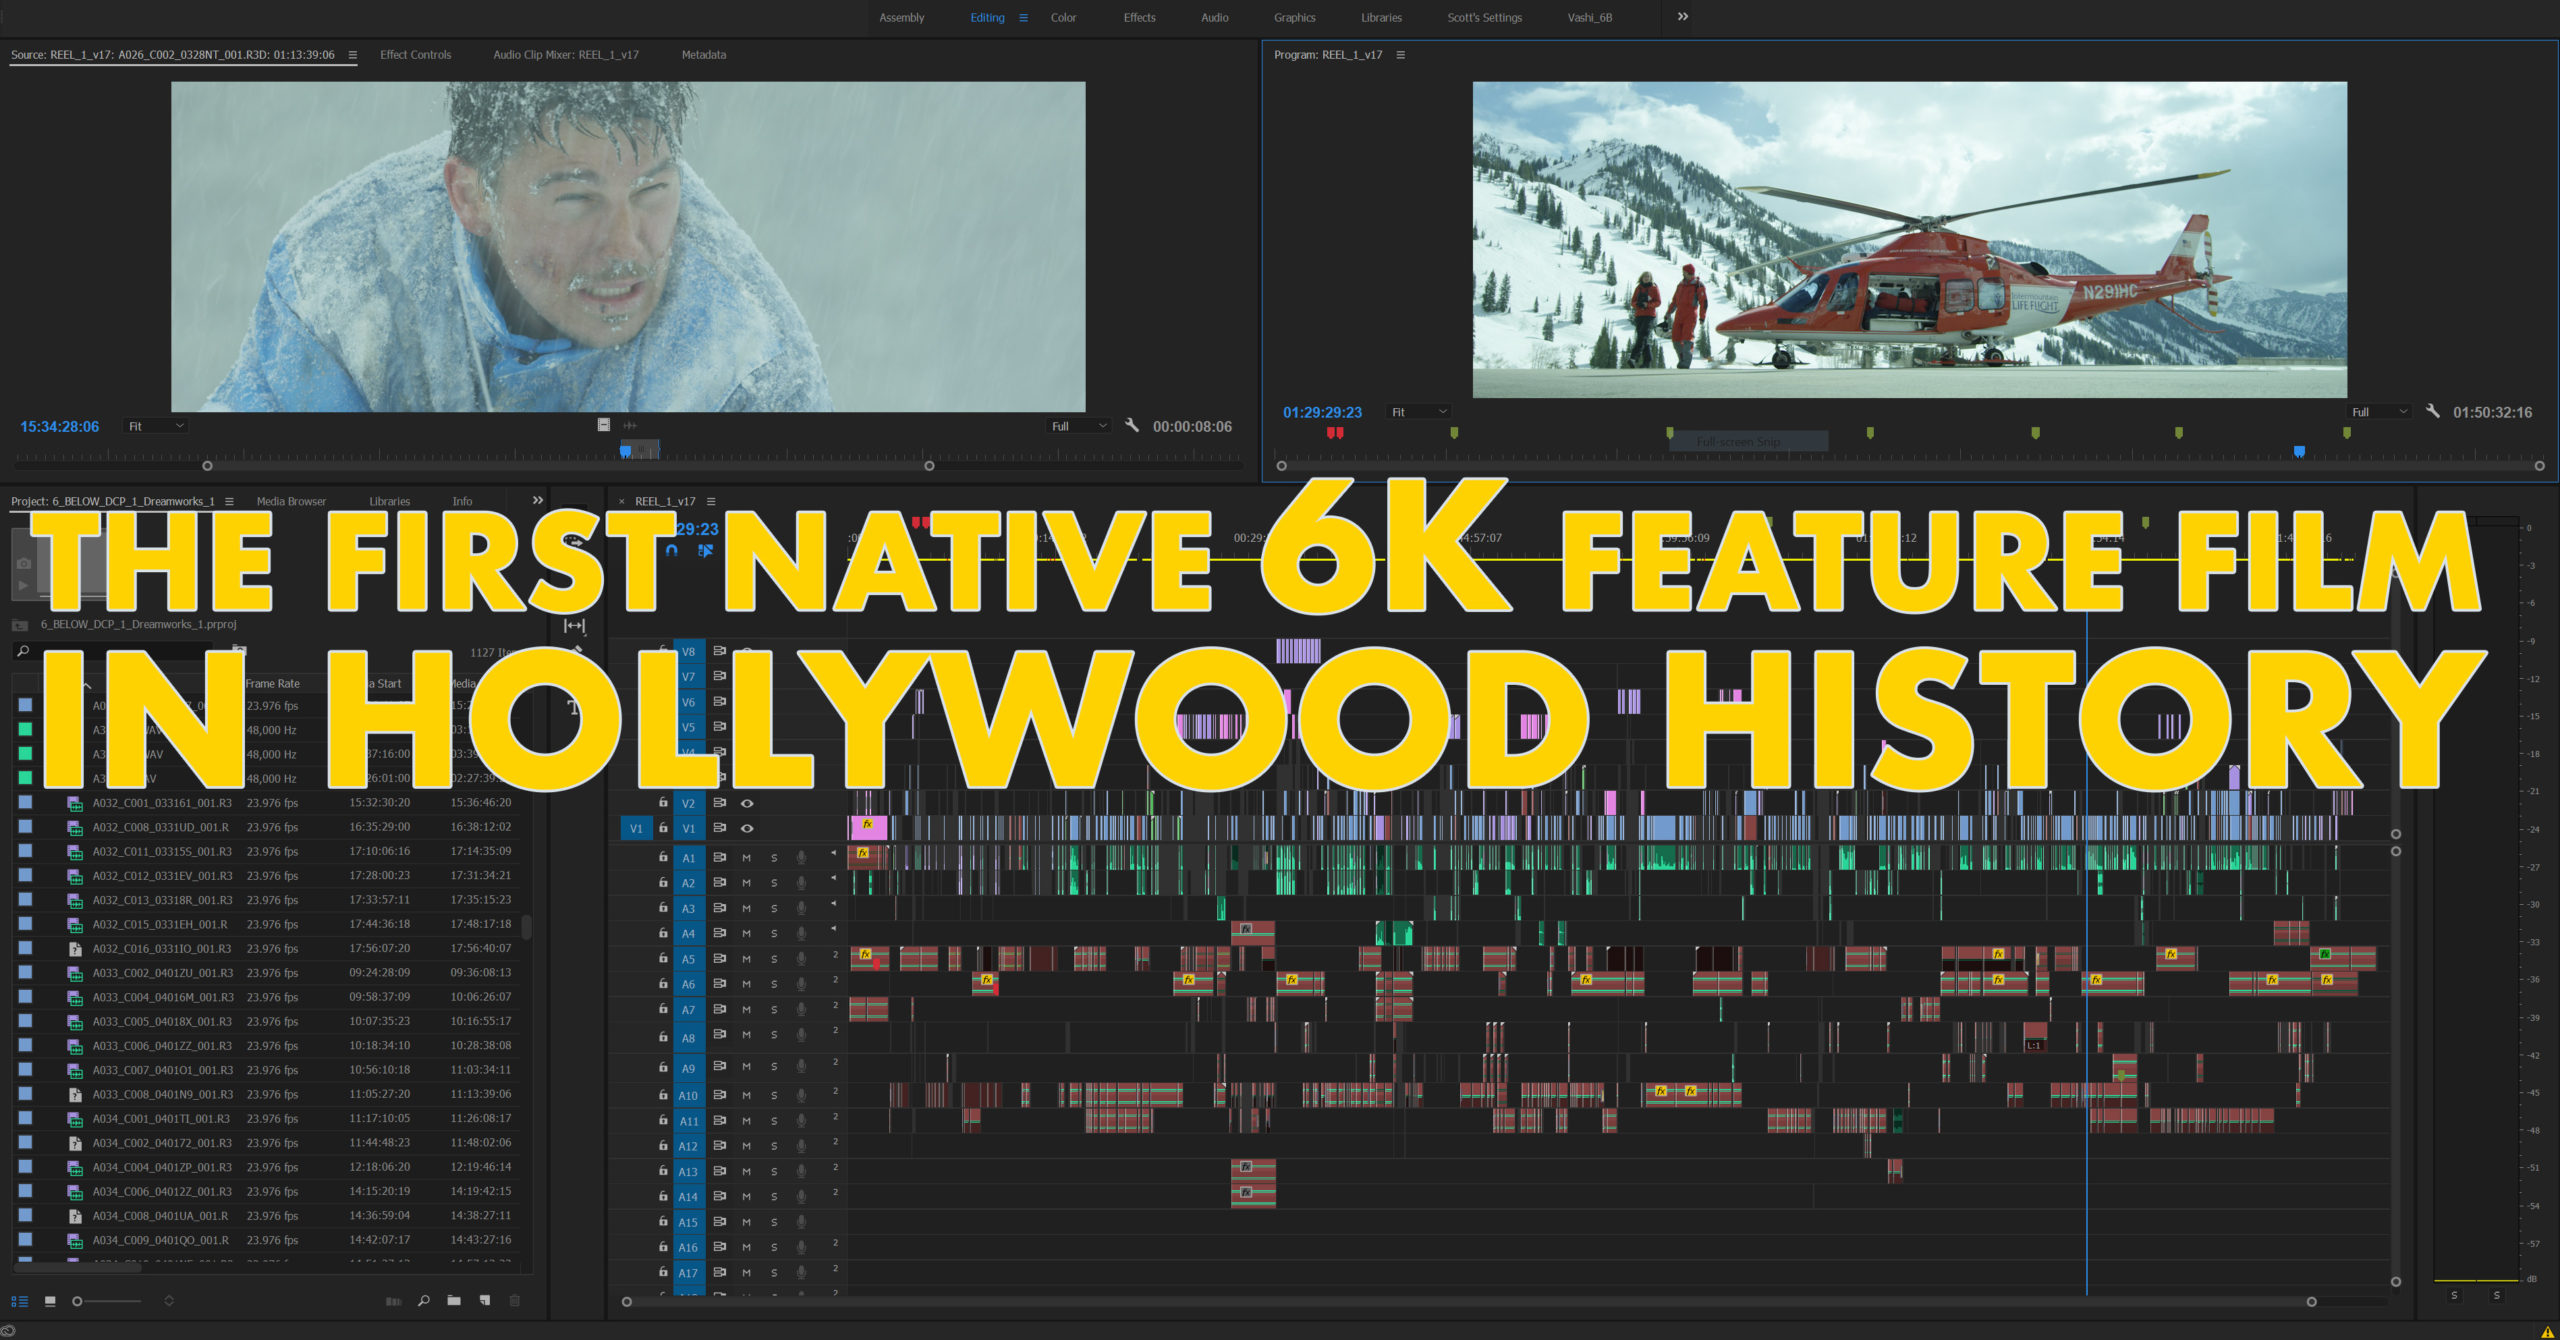
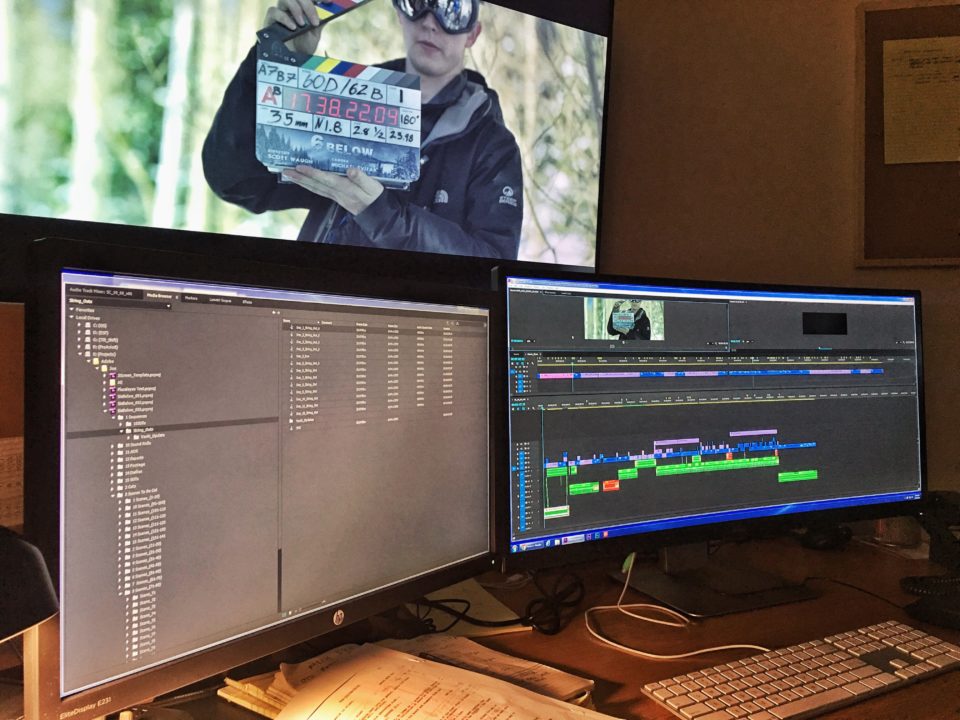
Scotty decided to do all of post-production natively with the original 6K Red RAW Dragon files. No transcoding. No proxies. No off-lining. We would edit this film at 6K and do all VFX at 6K in house as well.
This had never been done before on a feature film. I don’t think anyone would have been crazy enough to try it! Native 4K editing can bog down a hefty system on even the shortest form project. Even compressed HD h.264 files can make a fast laptop choke on its dinner. We were going to have a 97-minute timeline filled with nothing but 6K R3D RAW files and at least 24 tracks of audio.
What post production workflow / software / hardware could handle that much data, storage and information shared across 4 workstations for an entire year and not fail?
That was the unknown situation and challenge which was presented to us. It was our job to find the solution and make it work…because no one had ever done it before.
CHOOSING THE RIGHT TOOLS
Sailing these uncharted waters began with testing the NLEs available and creating a solid workflow to handle the 6K footage demands. I have an ever-evolving editing style that incorporates new techniques based on available options. After a short test run in Media Composer, Final Cut Pro X and Premiere Pro…for my needs on this project, it was an easy choice to commit to Premiere Pro.
Premiere Pro offered several advantages – which I will get into – for taking this huge technological post-production risk. The other big decision was to choose a Windows-based pipeline after so many years of using MAC OS X. I had used MACs on Deadpool, Gone Girl and 8 other feature films over the years but the demands of a 6K native project required more power than Apple could provide. Plus the issue with overheating and burnt up video cards in the Trash Can MACs made it a non-starter.
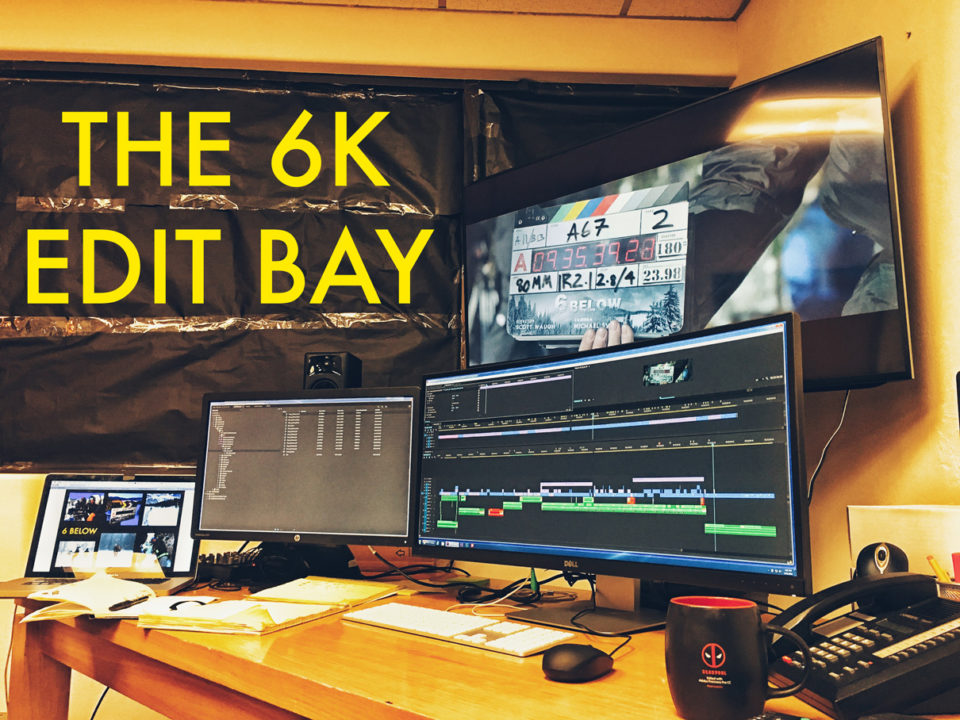
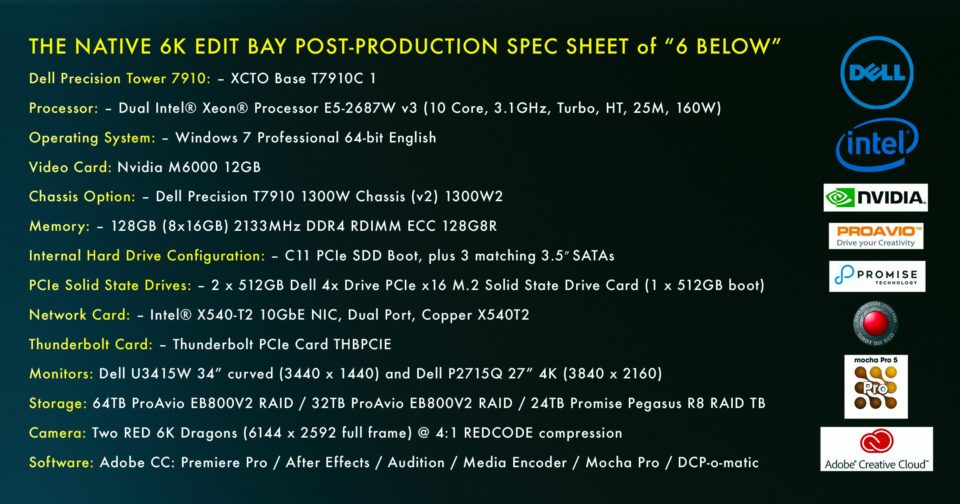
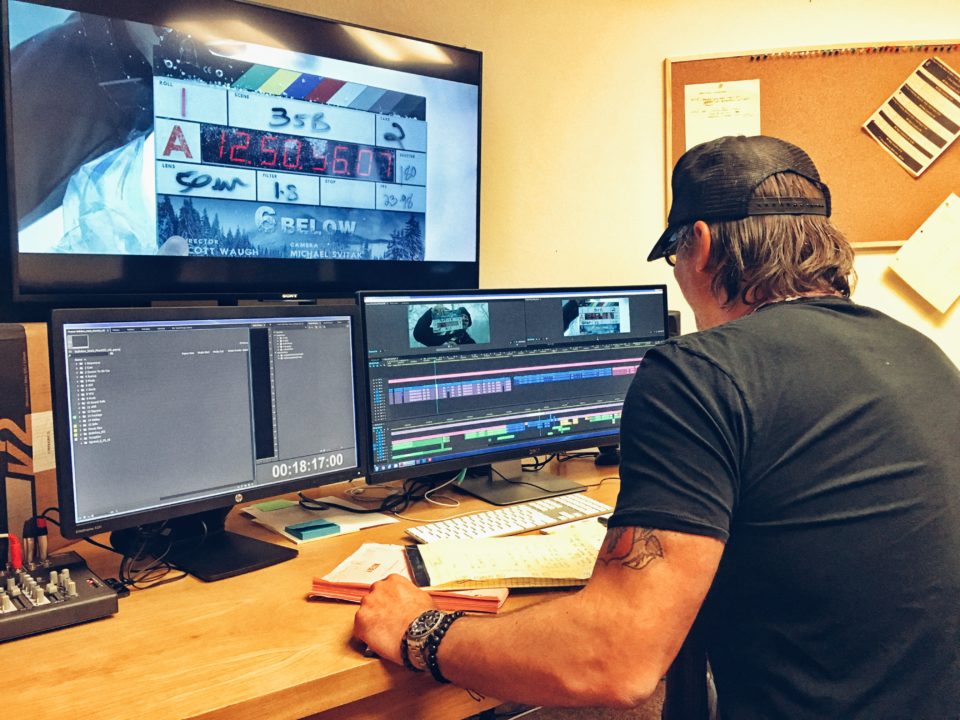
We spec’d out two 20-core DELL 7910 towers for our main edit bays and an HP tower for transfers, outputs and some VFX.
Editorial was initially planned for 22 weeks. 6 weeks in Salt Lake City during production and 16 weeks back in Los Angeles.
Our post-production team consisted of:
Vashi Nedomansky – Editor
Scott Waugh – Editor
Jon Carr – Assistant Editor / VFX
Mike McCarthy – Post Production Supervisor
Shahriar Rahman – VFX
We were on the grind for over 22 weeks to lock the picture between the 5 of us. Small footprint, high skill set and not much sleep! Welcome to the filmmaking process!
Once our edit was done we handed off to Mike Sowa at Technicolor for the color grade. 16-time Academy Award nominated Sound Mixer Greg P. Russell and E2 at Warner Brothers delivered the sound mix.
CUTTING IN PREMIERE PRO
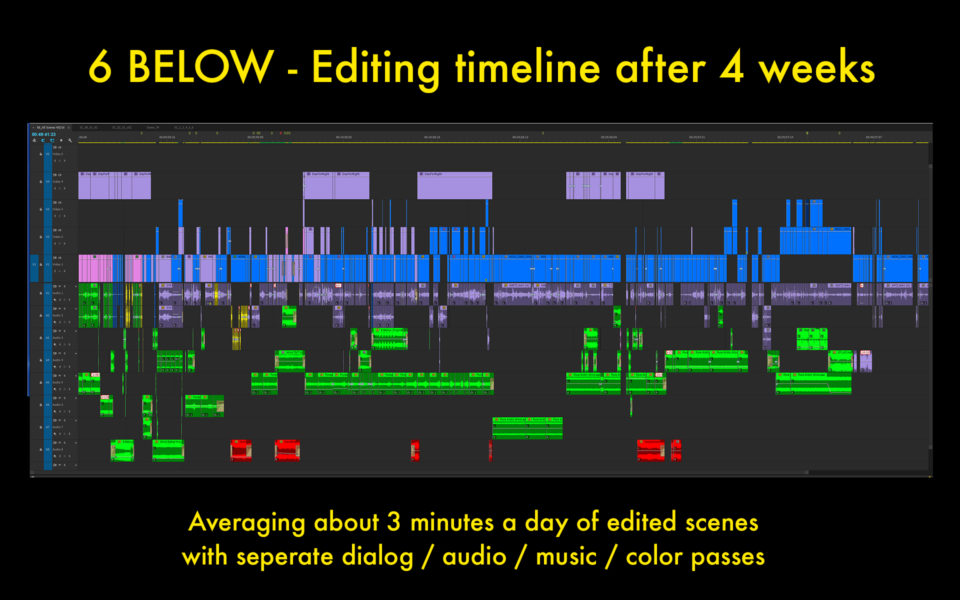
My biggest concern once I started getting dailies in Salt Lake City was…will Premiere Pro bog down and become unresponsive with hours upon hours of 6K RED RAW footage? I cut for 6 weeks straight and kept building my scenes onto one timeline. We were shooting in continuity as Josh Hartnett playing the lead role of Eric LeMarque was losing weight on a restricted diet and eventually lost 25 pounds over the duration of the shoot. Therefore, I was building the film in consecutive scene order so I could feel the flow of the film. I love this method as you can organically feel the film grow as opposed to cutting random chunks then merging them together later.
I need to feel the pulse of the film and live inside it. A common question people always ask me is how much footage does a feature film editor cut in a normal day. I can’t speak for everyone else but I averaged about 3 minutes of edited scenes a day. Some days more, some less depending on the amount of footage that came in.
I kept adding my edited scenes into my single timeline until I thought Premiere Pro would become too sluggish to edit efficiently. Surprisingly that day never came. I edited for 6 weeks in Salt Lake City and ended up with a 56-minute timeline of 6K native footage before we packed up for the move back to Los Angeles. Premiere Pro maintained its stability and snappy responsiveness much to my pleasant surprise. From my experience, it’s the powerful combination of the Mercury Playback Engine and the GPU acceleration of the nVidia M6000 that kept us in real-time with no dropped frames. Earlier we tested the RED ROCKET-X video card but it was bested by the nVidia M6000 in all situations including playback and rendering.
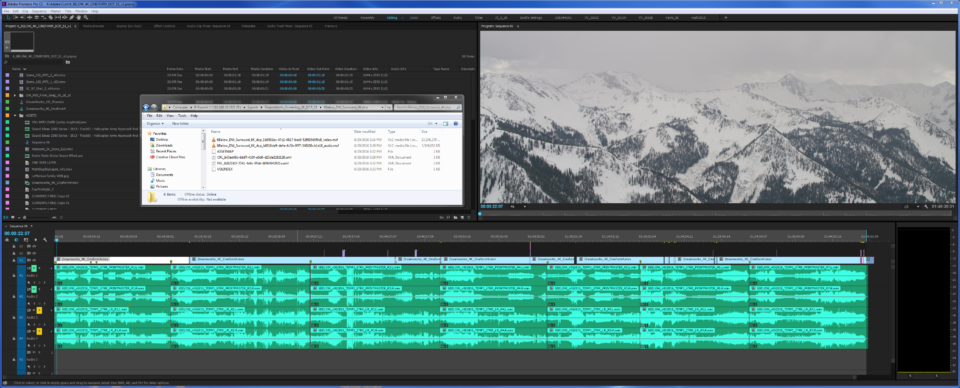
Here are the settings of the sequence and playback I used for real-time playback and editing:
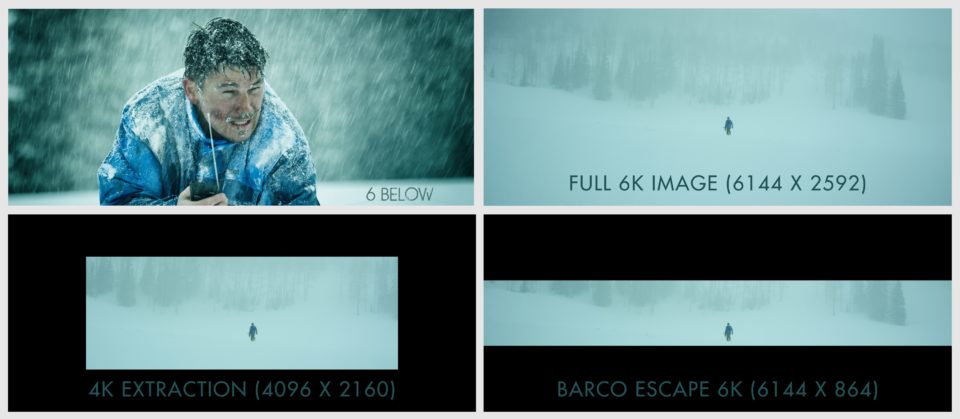
The 6K RED Raw footage (6144 x 2592 pixels) was placed into a 4K (4096 x 2160 pixel) timeline. This allowed for 33% horizontal and 17% vertical repositioning options for the framing. Combined this is almost 40% of additional frame available. We used ½ resolution playback for real-time playback so we were effectively viewing 2K output on our monitors and Sony 4K 55” TV.
My familiarity with Premiere Pro was definitely a benefit…but there are certain editing approaches I use that can only be accomplished within it. Those familiar with my work know that I’m a huge proponent of the Pancake Timeline. By stacking my timelines I have access to my string-outs (all the dailies laid out in chronological order) and my main timeline underneath it that I’m building into.
For 6 BELOW I developed a custom keyboard shortcut pattern that allowed me to effortlessly plow through hours of footage and build my sequences. This is how I spend the bulk of my day so I made sure to make it as simple as possible:
1) Open sequence with select footage into Source panel (keyboard shortcut)
2) Open sequence in timeline from Source panel (keyboard shortcut)
3) Enable Timeline preference “Set focus on the timeline for edits”
4) Choose In and Out for the shot you need from Source timeline
5) Insert or Overwrite the shot into the main timeline (keyboard shortcut)
3 keystrokes to choose shot and non-destructively move my range of footage from one sequence to the other. No dragging full clips and trimming later after the fact. Just the exact chunks needed at that precise moment.
Plus I can do this without taking my eyes off the monitor as my fingers just progress down the keyboard in order.
Since a Premiere Pro timeline can hold 24 hours of footage at once…I never had to worry about limits. The most 6K footage we received in one day was 8 hours and that fit comfortably on one timeline. I always prefer to visually see my footage on a timeline and watch it chronologically as it was shot so that my brain can process it linearly and allow me to have recall on where in that day’s timeline it lives. I find this easier and more effective for the way I like to process my footage and edit.
THE BARCO EDIT
Beyond being the first native 6K feature film edited in Hollywood history, we had another distinction attributed to our production. 6 BELOW is the first entire feature film edited and presented in the Barco Escape format.
Star Trek Beyond, The Maze Runner and The Recall had sections of the film that morph into Barco Escape format but 6 BELOW was shot with the game plan of offering a 2:76.1 theatrical version and a complete film in the 7:1 Barco version. This was one of the other technical challenges that only Premiere Pro could handle during our dual format workflow created from scratch.
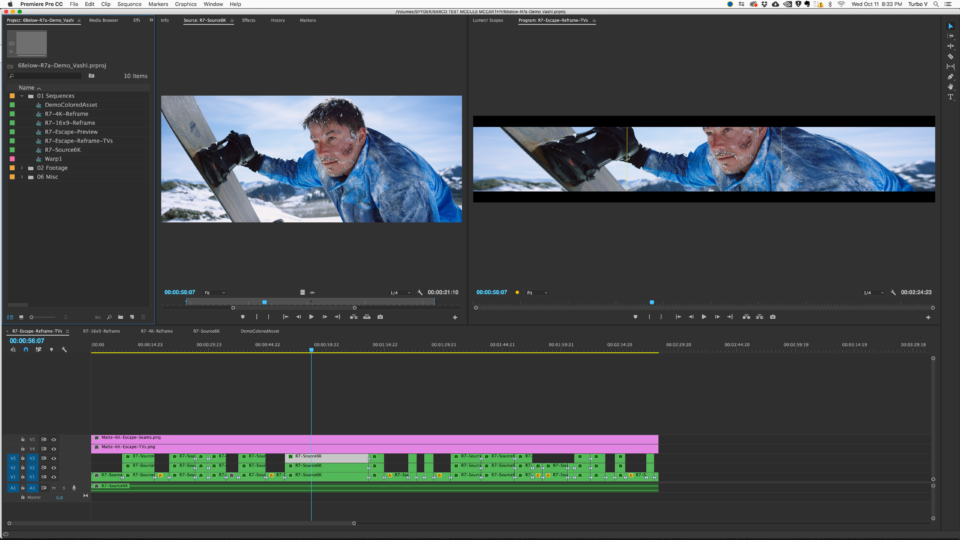
Once we locked picture on the theatrical single screen version of the film, we created a new project for the Barco format that utilized the entire 6K Red RAW file for every shot. Even though director Scotty Waugh and DP Mike Svitak framed for both format sizes, we still had some repositioning and ‘edge-stretching’ to apply to each shot for a fully functional Barco Escape presentation. To make each shot fluid within the edit, Mike McCarthy created an “INCEPTION” style timeline of nested sequences that lived within each other.
In the image above, the source panel on the left contains the full 6K file that lives within the green nested file in the timeline. The program monitor on the right shows the 6K Barco Escape final image output with yellow seams that represent the edges of the 3 screens of the Barco Theater. Each screen in the theater is a 2:39.1 aspect ratio full cinema screen.
Using this embedded paradigm, the original 6K shot could be repositioned, adjusted or swapped out within the configuration of the final Barco Escape delivery format. These nested sequences within sequences allowed us to keep track and manage the three different deliverable versions (Barco Escape, Blu Ray, 16 x9) needed for distribution.
DCP CREATION IN PREMIERE PRO
We created DCPs using the Wraptor Pro plugin within Premiere Pro for final output. This included 3 Barco 2K DCPs (Left, Center and Right screen) that are played back in sync using the proprietary Alchemy engine used in the Barco Escape Theater.
Finally we created 2K and 4K DCPs for single screen theatrical delivery also with the Wraptor Pro plugin. Each single-screen 2K or 4K DCP took on average 30 hours to encode on the DELL 7910 towers.
I will be putting out another blog post soon with detailed directions on creating DCPs using Media Encoder with our Post Supervisor Mike McCarthy.
To finish the first of 3 posts I will be writing on the post-production BTS of 6 BELOW…I would like to leave you with an image that is the highlight of my filmmaking career to date.
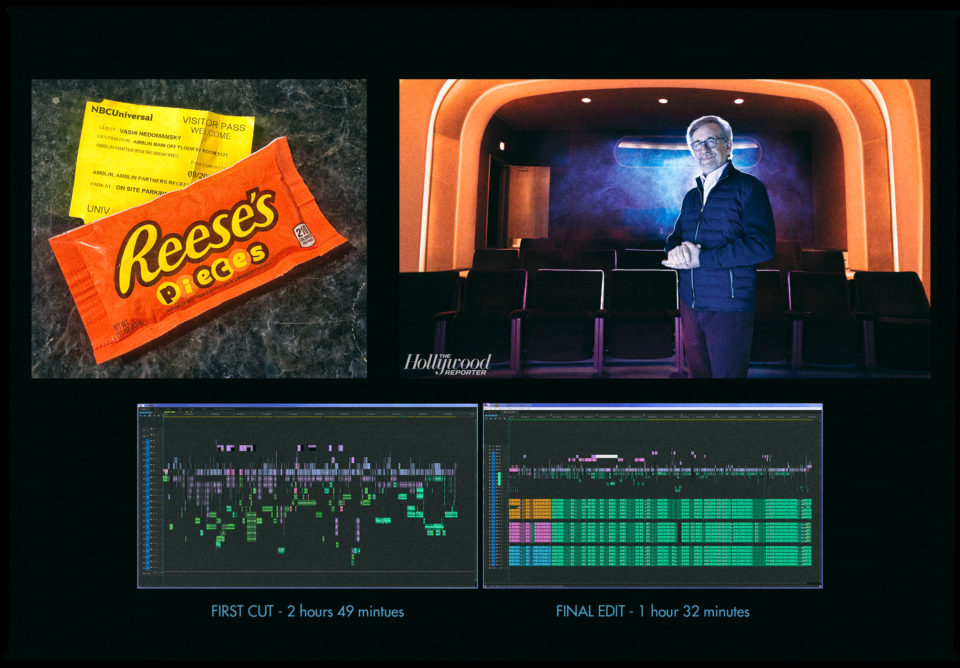
We screened the 4K DCP at Amblin on the Universal Lot inside the Steven Spielberg theater. The cast and crew were treated to one of the best audiovisual experiences in Hollywood and yes, I helped myself to several bags of Reese’s Pieces from the concessions stand in the theater!
Adobe shot a short BTS of our post production process:
I will return with more soon…
Until next time…


There are 8 comments
Thinks for the detail in this post. Your tests showed that Macs can’t smoothly edit 6K native footage – whichever NLE you use.
I’m not surprised that Adobe Premiere on Macs doesn’t compare well with Premiere on PCs.However, as a Final Cut Pro X user, I’m surprised that it had problems with a long-timeline 6K workflow. I would expect that such dimensions and codec should be fine on a recent iMac 5K.
I’m looking forward to seeing what kind of timelines (resolution, codec and duration) the forthcoming iMac Pro will be able to handle!
Alex
Thank you for the insight into how Premiere was used for such a technically challenging project. I look forward to the next post about authoring a DCP with Media Encoder.
It is nice to see that Premiere is being used on features (studio) and not solely in the indie or corporate space.
7:1?? :O :O
I really want to see that!
Vashi,
Very interesting post, and grateful to learn from you!
And I’m very interested in reading your next post on how you did the DCP with Media Encoder.
In short, I’m going to make my first DCP for an indie film and I need to be prepared.
Thank you for sharing so much knowledge with the community.
Regards,
Julio
I live in Salt Lake City it’s too bad we don’t have an escape theater here to actually see this!
We just finished a 4K Red movie.
All editing and preliminar color correction and sound in Avid Media Composer 8.4.5. Finishing in Assimilate Scratch 8.4 and Steinberg Nuendo 4.
Real time, editing and correction, monitoring 2K. The equipment, a 2012 Windows 7, i7 2th generation, 8 Gb RAM, nVidia GTX 430.
Avid!!! Scratch!!! Nuendo!!!
Ah! The movie 2 hours long.
I DON’T GET THE POINT OF EDITING “NATIVE” 6 K IF YOU WERE MONITORING AT HALF RESOLUTION IN A TIMELINE THAT WAS 4K. A PROXY WORKFLOW WOULD HAVE BEEN BETTER AND MORE RESPONSIVE