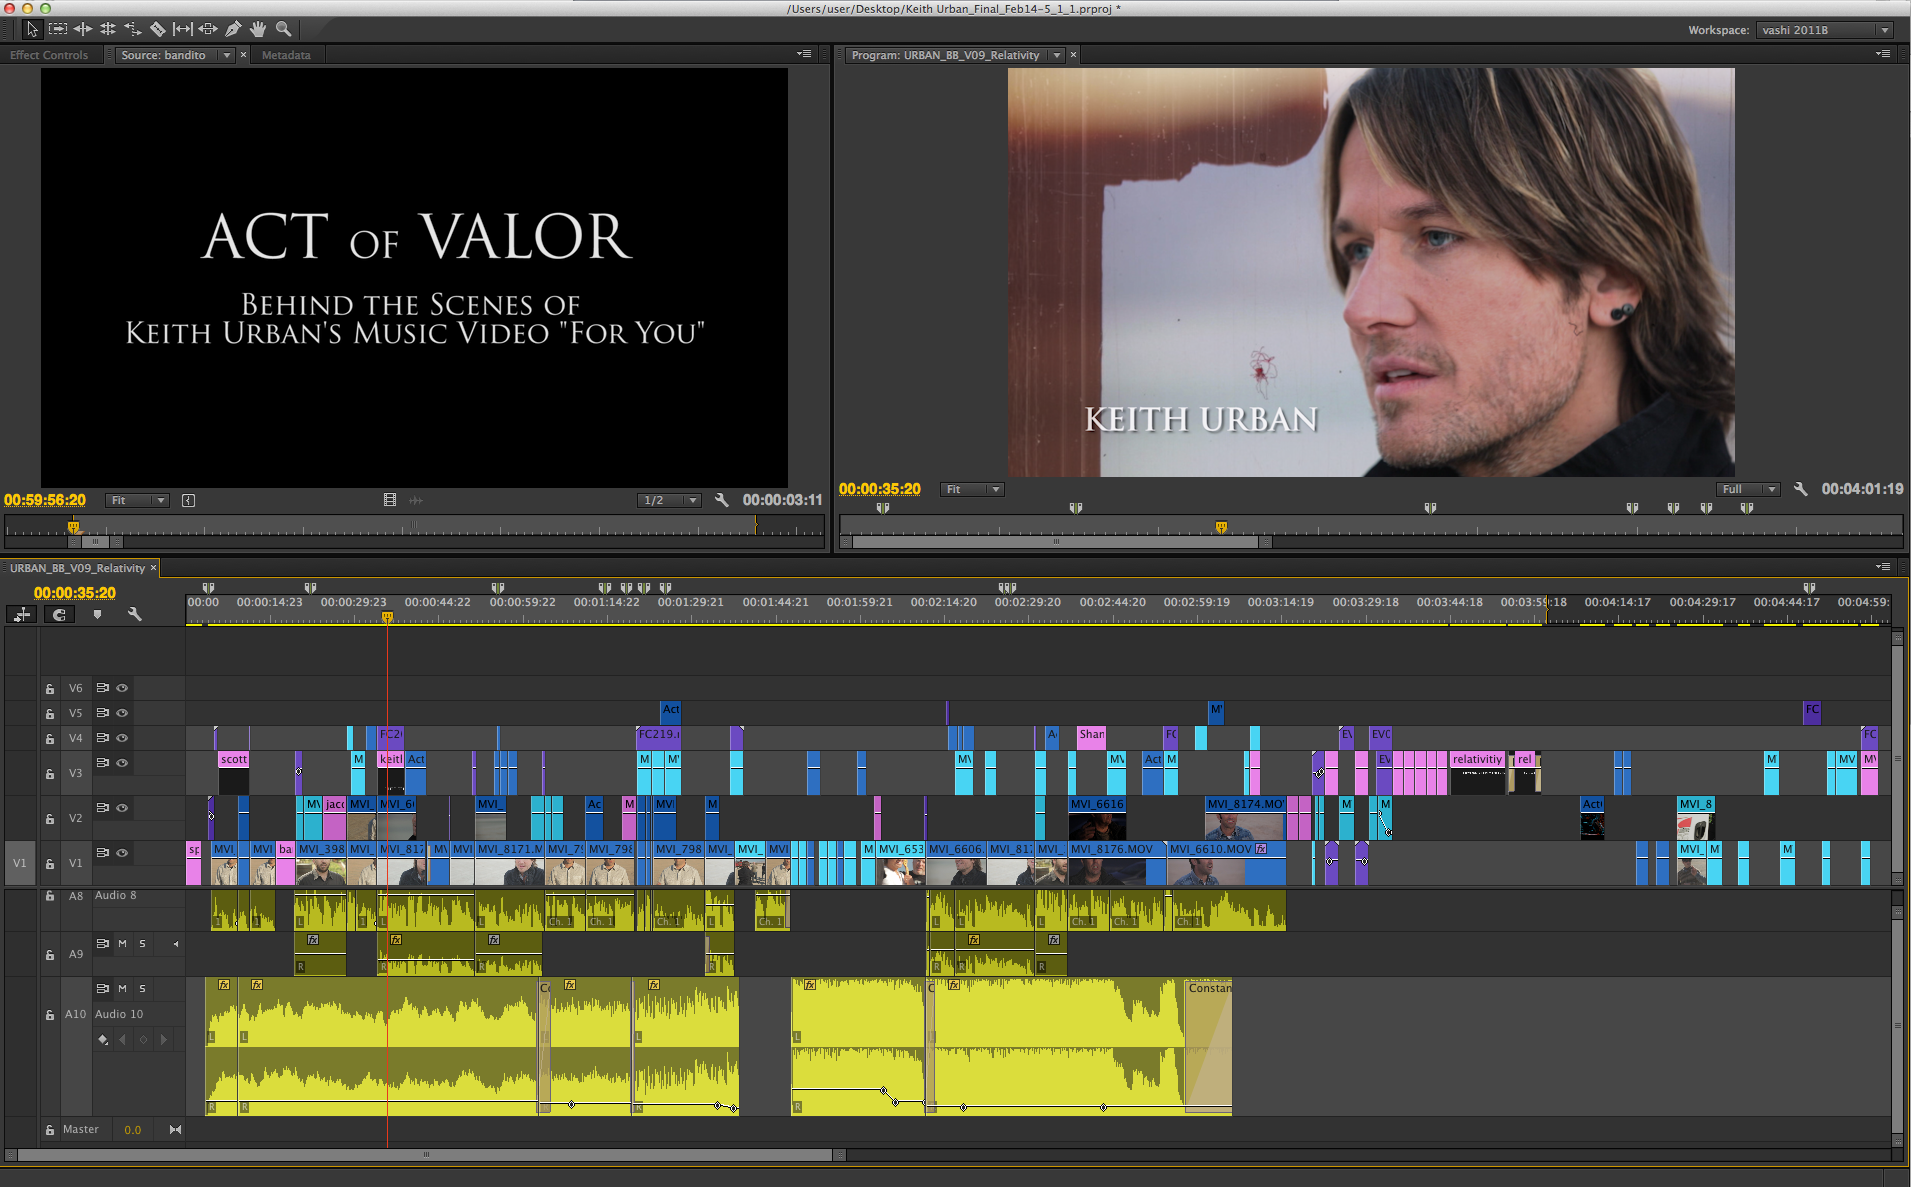
Keith Urban shot his music video “For You” on the same salt desert flats that Bandito Brothers shot the feature film “Act of Valor”. Scott Waugh directed both the film and this music video. Shane Hurlbut, ASC was the director of photography on both as well. Julien Lasseur was tasked with shooting the BTS of the filmmakers’ reunion at this epic location. Julien, a budding director, was given the golden opportunity to work with the likes of Scott, Shane and Keith. Based on my extensive editing history with Bandito Brothers and Shane…Julien asked me to cut the BTS and I very gladly accepted.
I want to share 5 tips on how I approach a BTS in terms of storytelling and editing. A BTS is no different from a short film or documentary in regards to its main goal…to tell a story…and make it memorable. I have seen numerous BTS that end up being a random collection of shots that look nice, show some cast/crew interactions and have a safe/uninspired music track laid underneath. This is technically a BTS…but it can be so much more!
There are many wonderful aspects to creating a BTS. First, as a director, you are granted access to a set with amazing talent and production value. You can choose any angle or shot you want with the goal of sharing the experience of being there. Second, usually no one is telling you what to do, how to do it or peering over your shoulder as you work. It is an opportunity to demonstrate your storytelling style and to capture the essence of the main production. Often this is an unpaid or low-pay gig…but the autonomy you receive will almost always outweigh the monetary compensation.
Remember…it’s YOUR vision of what their production is…and with full access and cooperation, you have a glorious chance to make a compelling stand-alone narrative piece. If you embrace it as a storyteller and filmmaker…and not just a compiler of shots…you can create an evocative BTS that freezes in time the magical moments that only occurred that one day on set.
TIP #1 – Build your story with dialogue first.
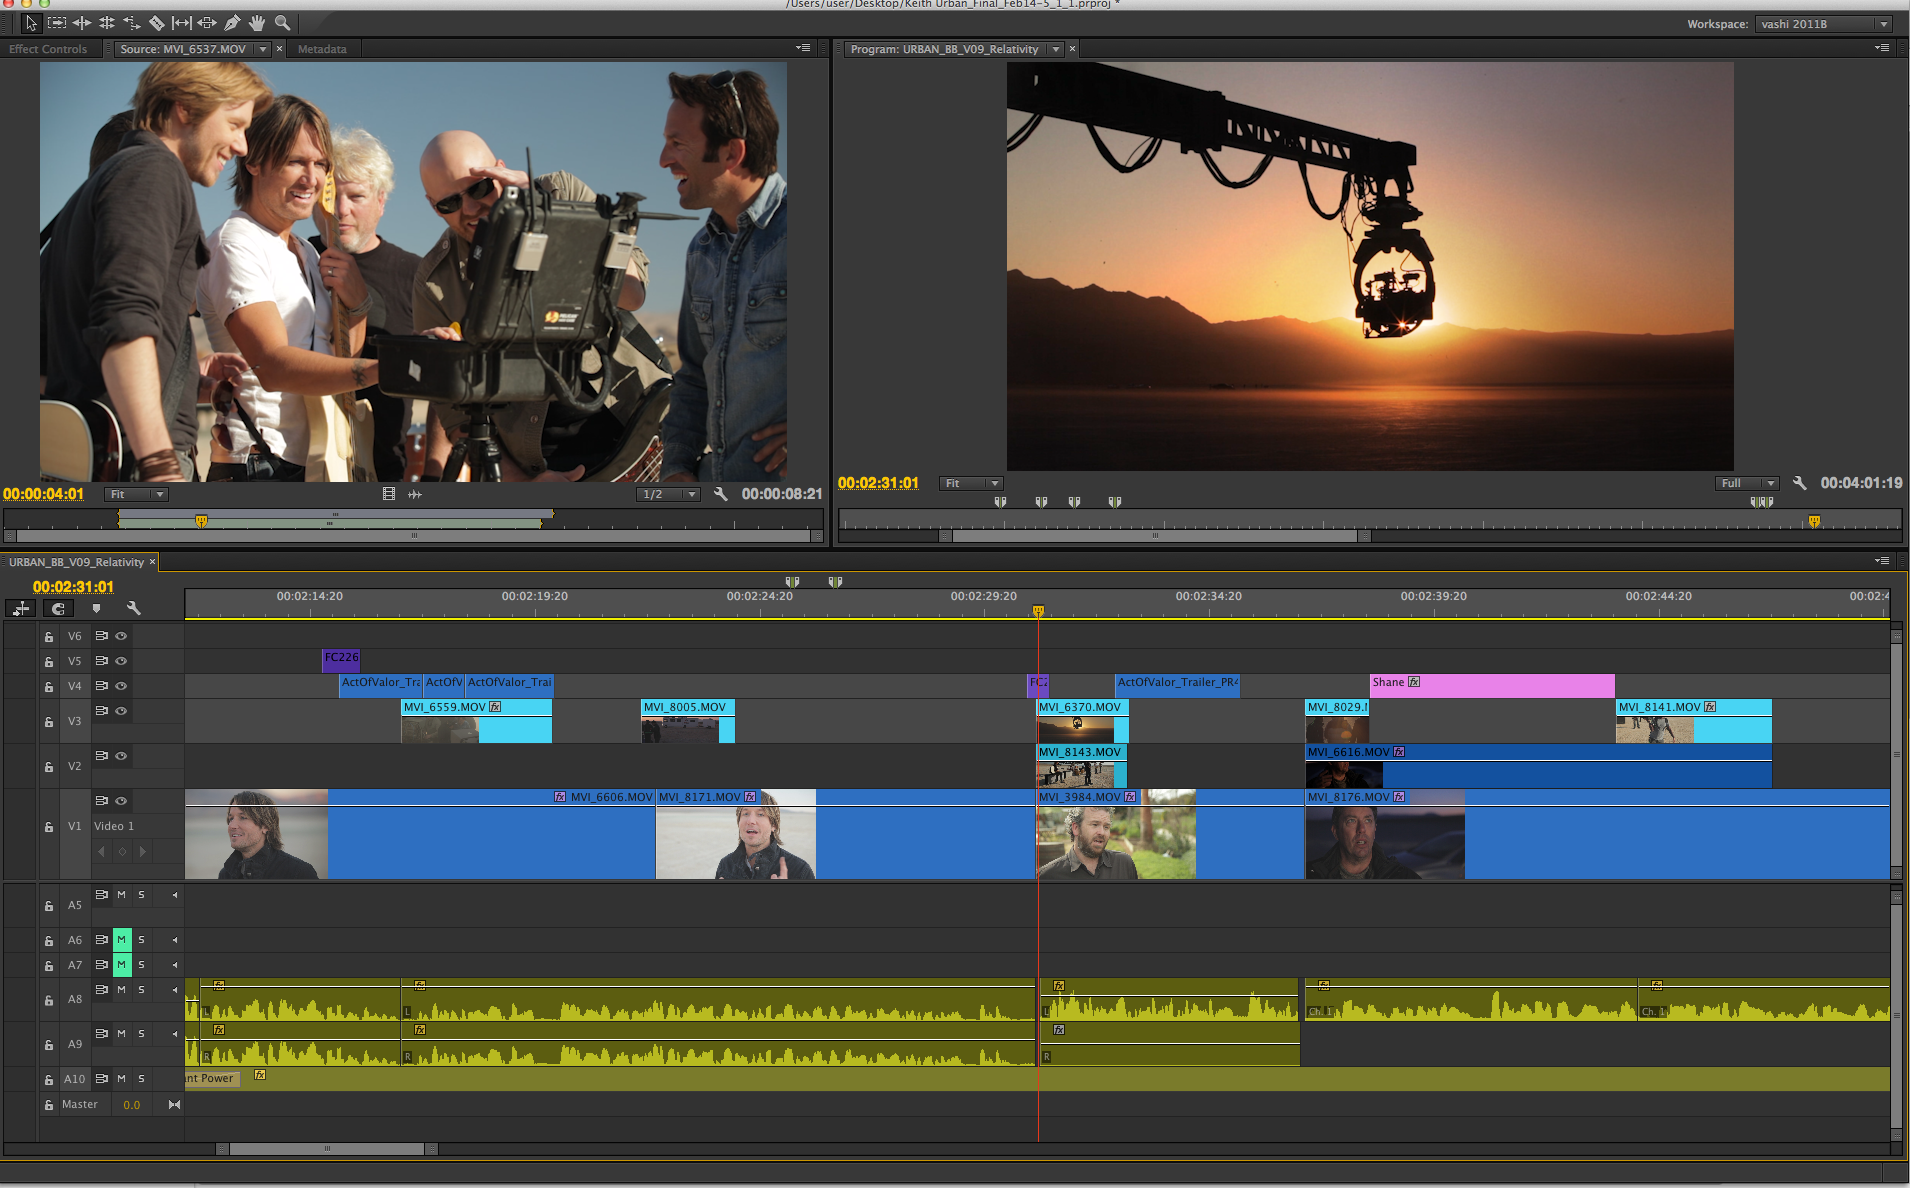
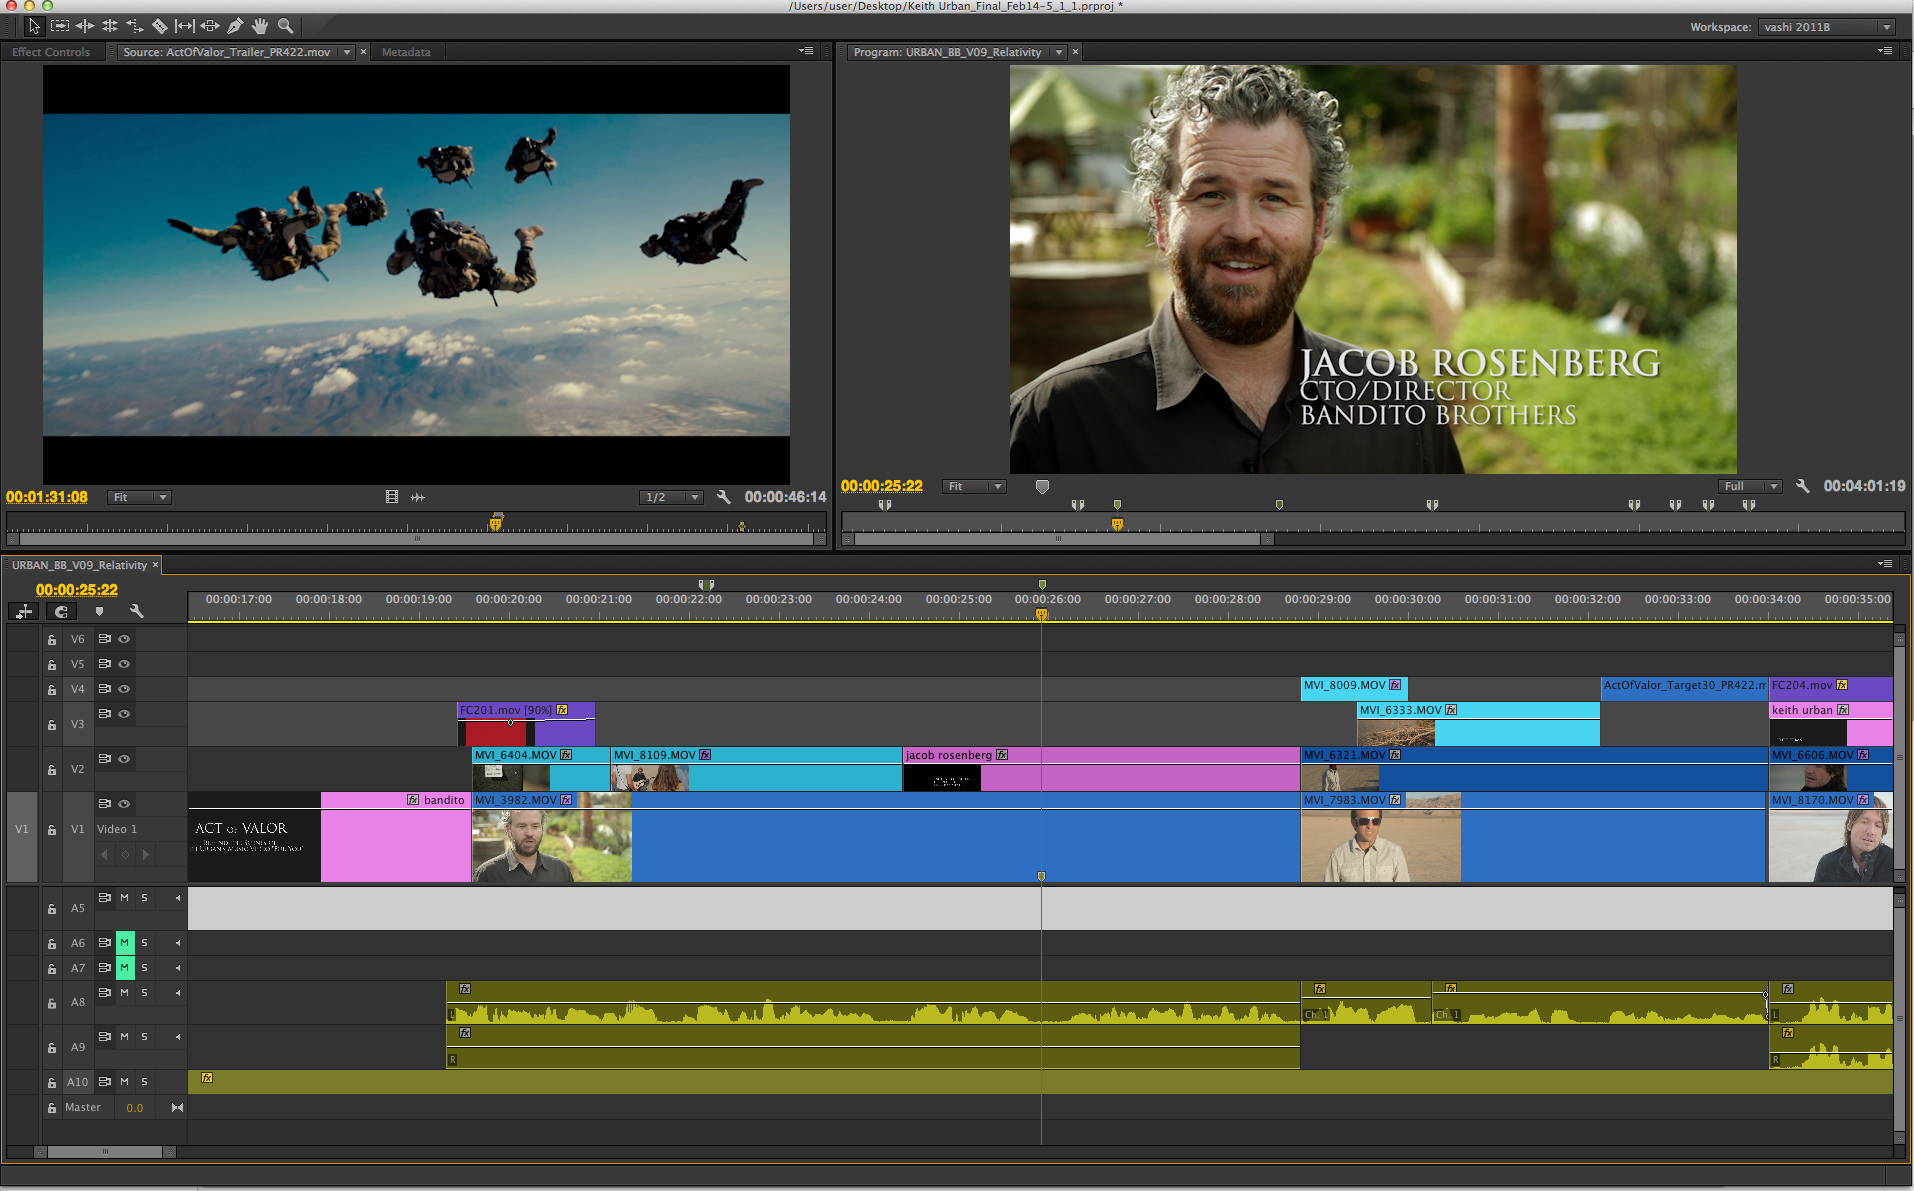
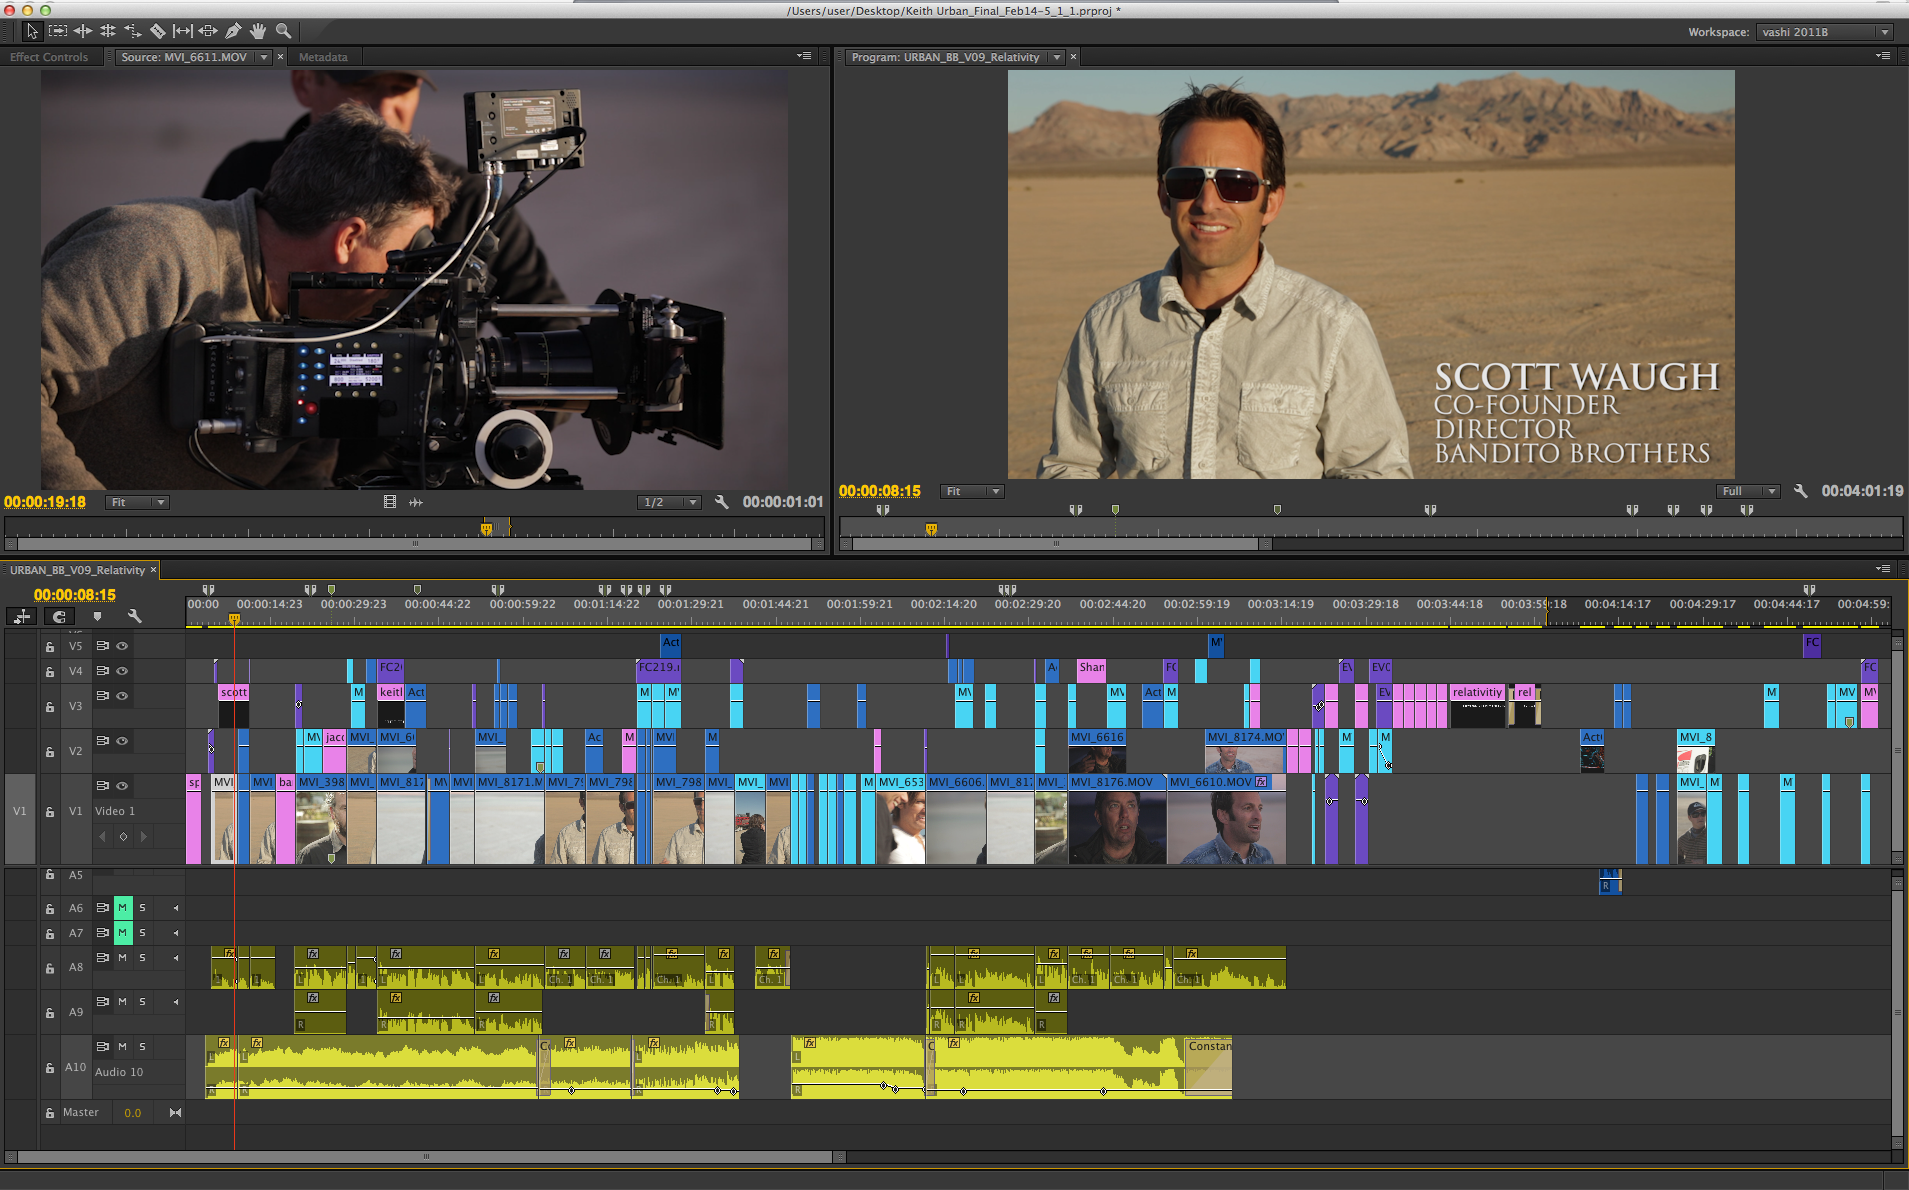
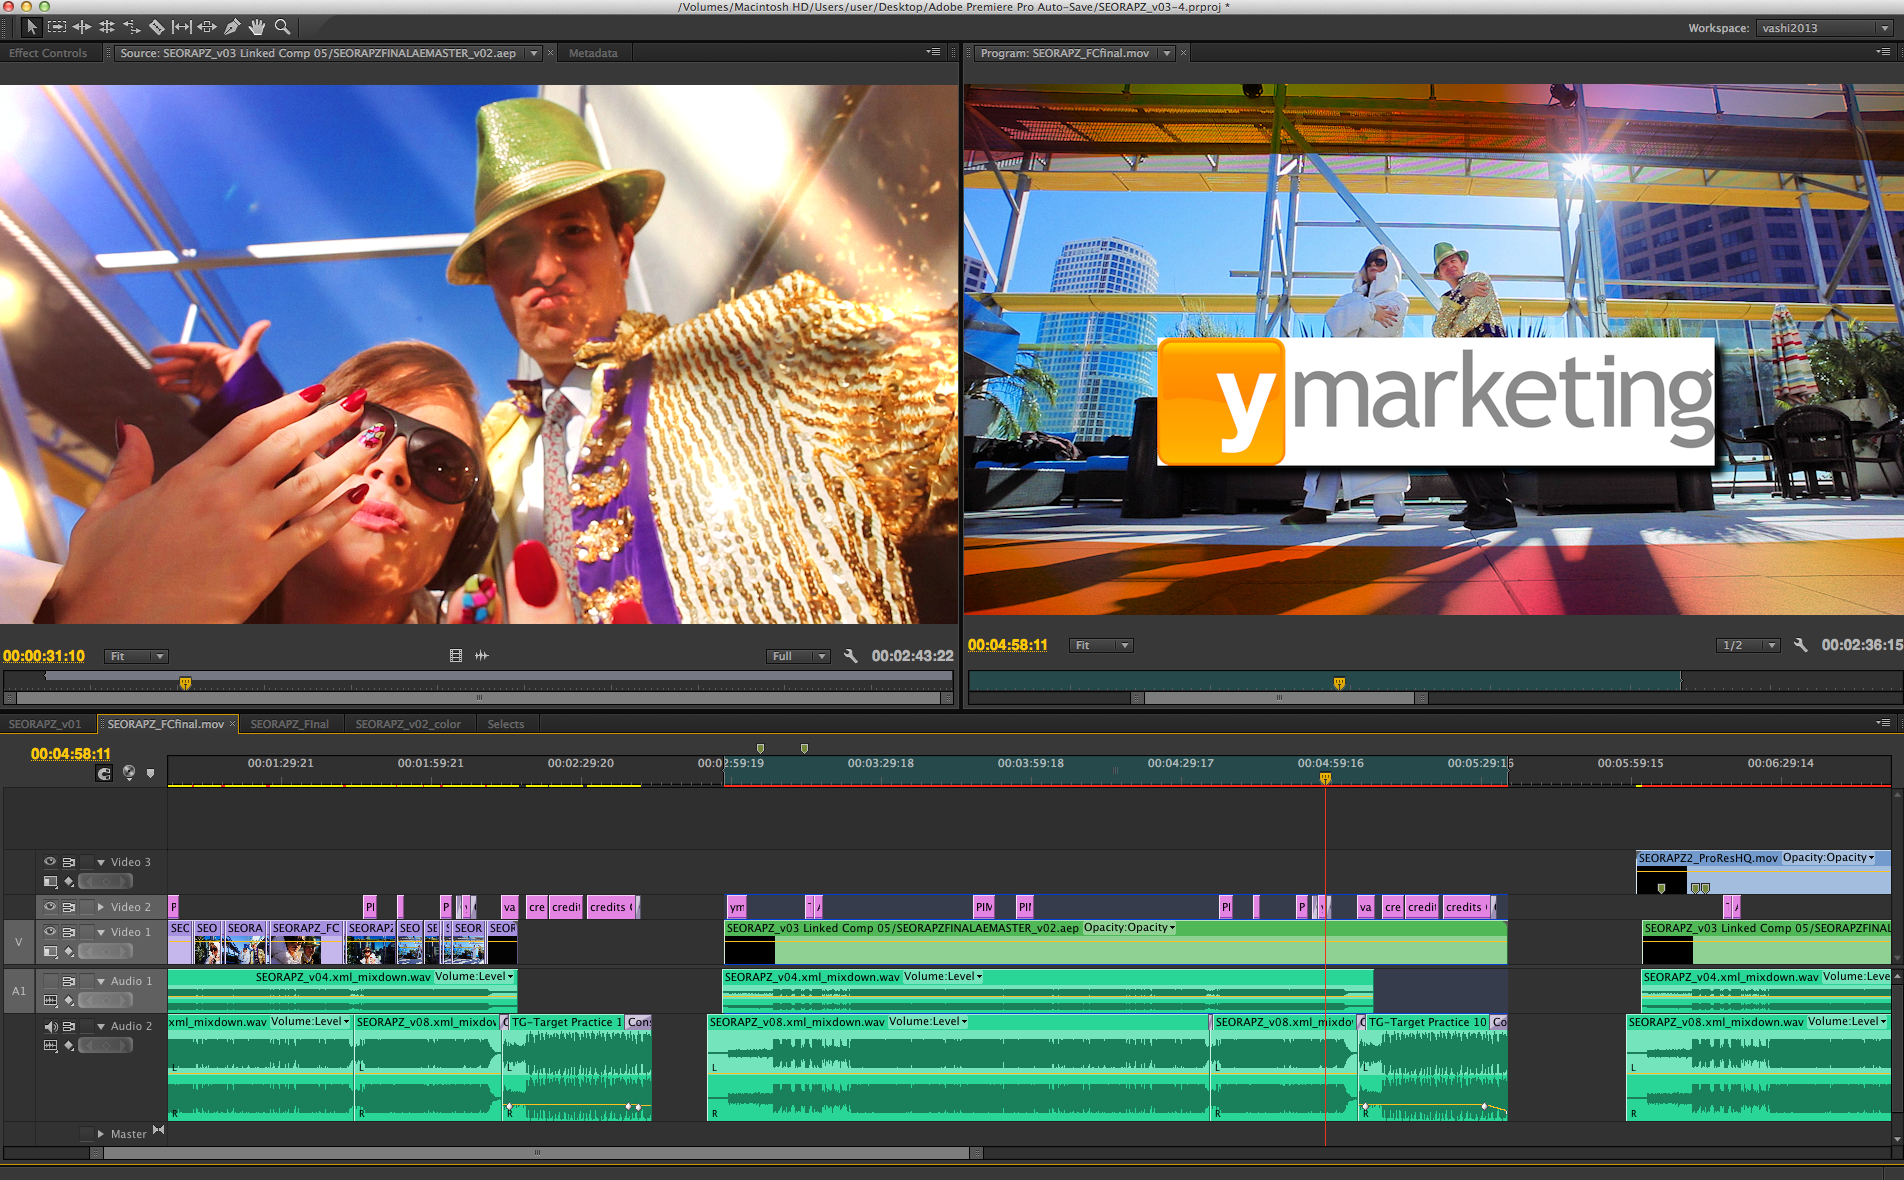
The first instinct is usually to start dropping shots into your timeline and getting a nice flow to your sequence. A comic book artist doesn’t start with the illustrations first…he starts with the words. It starts with the narrative and what you want to say. Hopefully you have shot a bunch of interviews or even eavesdropped on several on-set situations to get a feel and sense of what the day brought. I need to watch all the footage (several times) and pull out any sound bites I think might be useful in helping to tell the story. Once my timeline is littered with audio clips (regardless of the video), I will build, shuffle and scramble the audio around until I have a crafted a coherent message that makes sense to me.
I make sure to shift my viewpoint into that of someone who has no idea about the project what so ever. There can be no confusion in the message and if something isn’t clear to you…it won’t be to the viewer. This does not mean you always have to show the speaker and his voice at the same time. Once I establish the speaker for the first time, I always throw a title with their name and role on the project. Be creative with where you place that title…it does not have to be a boring lower third. It can float anywhere the frame allows so find a cool home for that title! The bottom line is…strive to make the BTS focused, concise and above all interesting!
TIP #2 – Creative video transitions unify the edit.
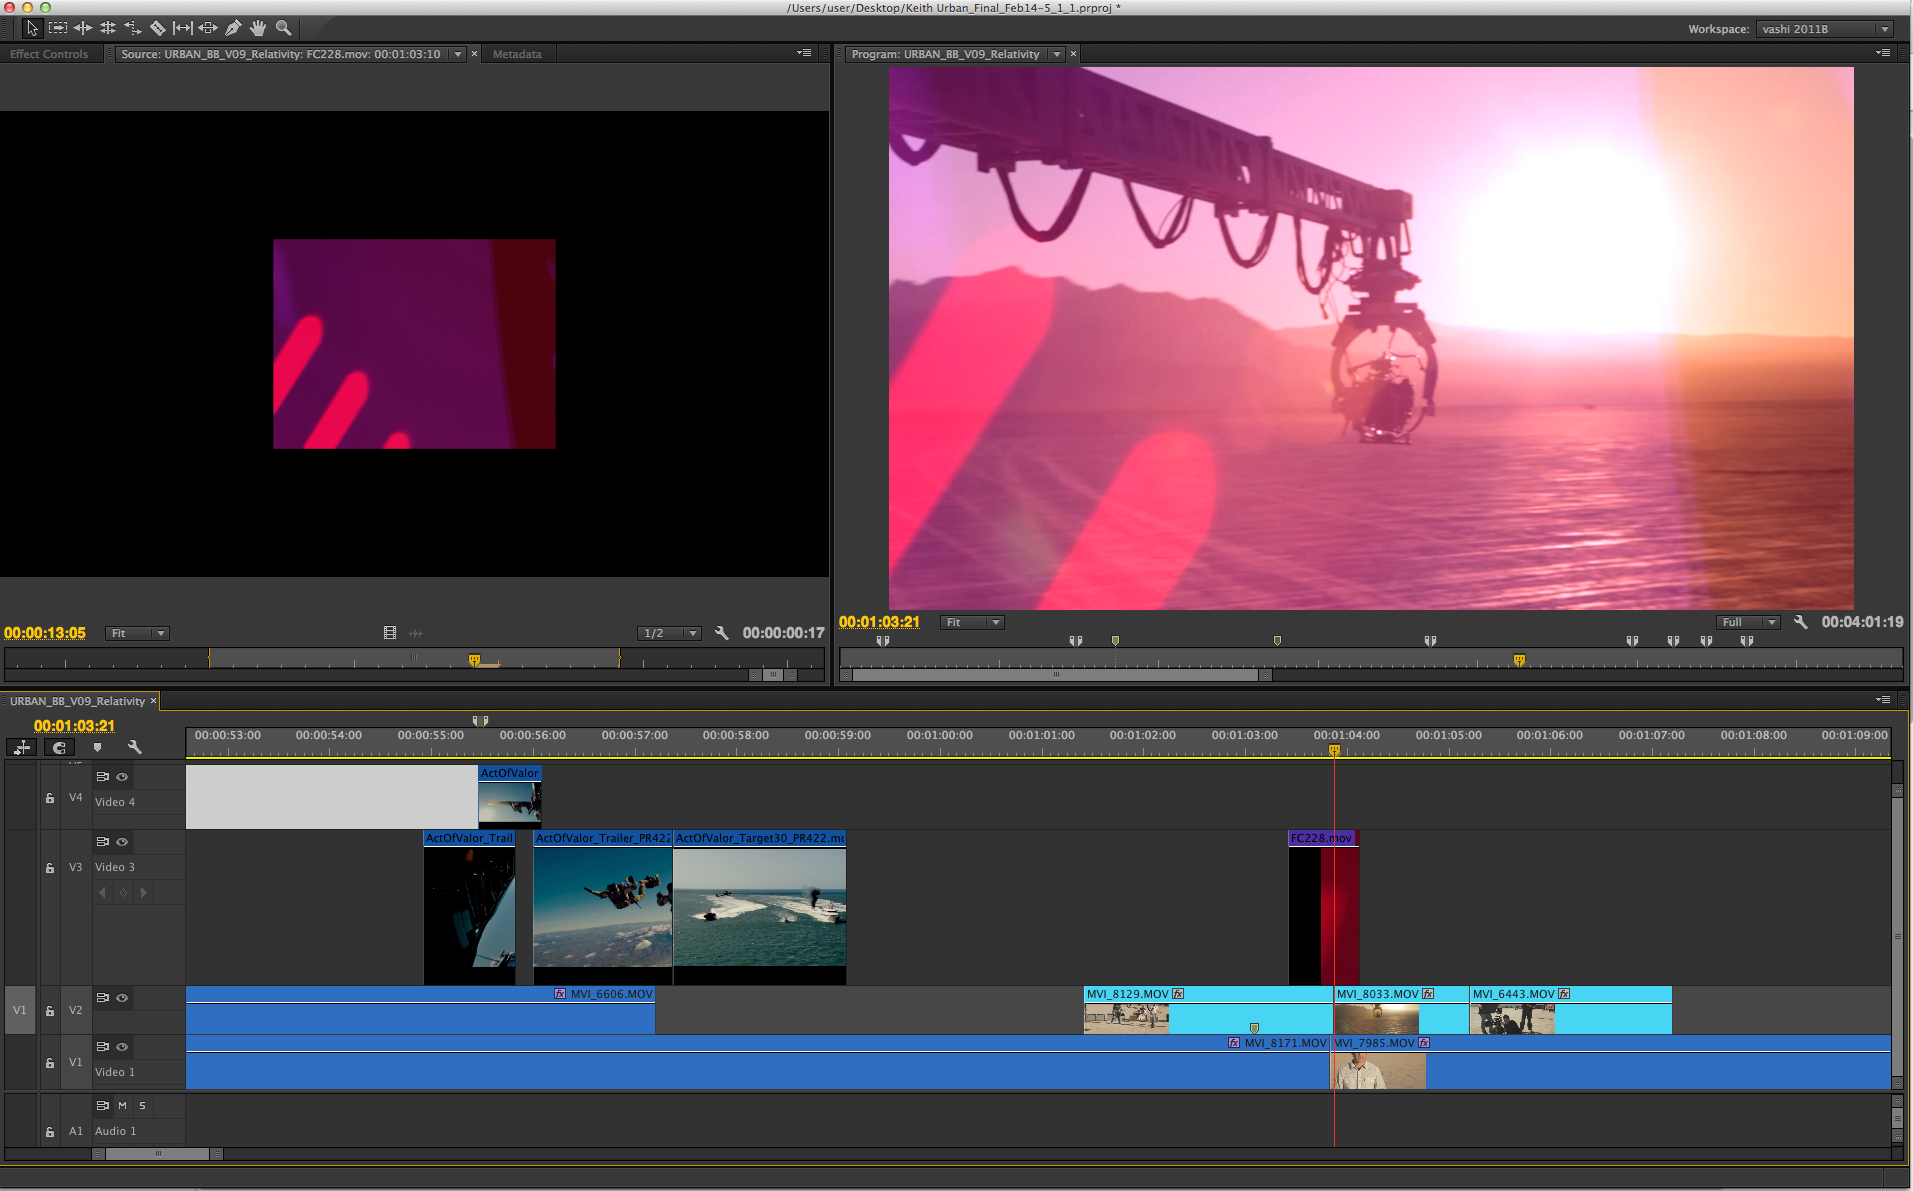
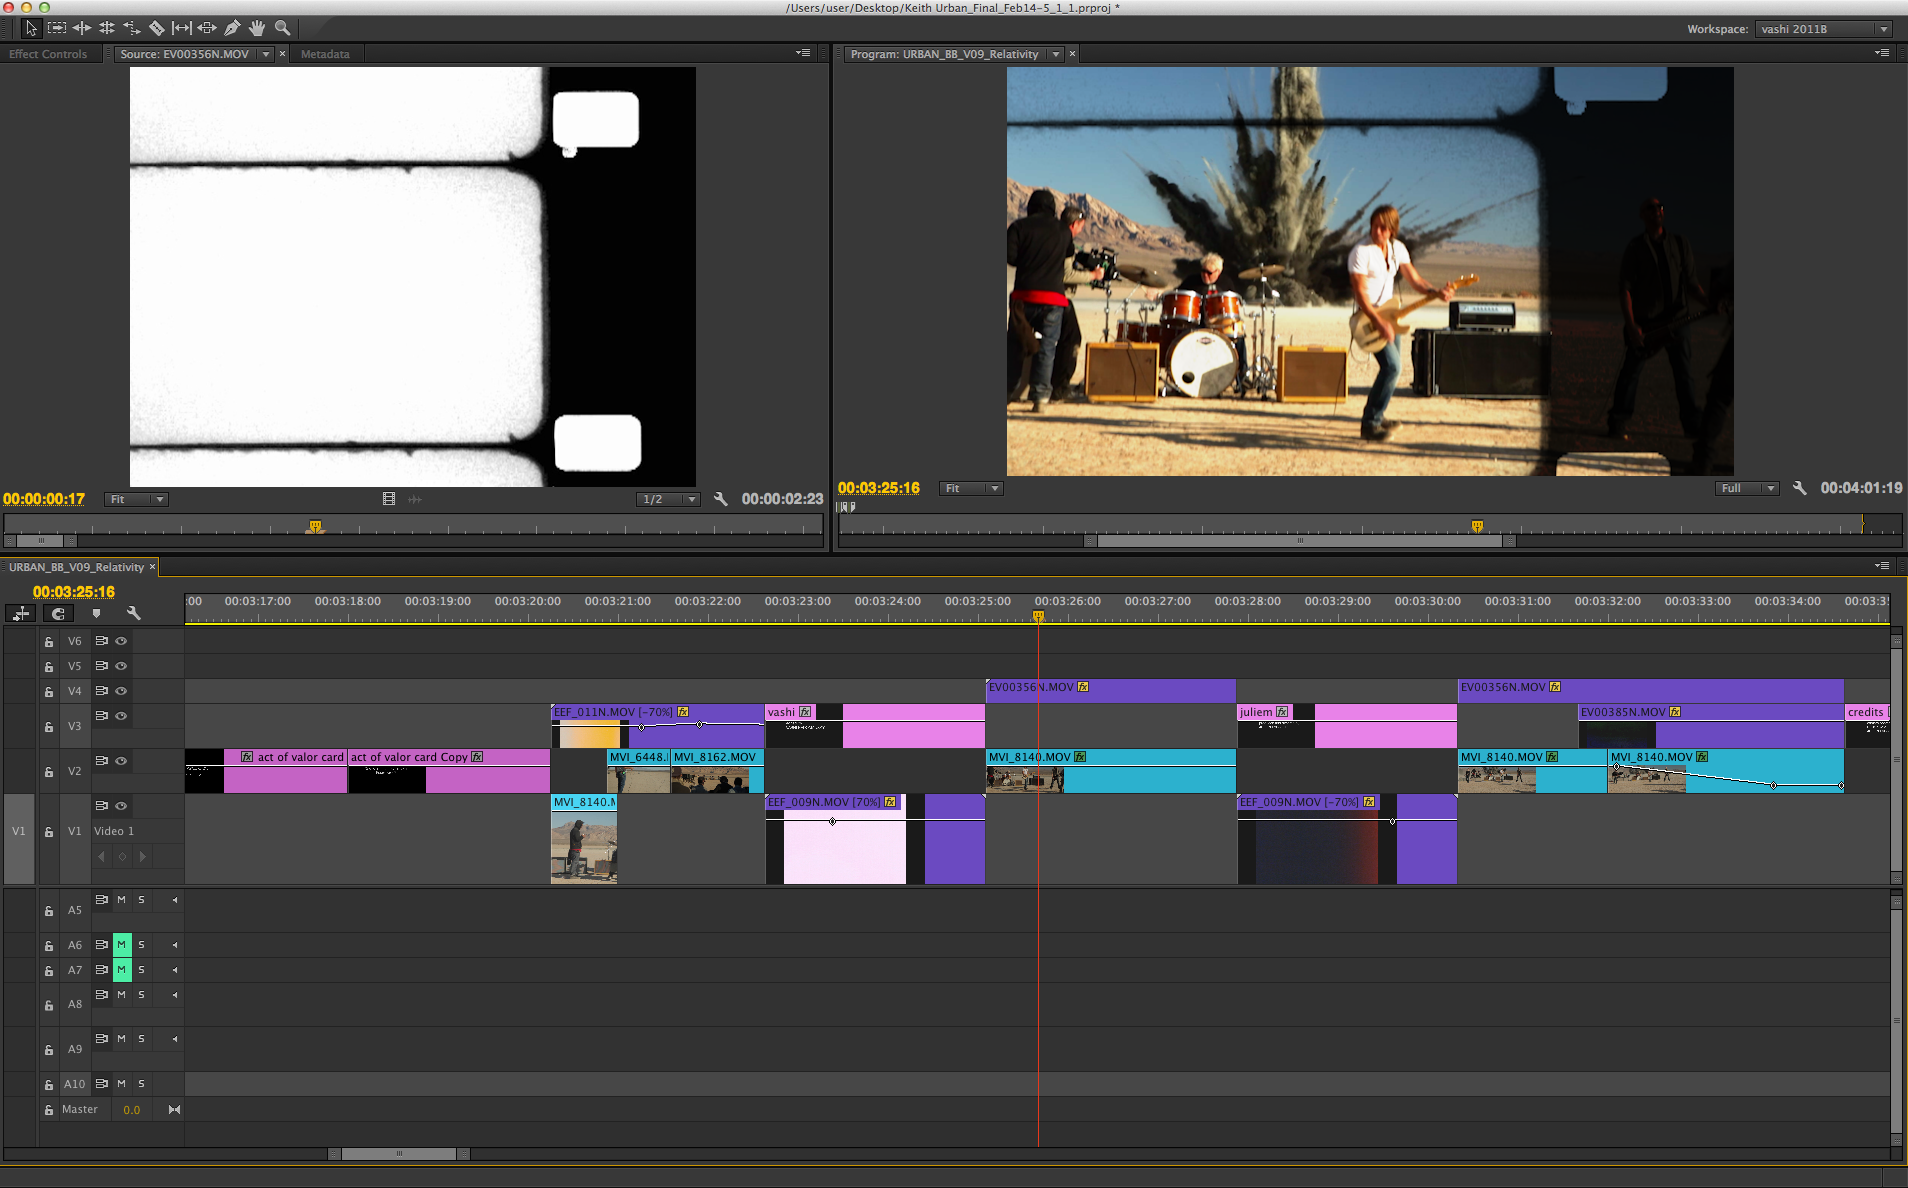
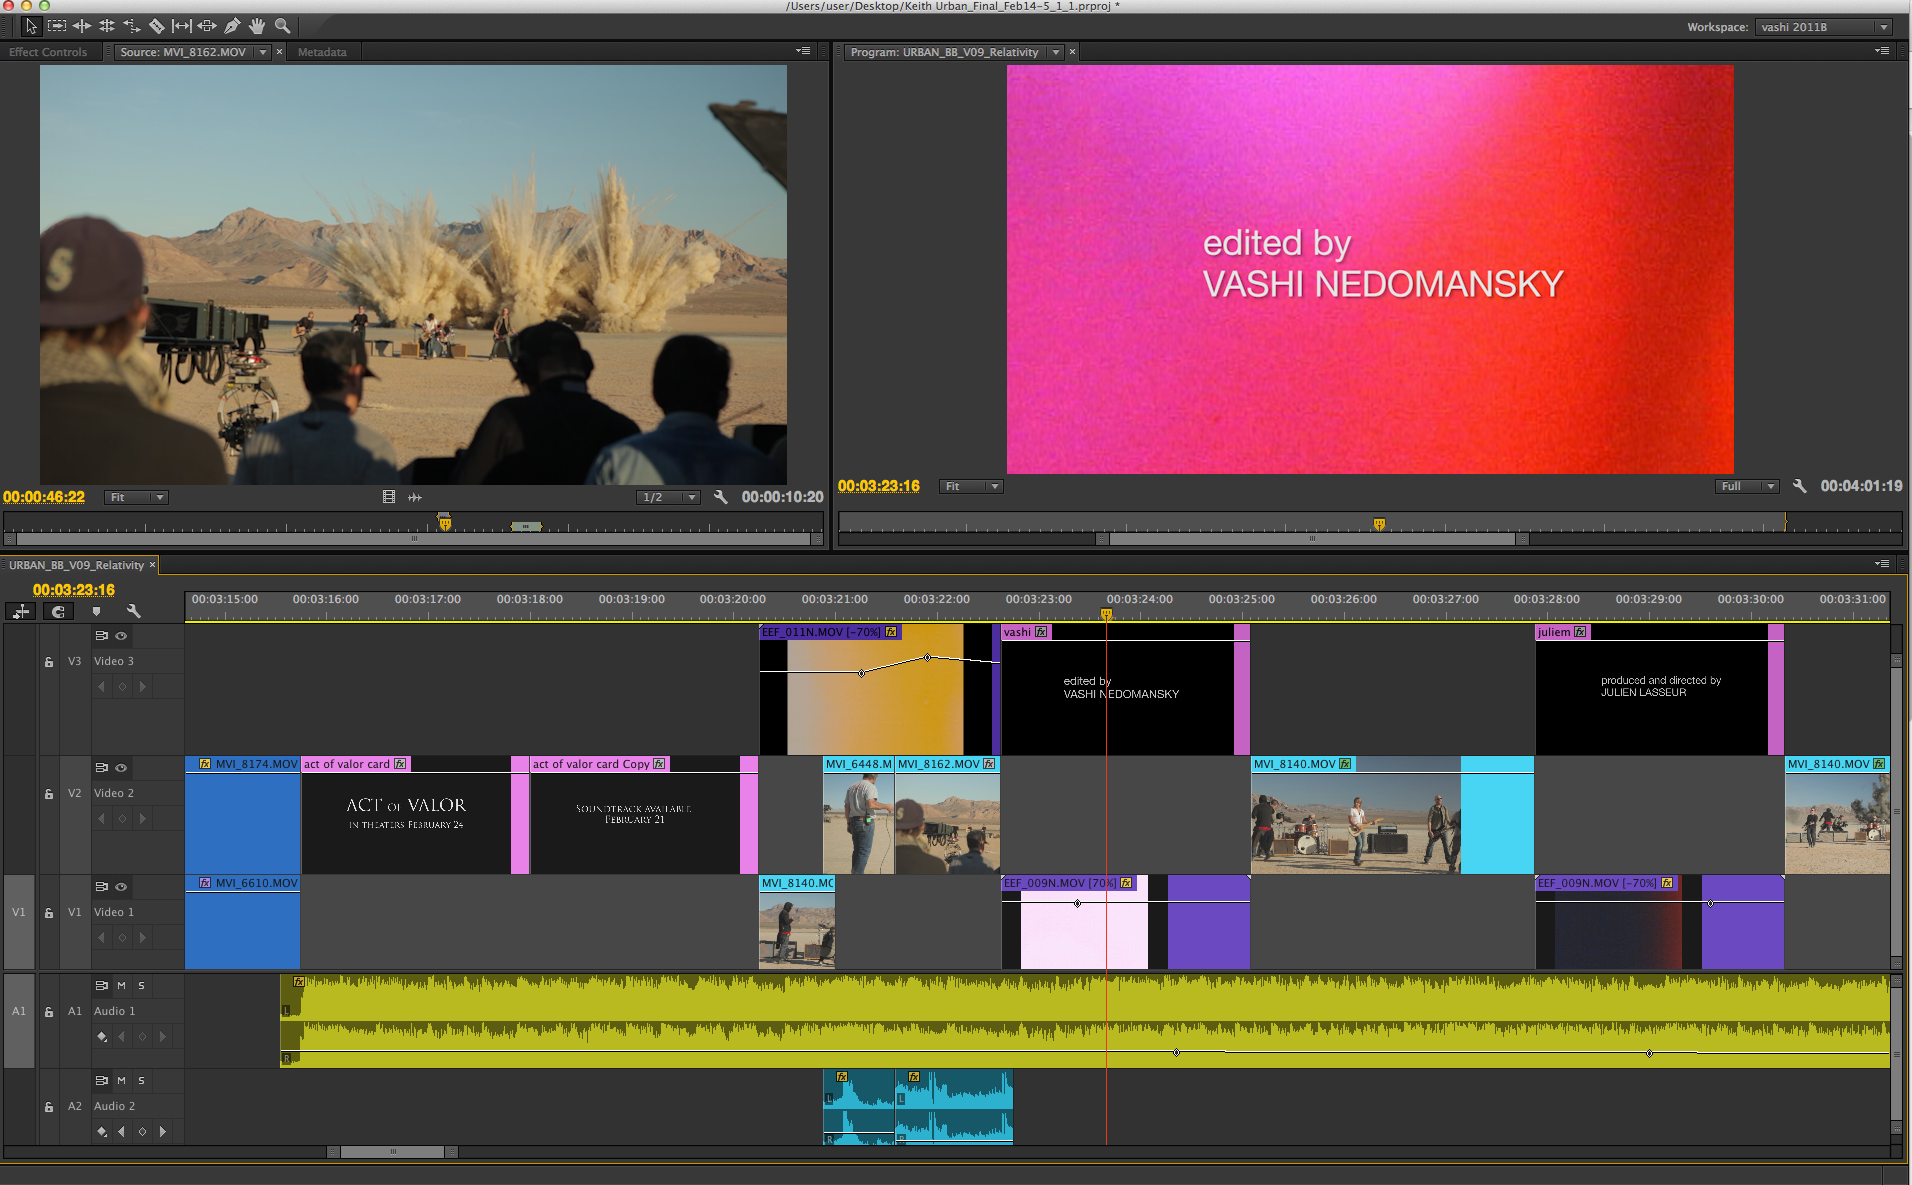
Bridging the gaps between different shots and sections of a BTS is always challenging. The flow of the overall piece is critical. You can use both video and audio to drive the changes and hopefully make it seamless. For the last couple years…light leaks and film damage overlays have been very popular in providing an organic feel to transitions. There are many options both paid and free available.
Here are 3 free light leaks for you to try out in your own projects.
http://www.creativedojo.net/free-light-leaks-pack/
http://www.digitalcinemafoundry.com/2010/02/19/free-film-burns-exclusively-here/
https://vimeo.com/vfxfootage/videos
In my BTS, I went with my old ArtBeats Film Clutter 2 collection, which is Standard Definition. I blew the clips up by 300% and applied either Overlay or Screen blending mode in Adobe Premiere.
Because they were real film scans and only used for about 1 second each…I wasn’t worried about the quality hit of such a massive upscale. I also flopped them horizontally or vertically so the colors and damage would occupy the part of the screen I wanted them in. Again, it’s only to smooth out transitions and keep it visually interesting…so experiment and have fun. There is no right or wrong. The only tip is don’t overuse them and keep a consistent pace to when you drop them in.
TIP #3 – Creative audio transitions smooth the edit.
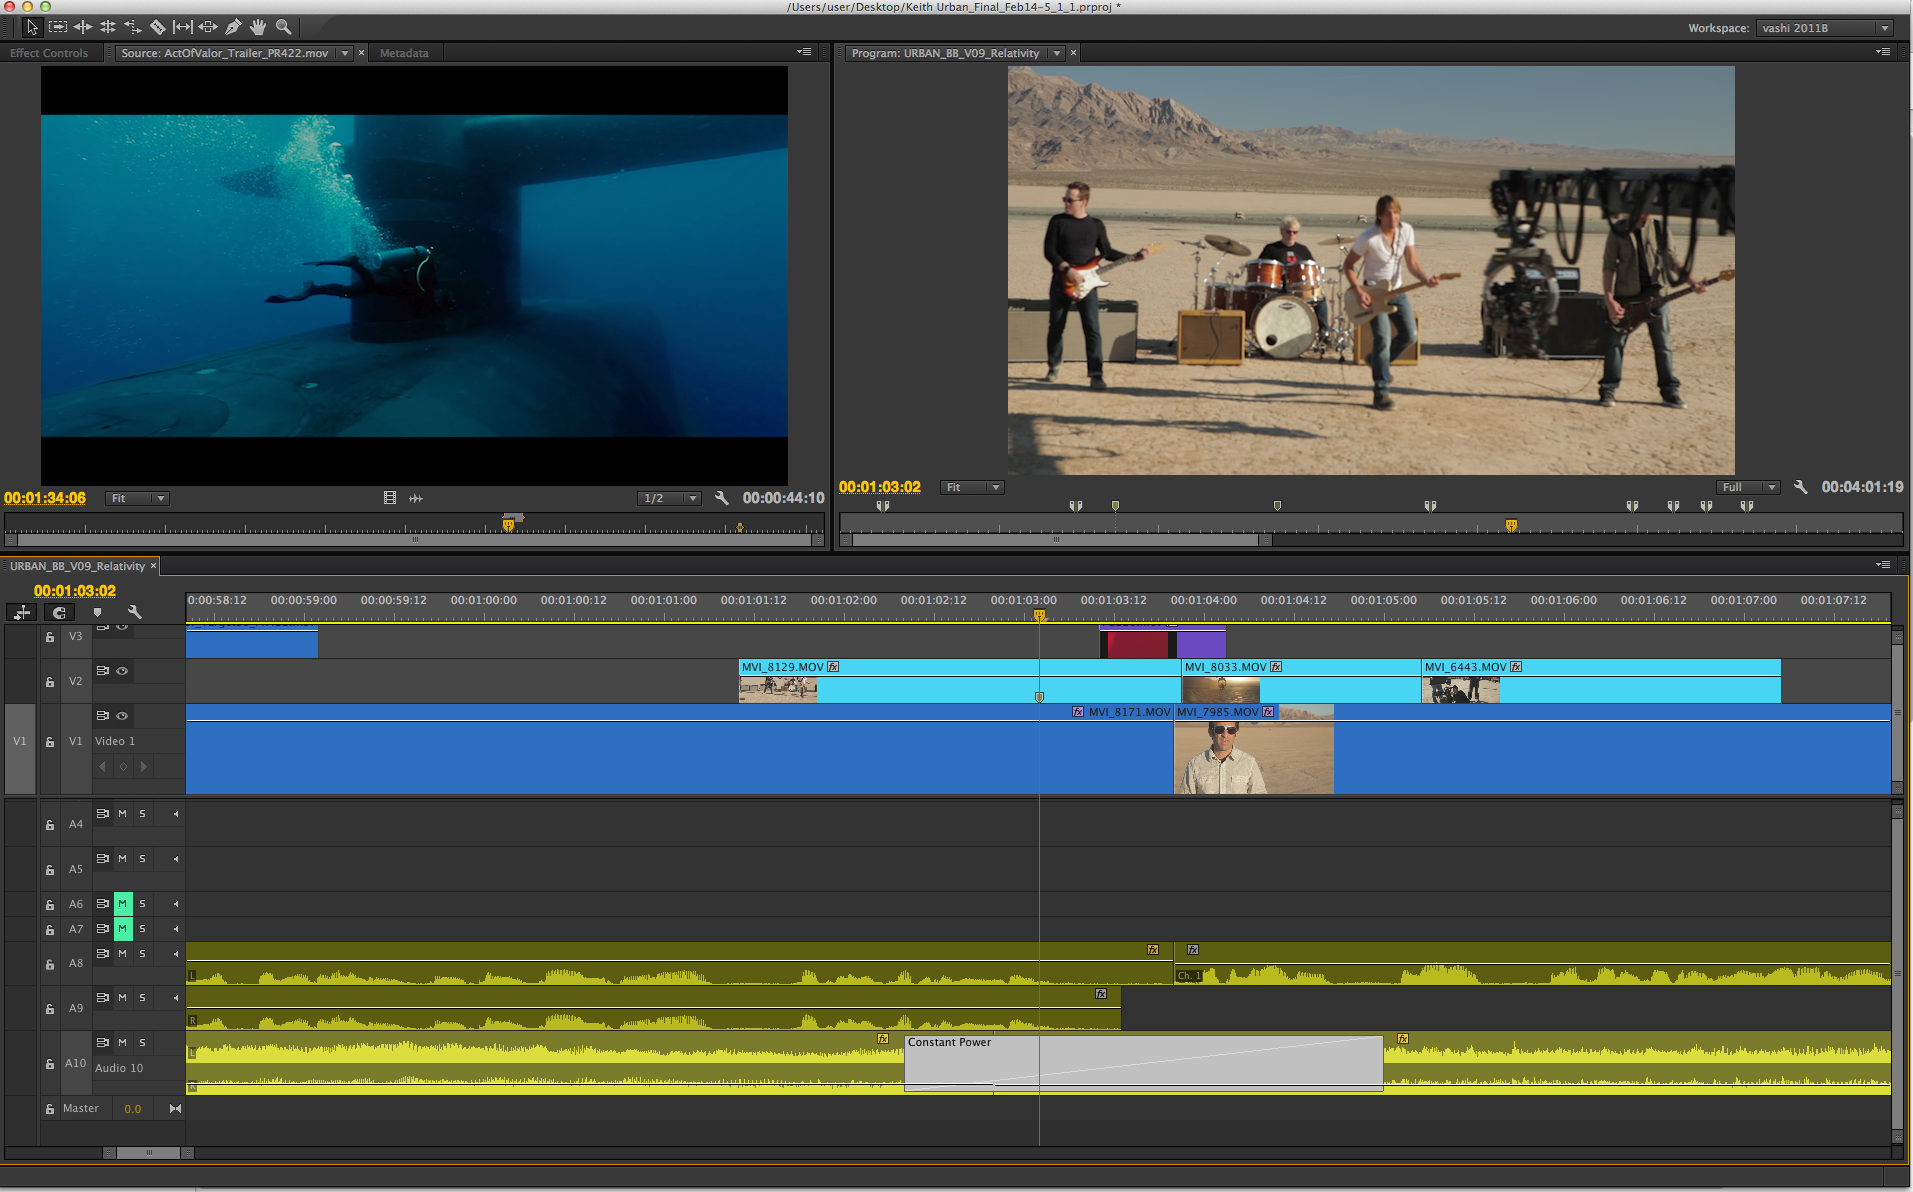
For audio transitions, I like to prelap the dialog of the interviewees. This entails starting the dialog of a person before you see them so that the viewer is prepped for a change. Subconsciously they ask “who is talking?” and then you give them the answer. The timing is crucial, as too much dialog while lingering on a previous shot and the viewer might get frustrated or confused. It takes practice and replaying cuts until it feels right. It always comes down to instinct and how it plays. The same prelap technique works for music cues. You want the music to fade in and out in the most natural and unobtrusive way possible. Hard music cuts that match the visual cuts are jarring and unprofessional. Carry over music into a new shot or sequence and blend them into silence with a simple fade…or cross dissolve into a new music track. Keeping the momentum of the piece moving forward with visual and audio transitions…it’s the glue that holds the story together!
TIP #4 – Tell the story with a 3-act structure.
With a lot of footage, interviews and b-roll one can get overwhelmed and lose sight of the big picture. When I approach a BTS, I like to build:
1. An Intro
2. A Meaty Middle
3. A Wrap-up
As I pull shots from my master timeline that holds all my footage…I make initial decisions for which of the 3 sections it will work in. I then keep removing shots and sound bites until the most essential pieces remain. Start with a block of marble and slowly chip away to uncover your sculpture. Introduce the key players. Show what happened that day. End with a memorable moment. Sometimes I build the end first once I find a perfect sound bite and beautiful visual that encapsulates the project. Sometimes I start by finding the perfect opening shot. Don’t force it…plow through your footage, keep an open mind and let it speak to you. That may sound esoteric and pretentious but the more time you live with the footage and scroll through it…the easier it will be for your mind to be creative.
TIP #5 – Immerse yourself in the footage.
Own your assets. Make them second nature by consuming them. Your brain is literally background rendering all the footage you digest and is making decisions you may not be aware of. This is no different from analog film editing when you had to scan through reels of footage to get to a certain shot. On a Moviola or Steenbeck you were forced to see all the footage over and over as you hunt for that one shot. By sheer volume of viewing, you had a better grasp of your assets and that contributed to a deeper overall worldview of your project. Take the time to saturate your coconut with all the footage and you will find it easier to build the intro, middle and final act of your BTS.
No matter what approach you take to creating a BTS, take it as a challenge upon yourself to craft the most memorable and interesting final product you can. It is the same creative process of storytelling as any other narrative endeavor. A well executed BTS can be a stepping stone to future projects…a calling card. Once you prove that you can tell a story, it can open doors to many other filmmaking opportunities. Last tip…try to include everyone involved in the production for at least one shot in a BTS! Everyone worked hard on the project and who doesn’t like having a record of them busting ass on set to share with friends and family.
I was lucky enough to edit one of the first and most memorable Canon 5Dmkii HDSLR films… “The Last 3 Minutes.” I would like to share two BTS I edited for Po Chan and Shane Hurlbut after we delivered the film. They really captured the filmmaking process and collaborative spirit of all those involved. Enjoy!
Thank you for letting me ramble and I hope you took away something positive from this post. Please take a minute and share this post if you did! Thank you and until next time…

There are 7 comments
Once again a great read with lots of tips. Thanks Vashi.
Often I’m really disappointed when watching BTS or Mak ofs because they don’t have 3 acts and message. They start randomly and end too abrupt (most of the time with an actor saying how great everything was and how great the movie business is, which I can’t hear anymore). A lot of times I want true insight into the filmmaking and not just advertising for the movie. Some great ones can be found on most of Robert Rodriguezs DVDs/BluRays.
Do you use 3 Pancake Timelines for BTS? Footage, Selection and Final or just 2 Timelines?
Thanks for the kind comment Pascal. I too appreciate solid BTS and agree on the Rodriguez bonus content. So many great filmmaking nuggets in there! When using the Pancake Timline…I use 2 separate timelines. If my main monitor was a 30″ I might try three! I like it all in one so I can sense how much raw footage there is and it helps me judge how long it will take to get through the initial browsing and shot selecting. On a current gig…I had 18 hours of footage in my top timeline and slowly built my main timeline. That was a long week! Thank you again for your support of my blog! V
Vashi,
Just came across your site yesterday (via the Pancake Timelines). Really, REALLY great work here. And I’m going to try the pancake on my upcoming project.
About how long did it take you to edit this BTS?
Thank you Chad! Glad you’re enjoying my site and enjoy the Pancake Timeline! The Keith Urban BTS took 3 days to edit and 1 day more to apply notes from Relativity Media…the distributor of “Act of Valor”. Cut it all in my Santa Monicas studio. Hope that helps…
[…] Keith Urban “For You”: 5 Tips for Music Video Behind The Scenes […]
maillot de foot…
Say, you got a nice blog article.Really looking forward to read more. Want more….
[…] https://vashivisuals.com/keith-urban-for-you-5-tips… […]