In late 2013, David Rimawi (co-founder of The Asylum) told me that they were making Sharknado 2. I responded by telling him I was going to edit it. A very cocky answer indeed…but I really wanted to cut Sharknado 2…so I rolled the dice. I never brought it up again and 3 months later he called me and offered me the job. I accepted.
JAWS was the first film I ever saw. It was at a drive-in theater with my parents in the back of our convertible VW bug. The last 30 minutes, I hid in the backseat under a blanket…scared shitless. Since then I have been obsessed and petrified with sharks. Since beginning to edit film at the age of 13, I’ve always wanted to edit a shark movie. Well…I got my wish and would love to share the process of how I edited Sharknado 2 with you.
The second and equally important reason I edited Sharknado 2 was to learn the inner workings of The Asylum. I wanted to know how they release around 25 films a year, with budgets less than $1,000,000 and have never lost money on a film. As an effective business model in an industry with no guarantees and very few people actually making money…The Asylum broke the rules and always made money. What filmmaker wouldn’t want a peek behind the curtain to a successful workflow? I know I did. Here’s how we did it…
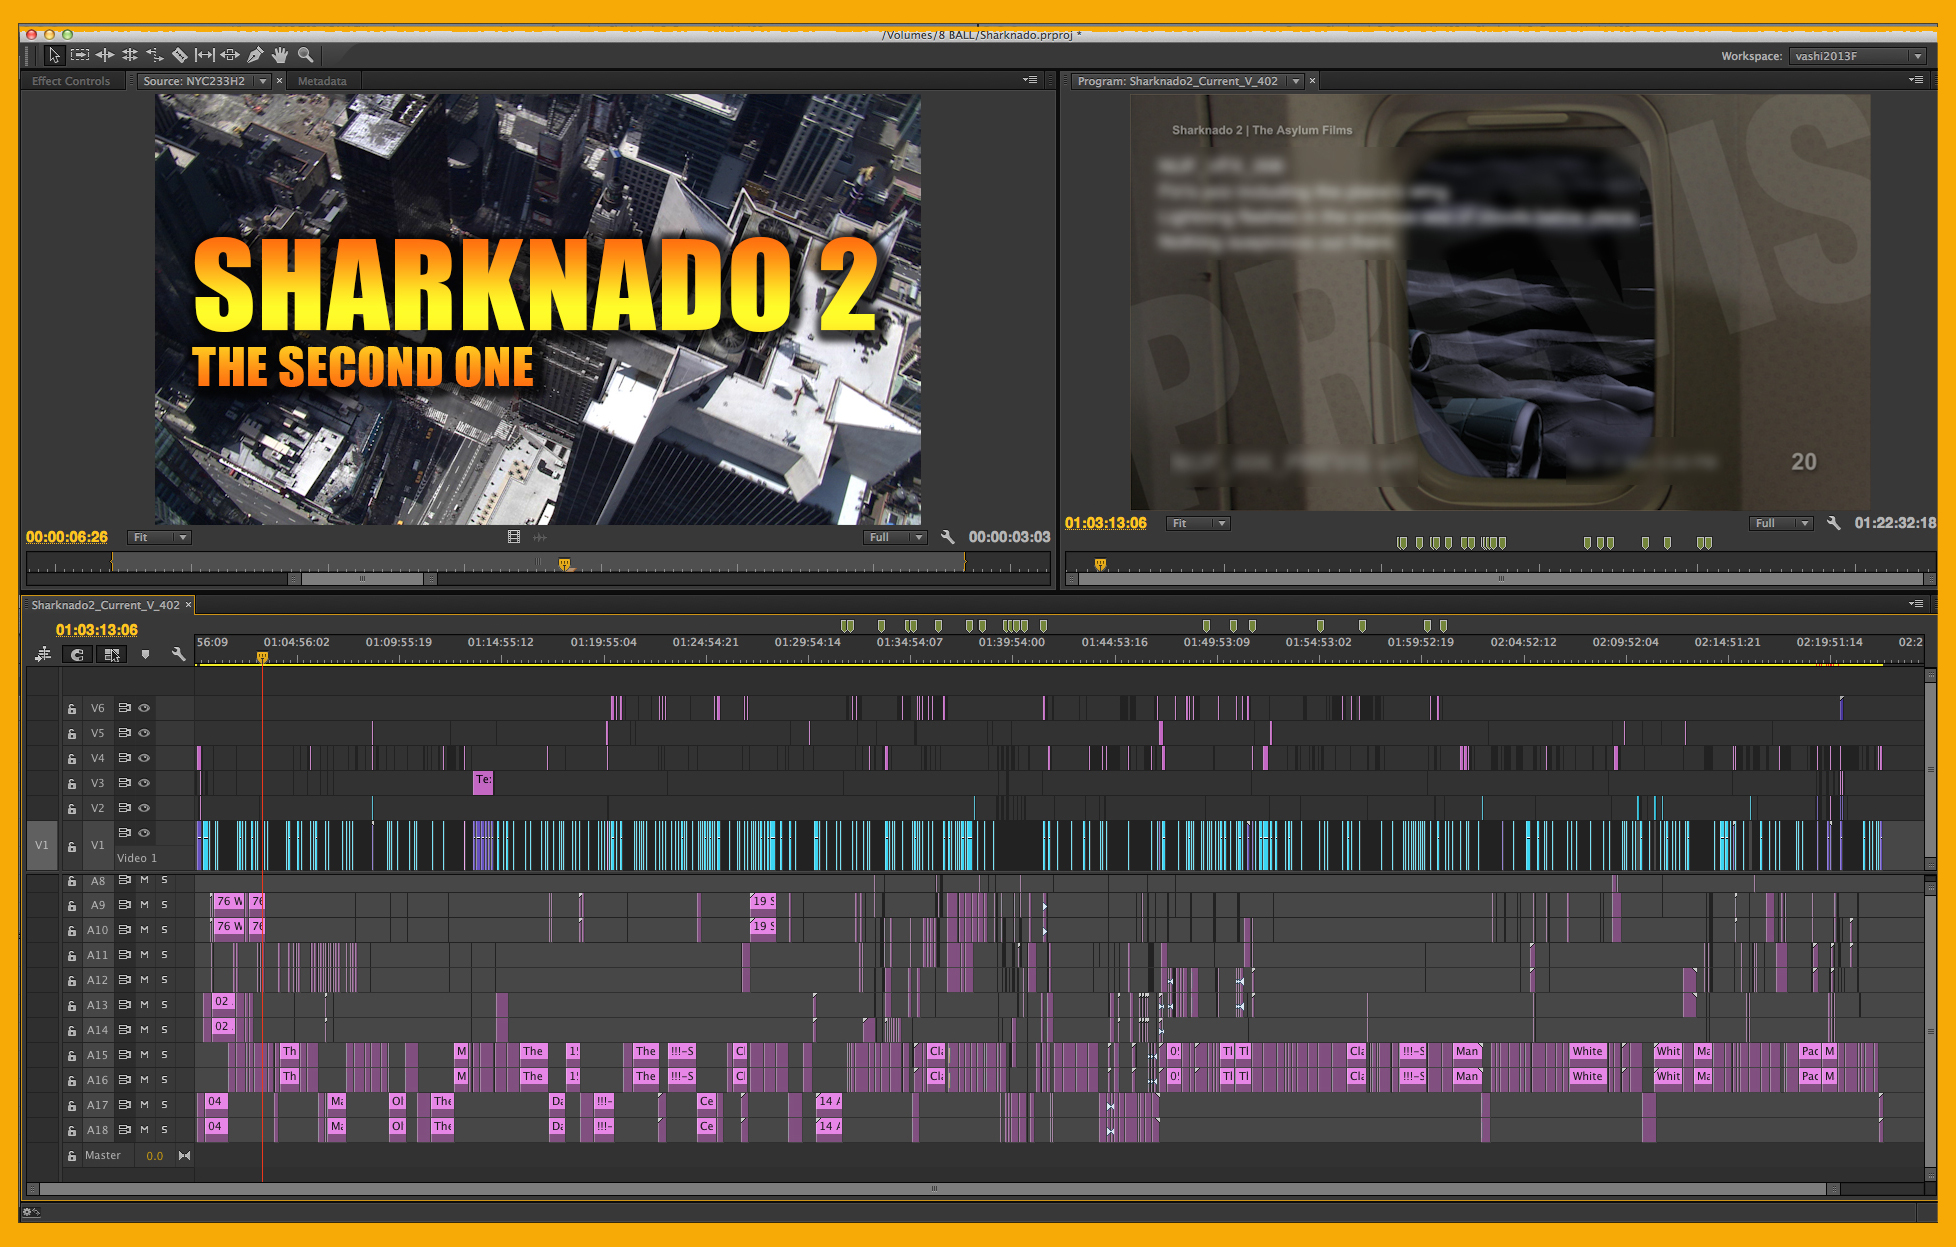
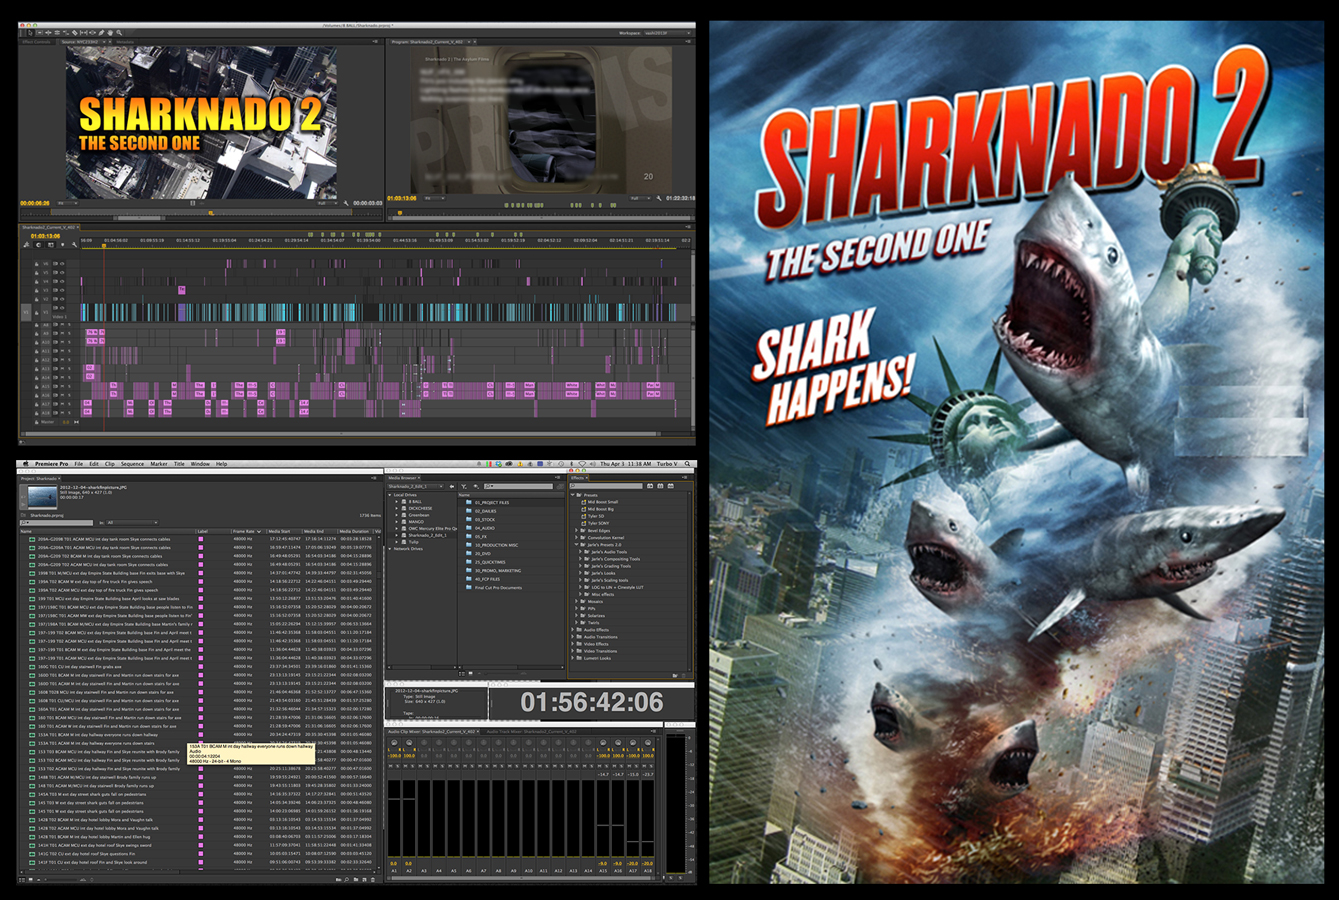
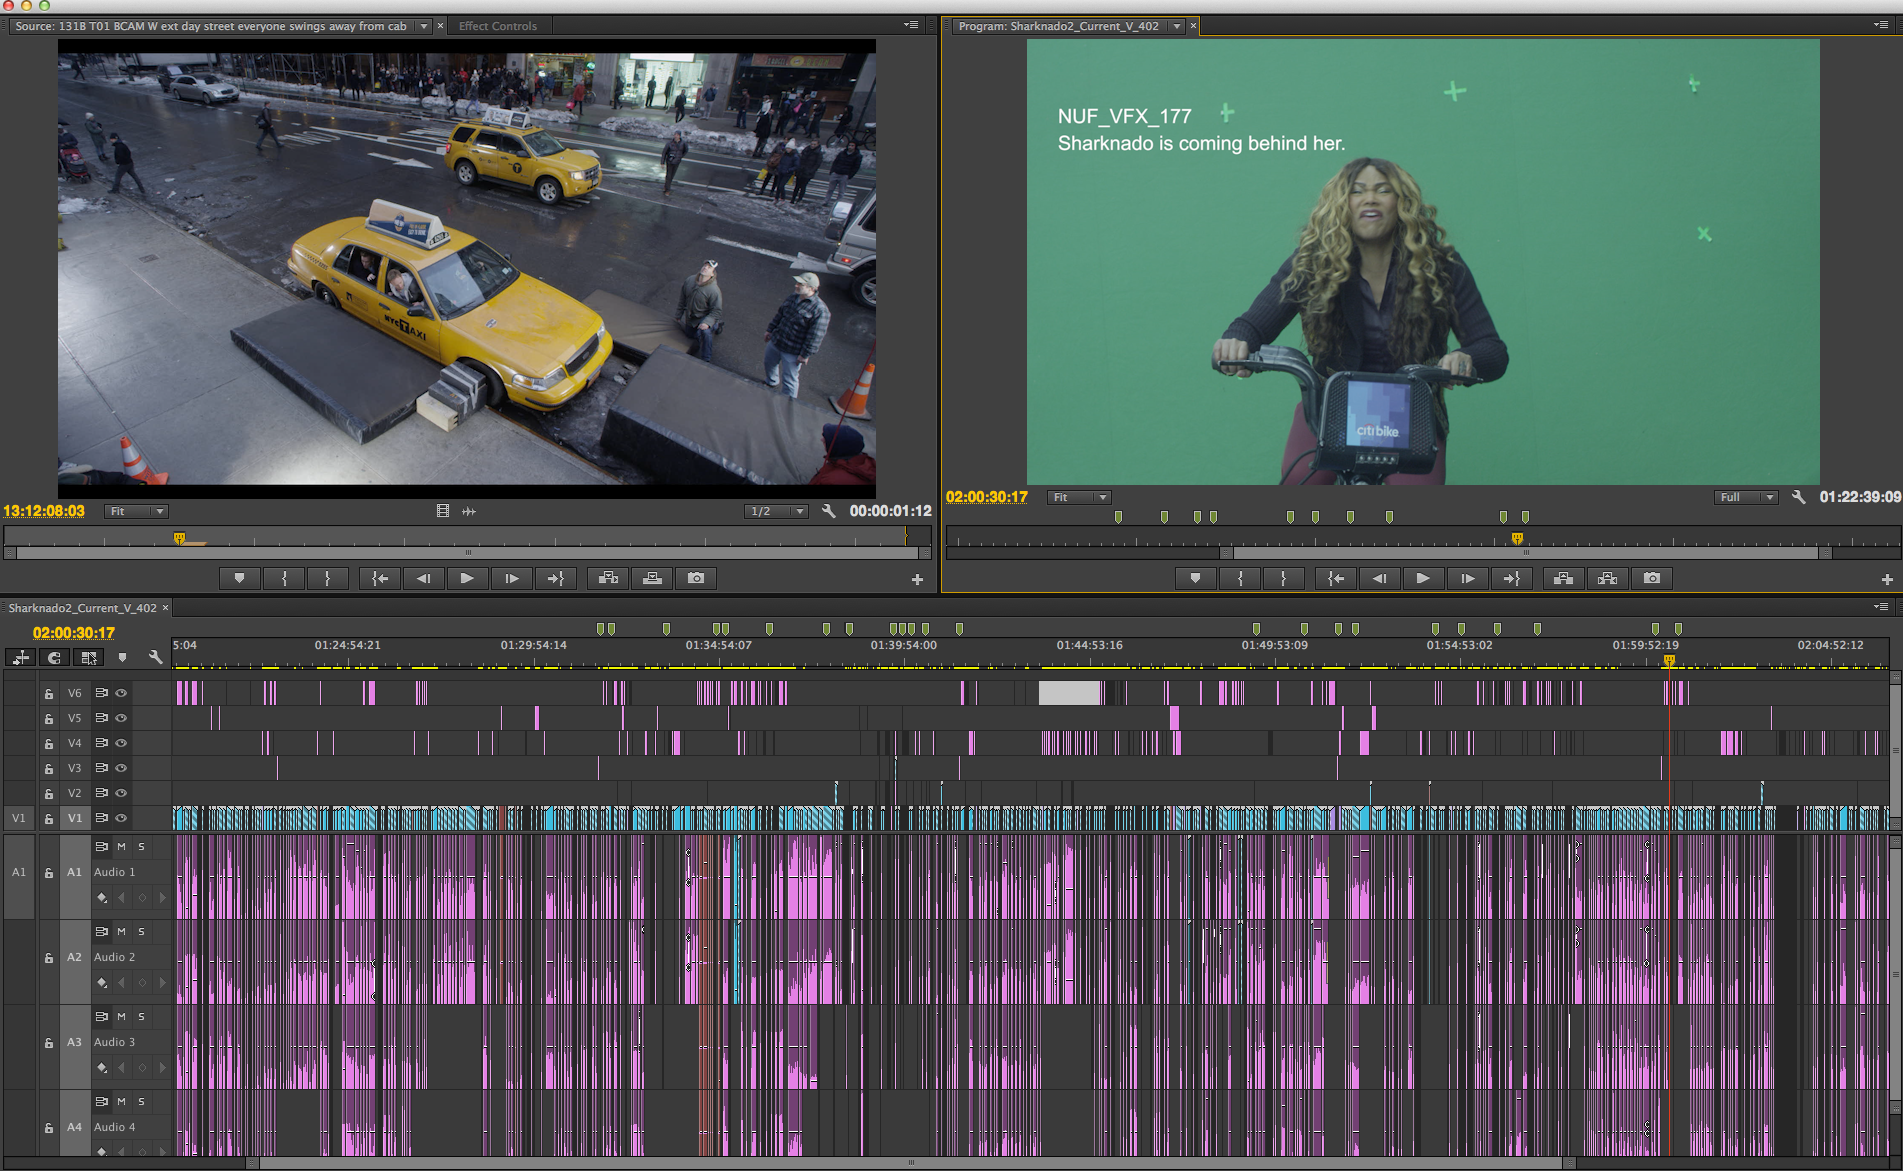
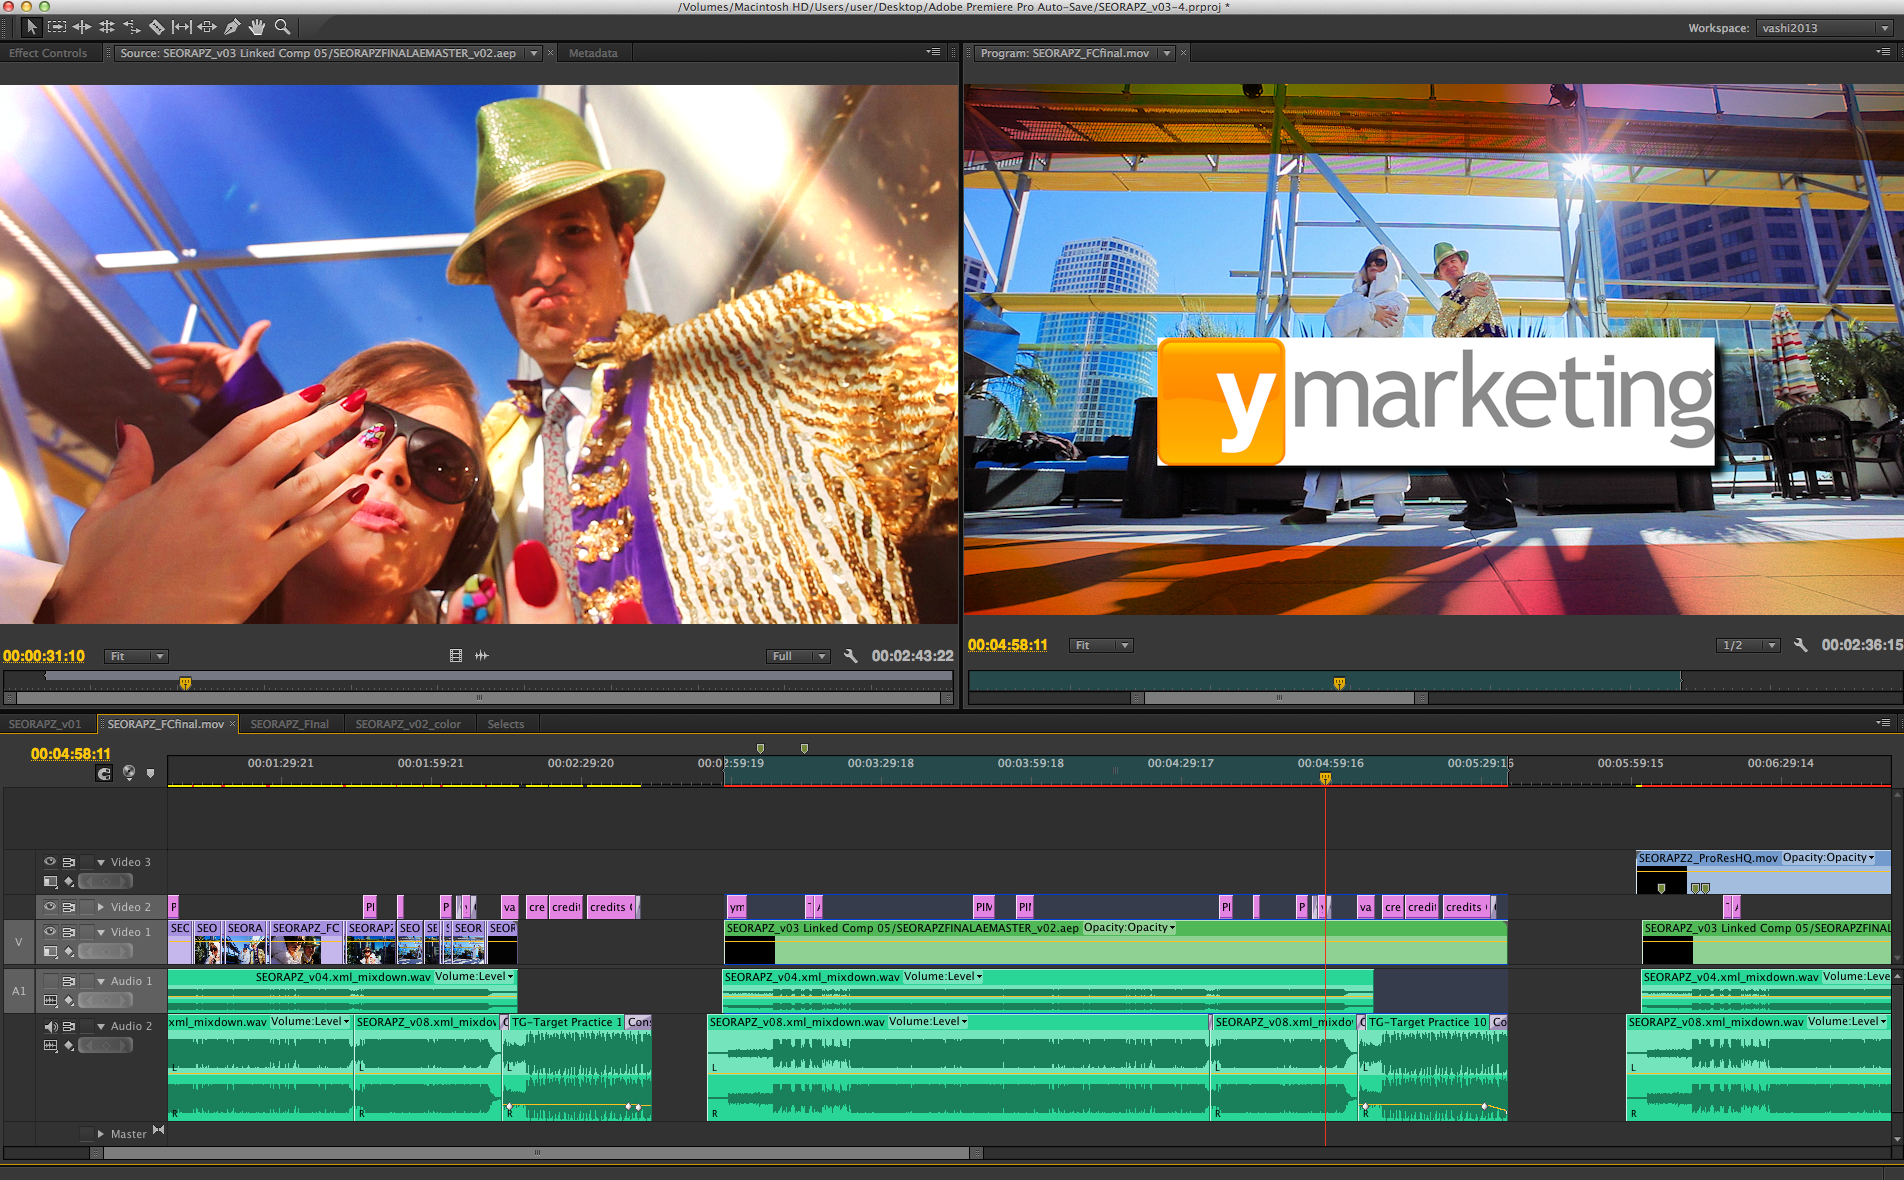
I edited Sharknado 2 entirely on Adobe Premiere Pro CC at my home studio. This is odd for two reasons. First, The Asylum is and has always been an Apple Final Cut 7 house. They have around 10 edit bays and all their previous films have been cut on FCP 7. Secondly, to best utilize my time on the short 6-week edit schedule, I put into my contract that I would work from my studio in Santa Monica. Using Premiere Pro I knew I could edit with no rendering, in real time and use XMLs to share my work with The Asylum post-production team.
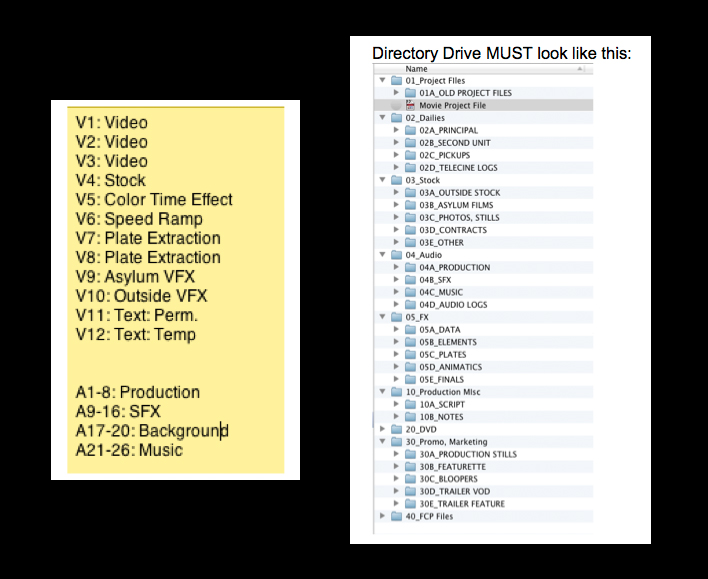
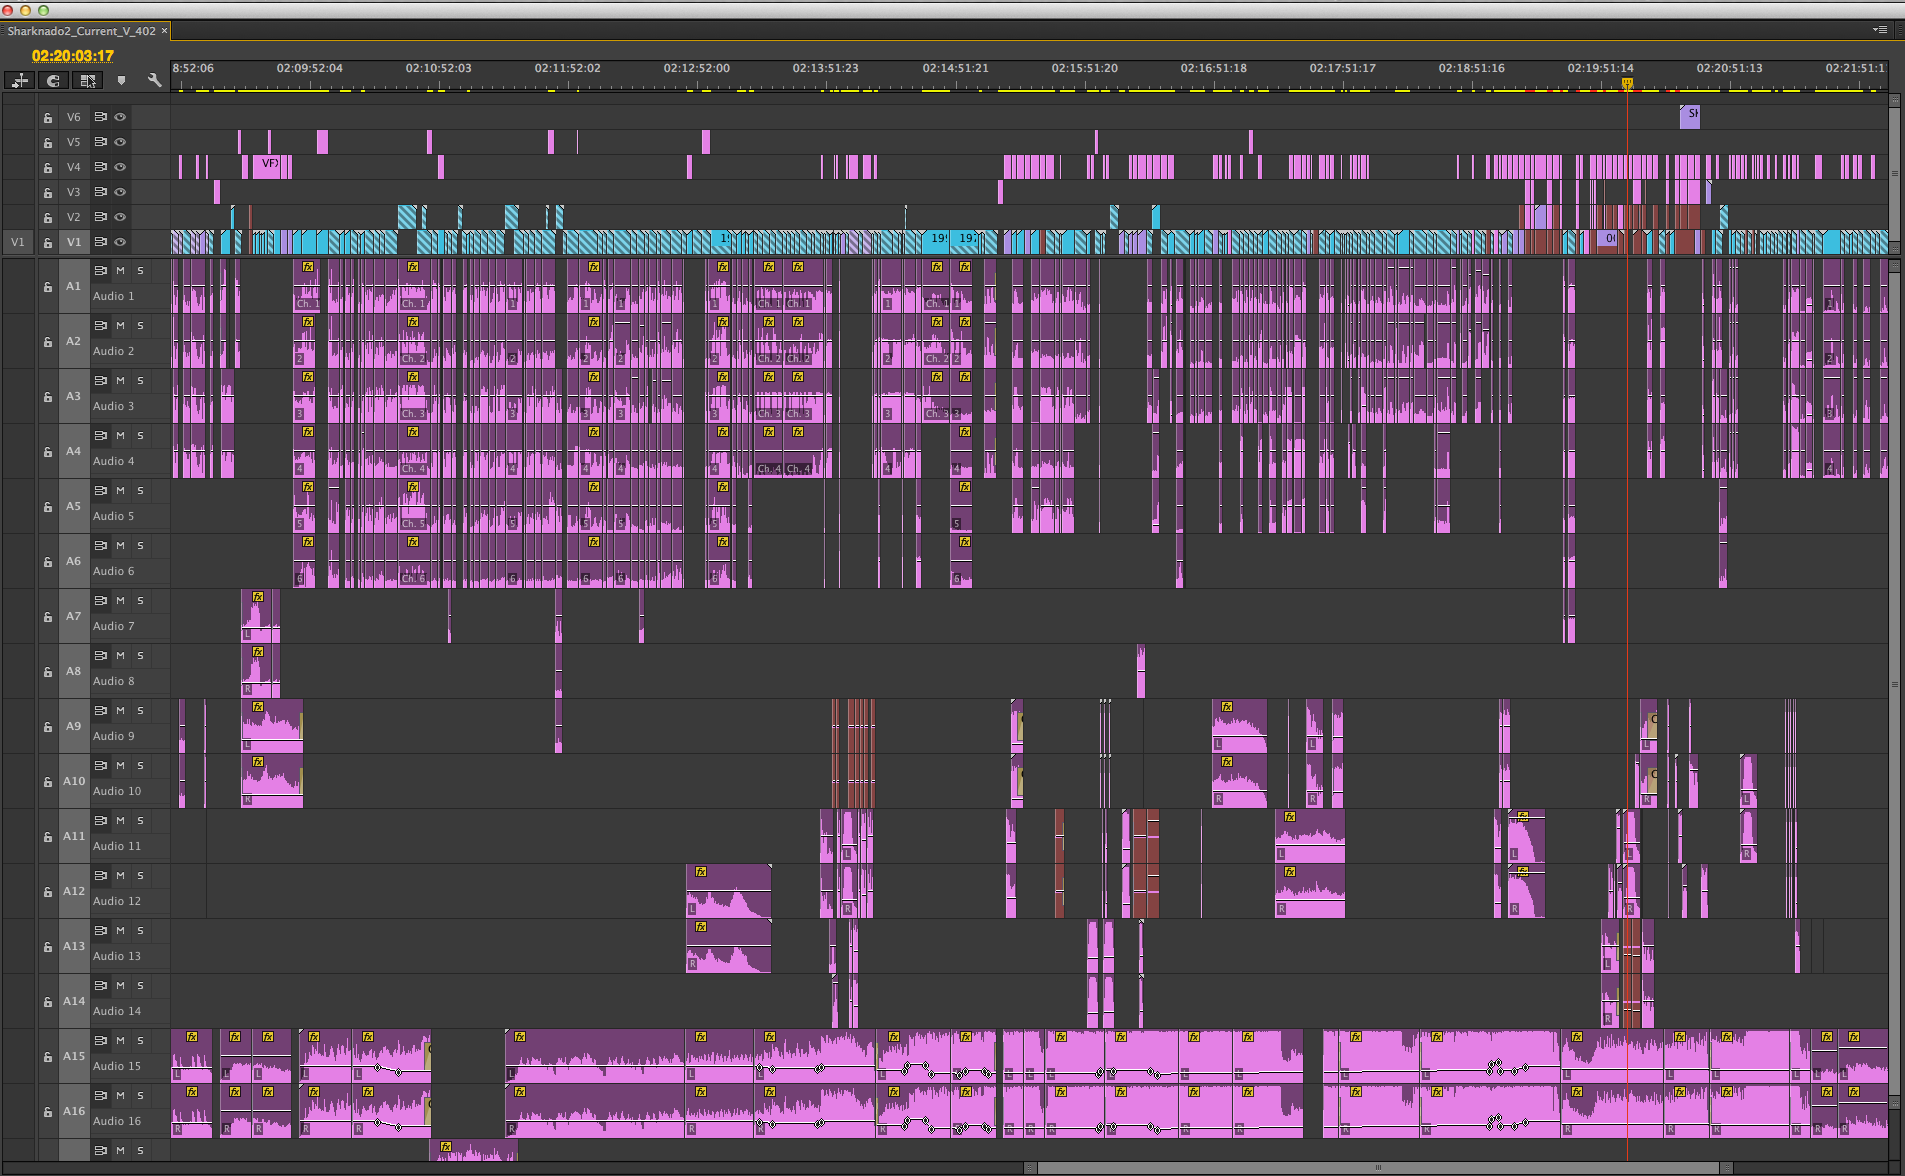
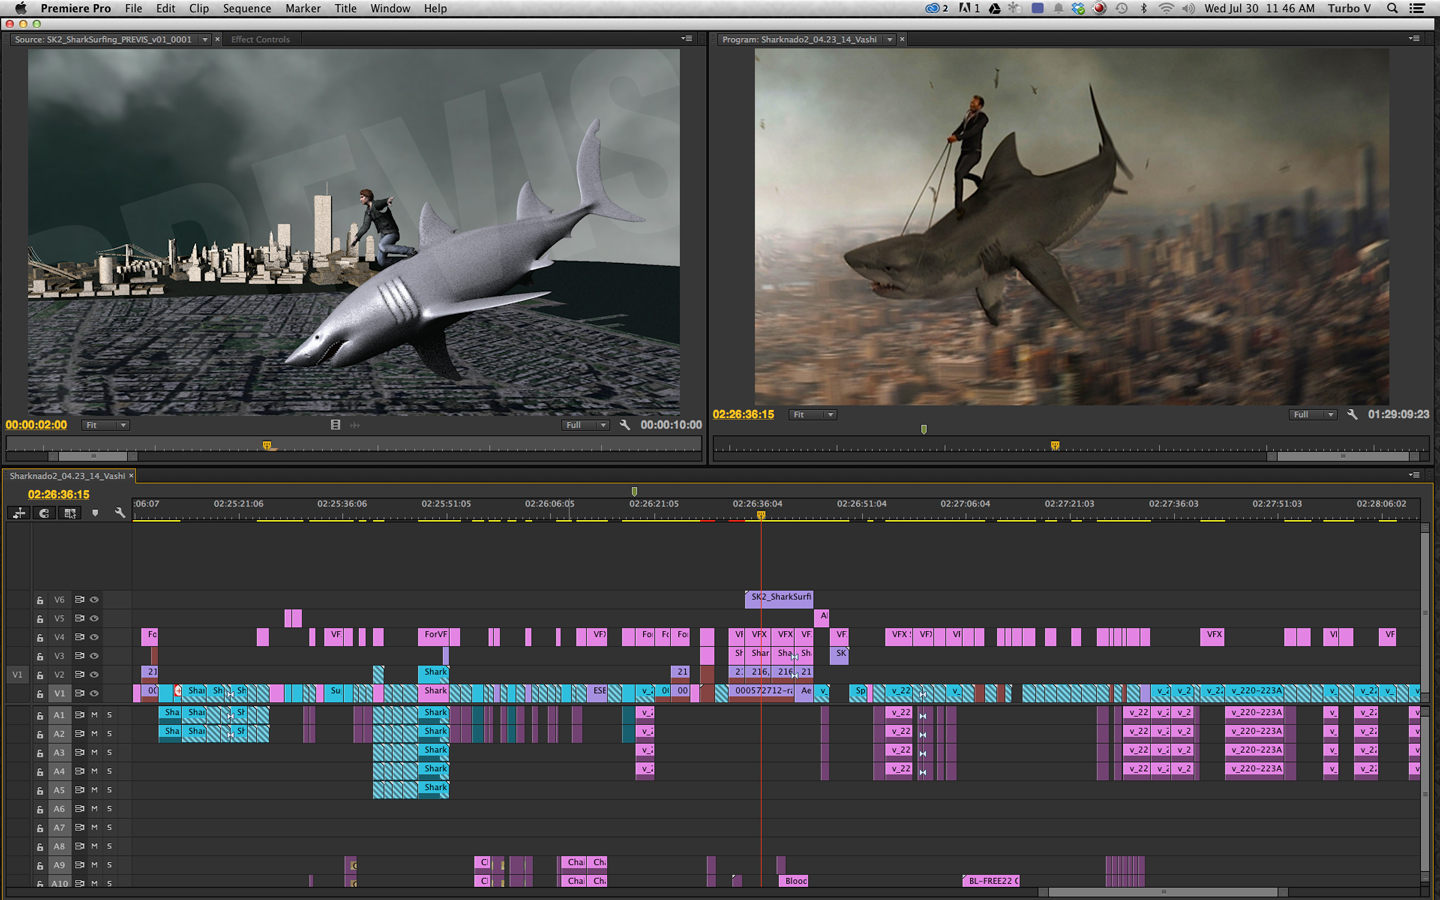
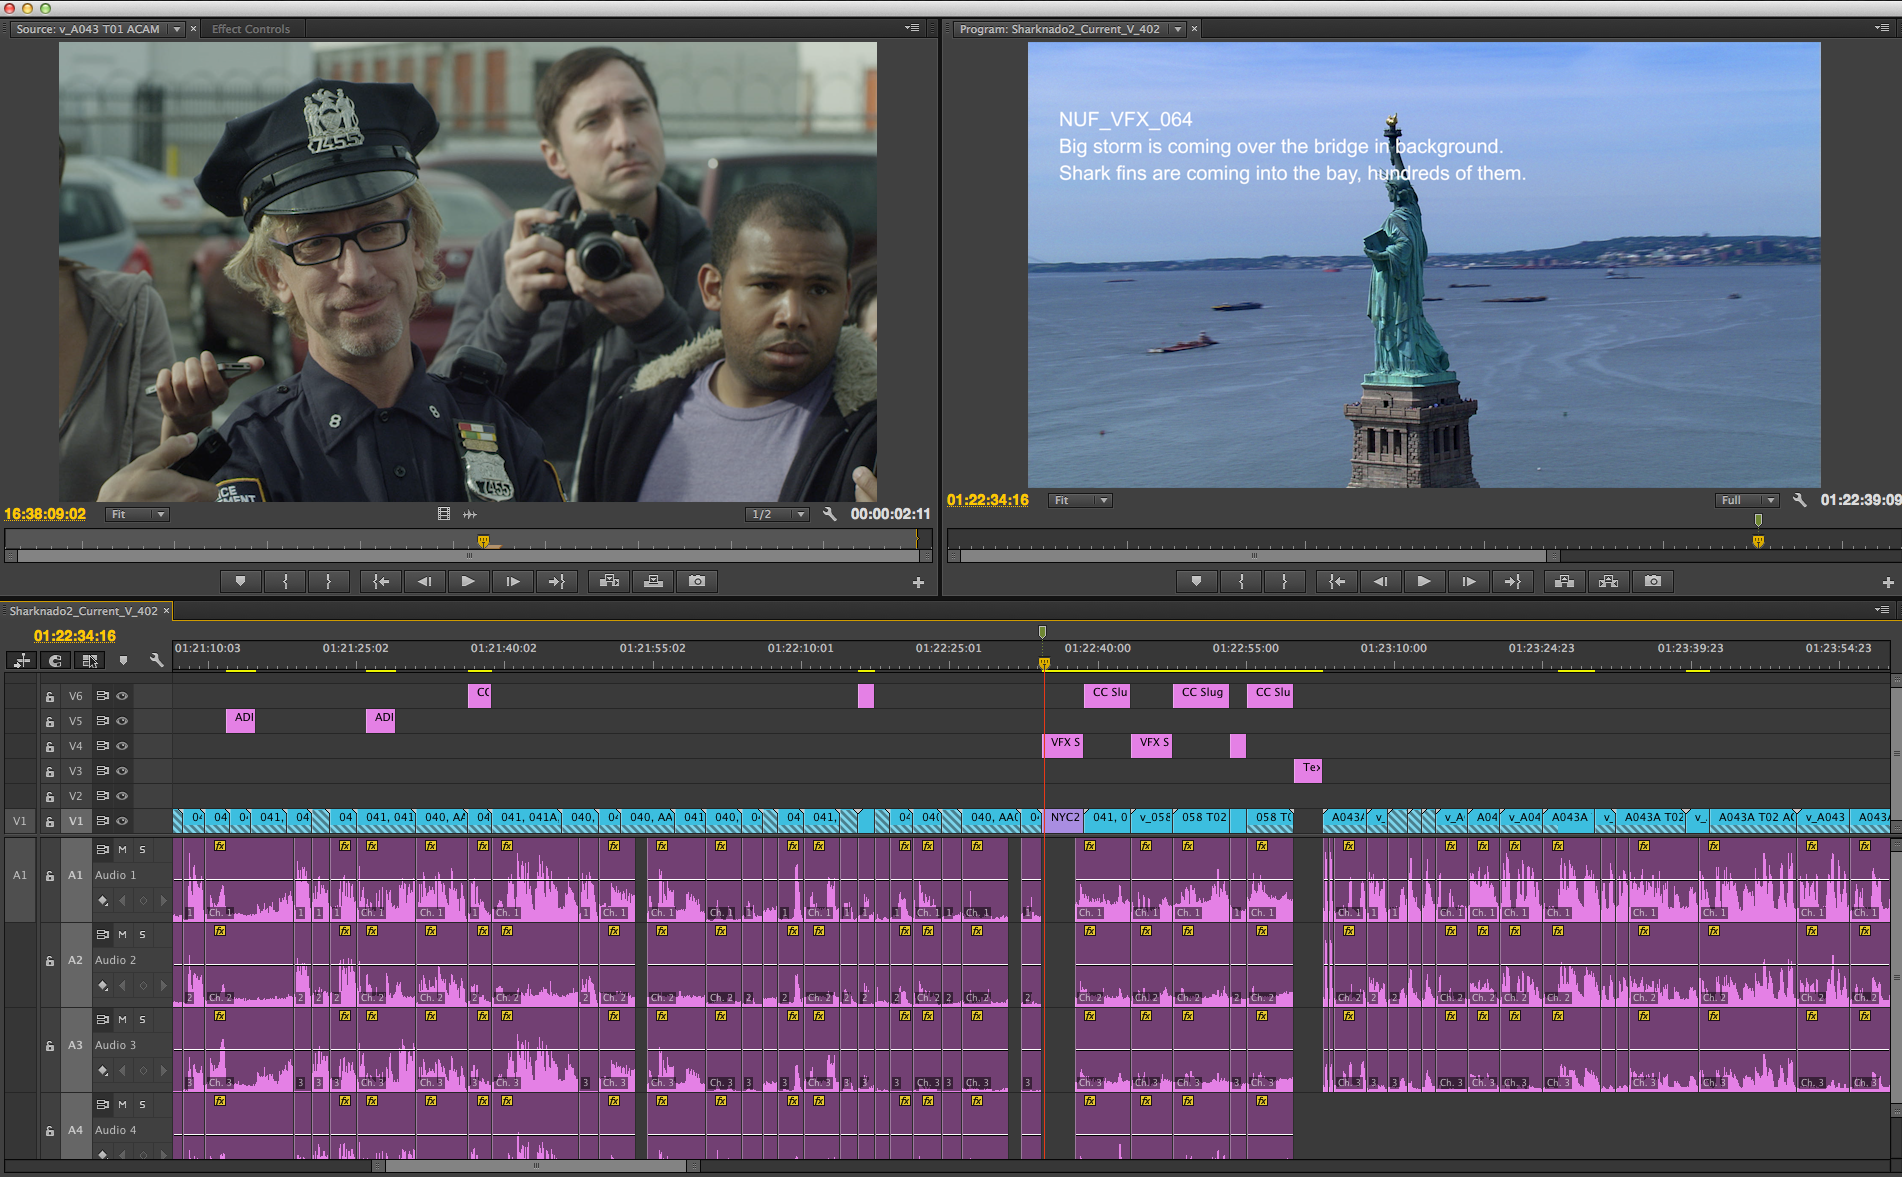
The average Asylum film project has 6 layers of video and up to 20 layers of audio during editorial. This includes layers for footage, VFX slugs, ADR slugs, Temp VFX shots and more. Each lives on its own layer, each formatted a certain way to keep consistency throughout the shared project. In a FCP7 project, each time you adjust a layer in this large stack, you usually have to render that chunk for real-time playback. Adjust anything in one of the 20 audio tracks, you need to render or suffer the dreaded “Beep-Beep-Beep” all FCP7 editors know only too well.
The Asylum has a post-production Bible that breaks down how every project is structured and saved. An editor working on an Asylum film MUST adhere to this so that everyone can open, access and incorporate anyone’s work at a moment’s notice. This is a key tenet to their successful workflow and as a professional I adhered to every rule. Organization and maintaining a solid and stable project is paramount when dealing with hard deadlines and delivery dates.
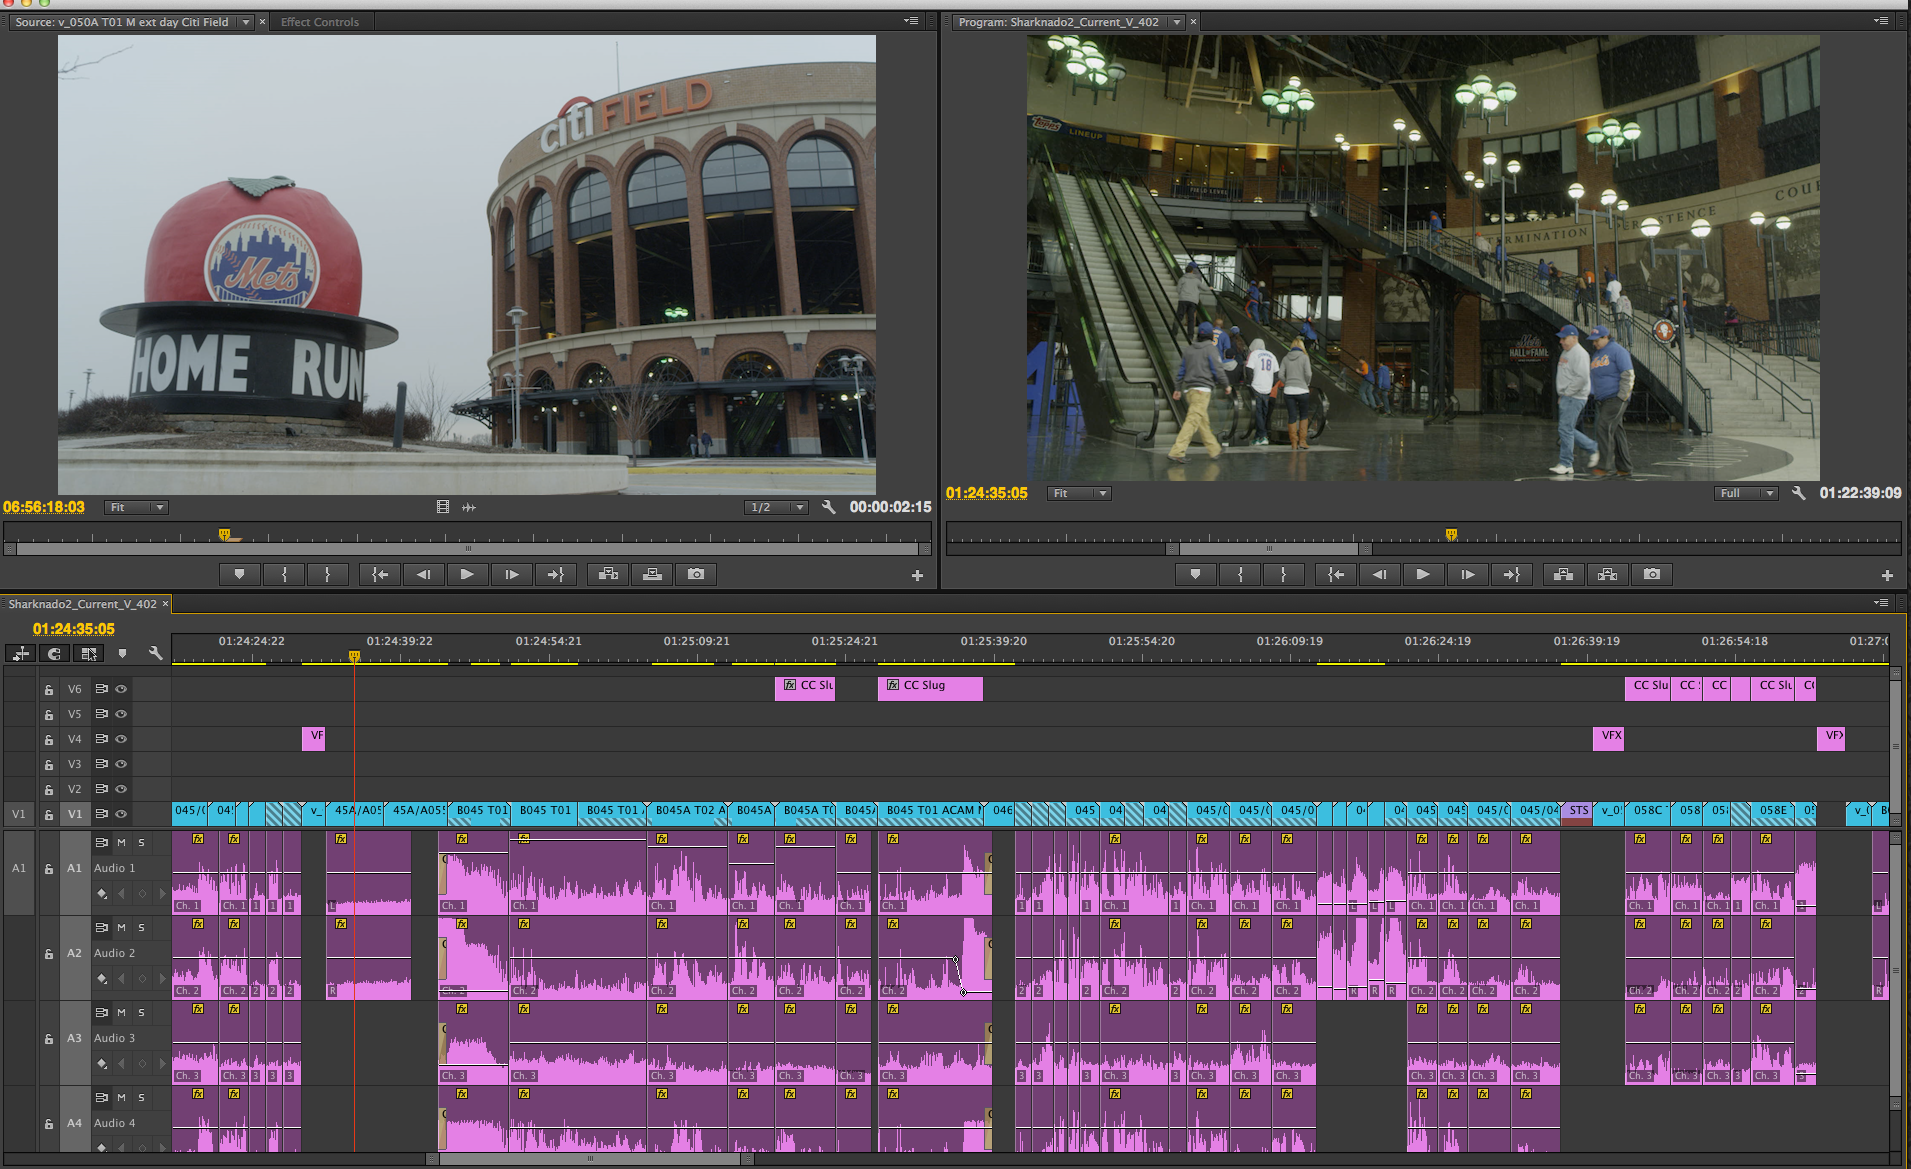
Sharknado 2 was shot in an astounding 18-day schedule. This was a union film shoot in New York City that included locations such as: The Empire State Building, Manhattan, The NYC Subway, Ellis Island and Citi Field…home of the NY Mets. It was the first Asylum film shoot almost exclusively in New York with pick-ups shot later in Los Angeles.
On Day One of editorial, I received a 4TB G-Raid drive with all the raw footage from Sharknado 2. It clocked in at 40 hours of footage all in. I received a cloned drive of the same footage that lived at The Asylum post-production offices in Burbank. This project was prepped and built out by editor Ana Florit who worked on several Asylum films and was one of the editors of the original Sharknado. She handed over an extremely organized project that was ready for me to jump in on and start crafting right from the first minute. There is no way I could have hit all the deadlines without her amazing and talented work. She started on the film before me and was there until final delivery to SyFy for the July 30th premiere.
Sharknado 2 was shot on RED Epic at 5K resolution. The B camera was the Black Magic Cinema Camera and several inserts and pick ups were shot on the Canon 5Dmkiii and the Canon 7D. All footage was transcoded to Pro Res 422 at 1920×1080 @23.98fps. The Asylum released 24 films last year and this simple and easy offline process allowed them to easily store and share footage across many edit bays and users without taking up too much space. I emailed my Adobe Premiere Pro XML back to The Asylum at the end of every day and uploaded an h.264 via Dropbox of my work directly to the director Anthony C. Ferrante for review. He would give me notes the next day as I continued plowing forward.
Here’s how I seamlessly integrated Premiere Pro CC into a FCP7 workflow:
1. Opened the FCP7 Sharknado 2 project in my studio.
2. Relinked to the clone drive and made all assets active in FCP7.
3. Exported XML from FCP7.
4. Imported XML into Premiere Pro CC.
5. Relinked footage inside Premiere Pro CC.
6. Done.
The power of a simple XML shared project workflow between two different NLEs should not be this impressive, but if it doesn’t work perfectly every time…everyone is screwed. In 6 weeks of sharing projects, I never had a technical glitch using this method. With such a short turn around and no room for error…I was glad my gamble paid off. The time I saved would probably be calculated into dozens of hours. Any time saved by an editor will shorten your day and help keep you fresh.
Before I continue…I would like to point out that I received no Script Supervisor notes for Sharknado 2. NO SCRIPT NOTES. I received all the raw footage and the shooting script…that’s it. All the ad-libs and changes that invariably happen on the day were in the footage but not noted in any documented format. I’m sure most editors would be appalled but since I cannot edit without watching all the footage and making my own notes and markers…I had no problem with this. Since every shot was slated and I had my own markers in my timeline, I always knew where everything lived.
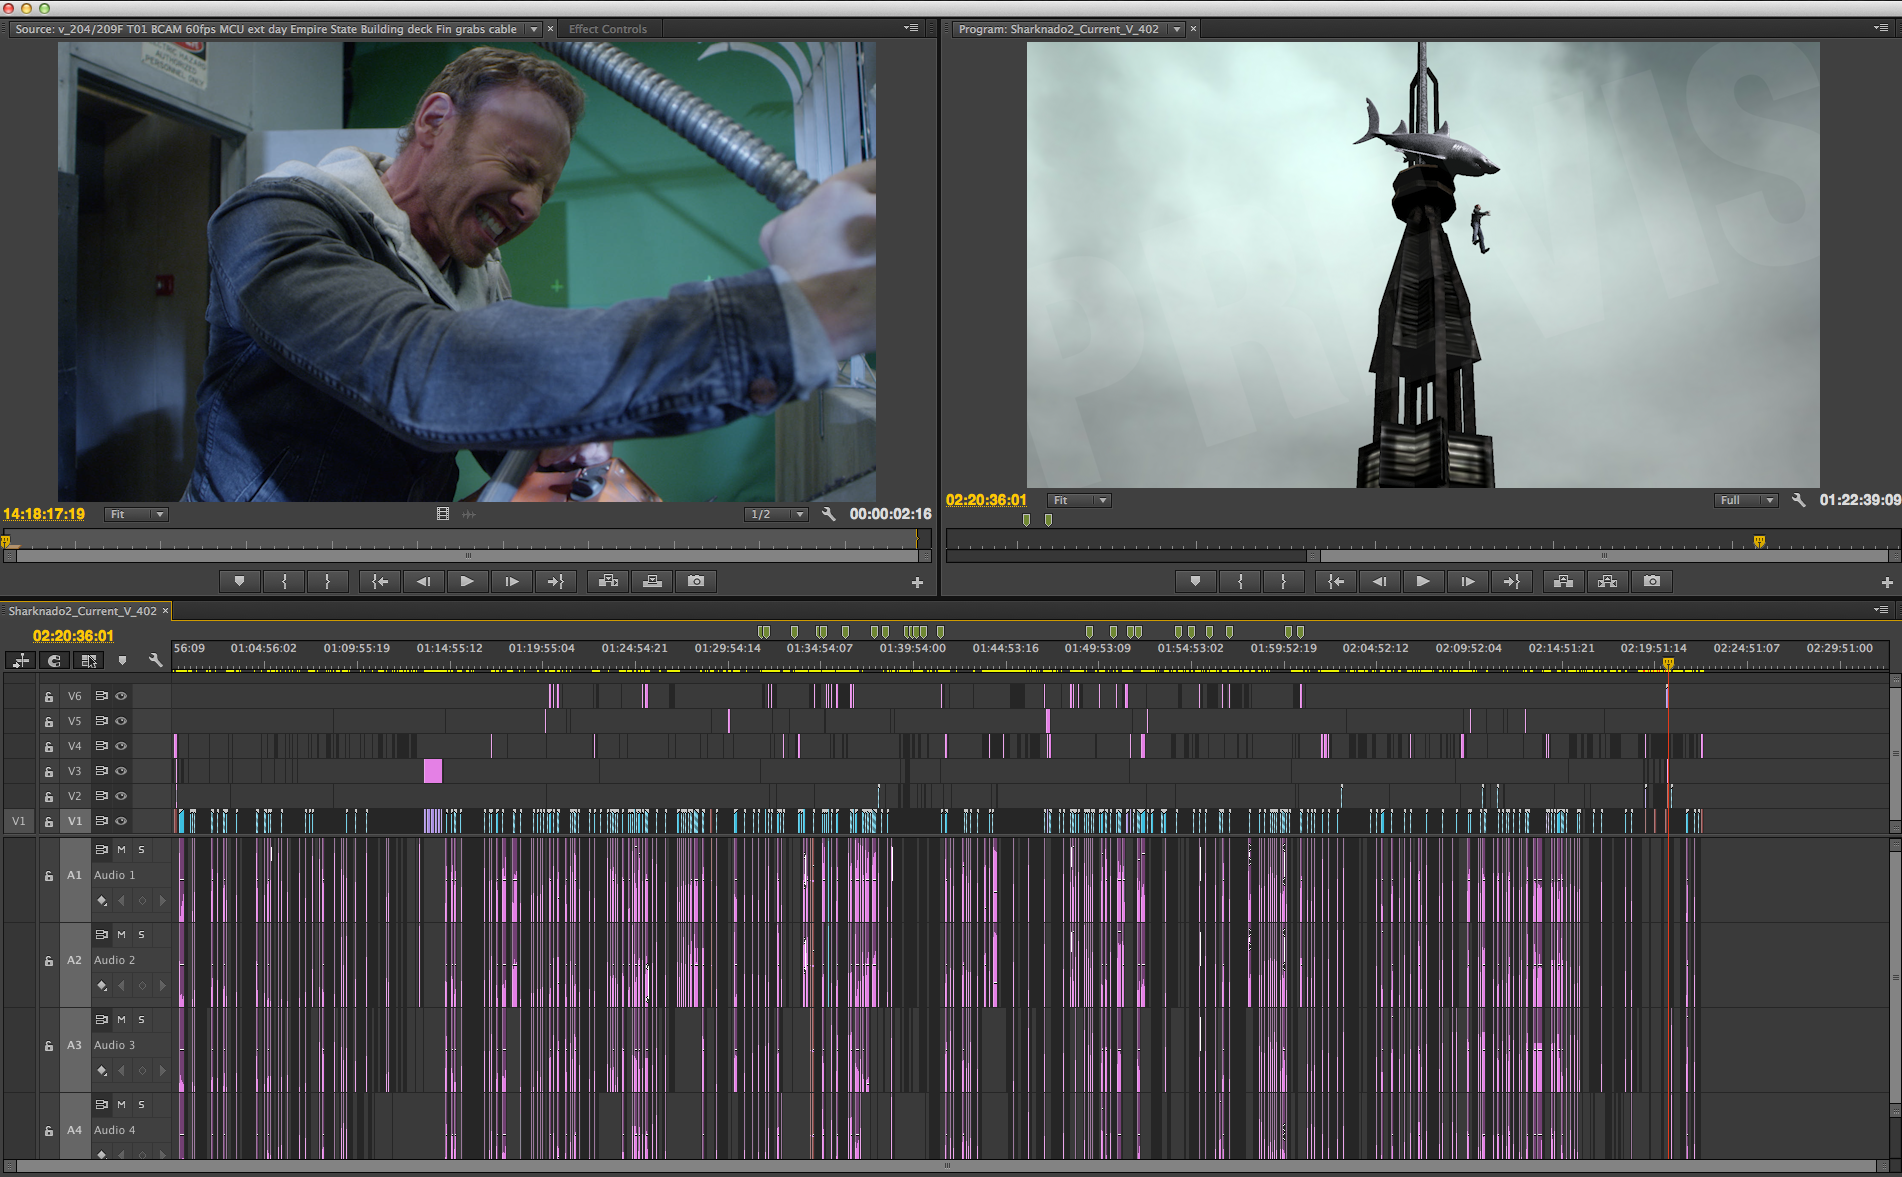
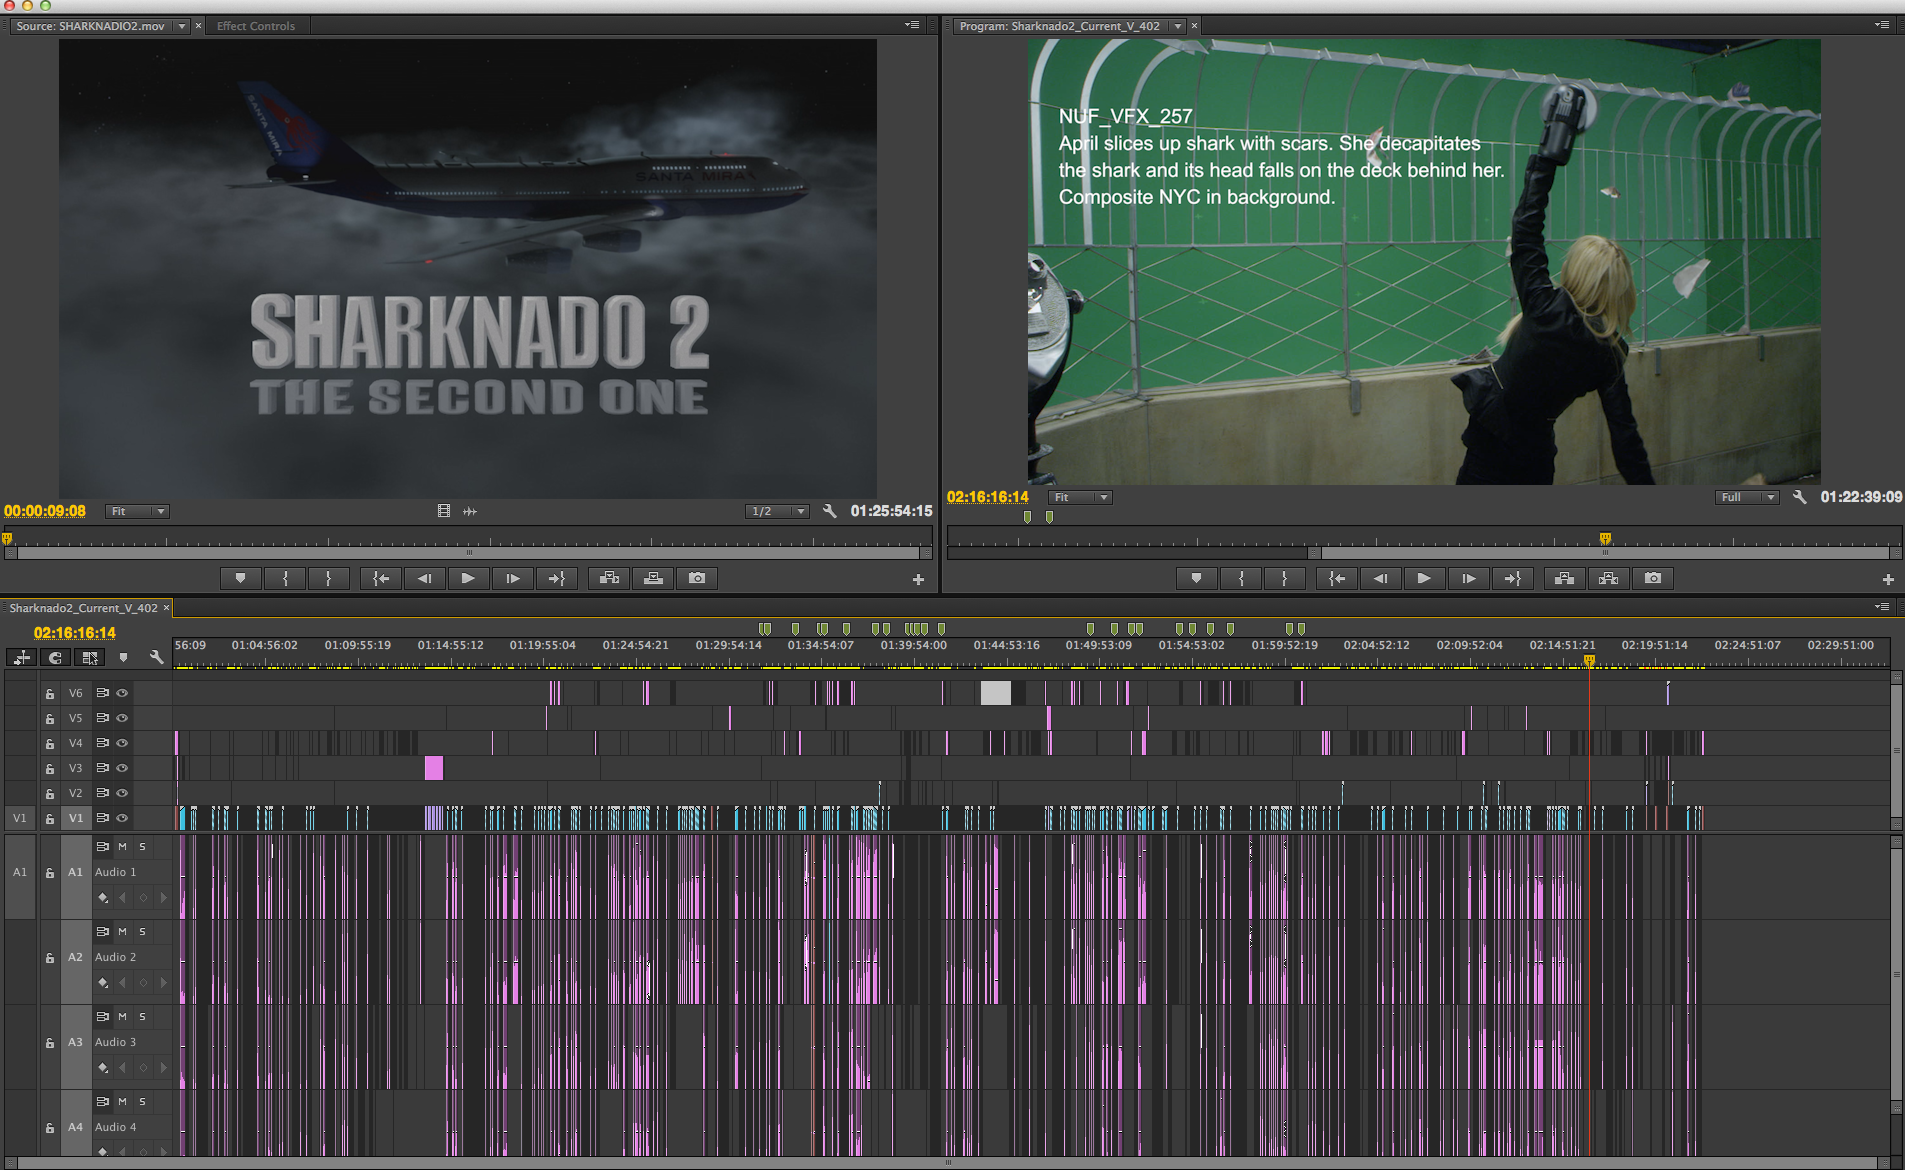
Sharknado 2 consisted of a Teaser, the Intro Credits, 8 Acts and End Credits which were all broken up for commercial breaks. Each Act ended on a cliffhanger moment to keep the momentum going. I chose to have the entire timeline of the 85-minute film in one timeline. The Premiere Pro CC project had imported and was accessing all 40 hours of raw footage. I had no sluggishness in my one giant timeline and anyone who says Premiere Pro CC can’t handle feature length projects is sadly mistaken. I’m on my fourth feature film cut in Premiere Pro CC and have had no issues with long format editing.
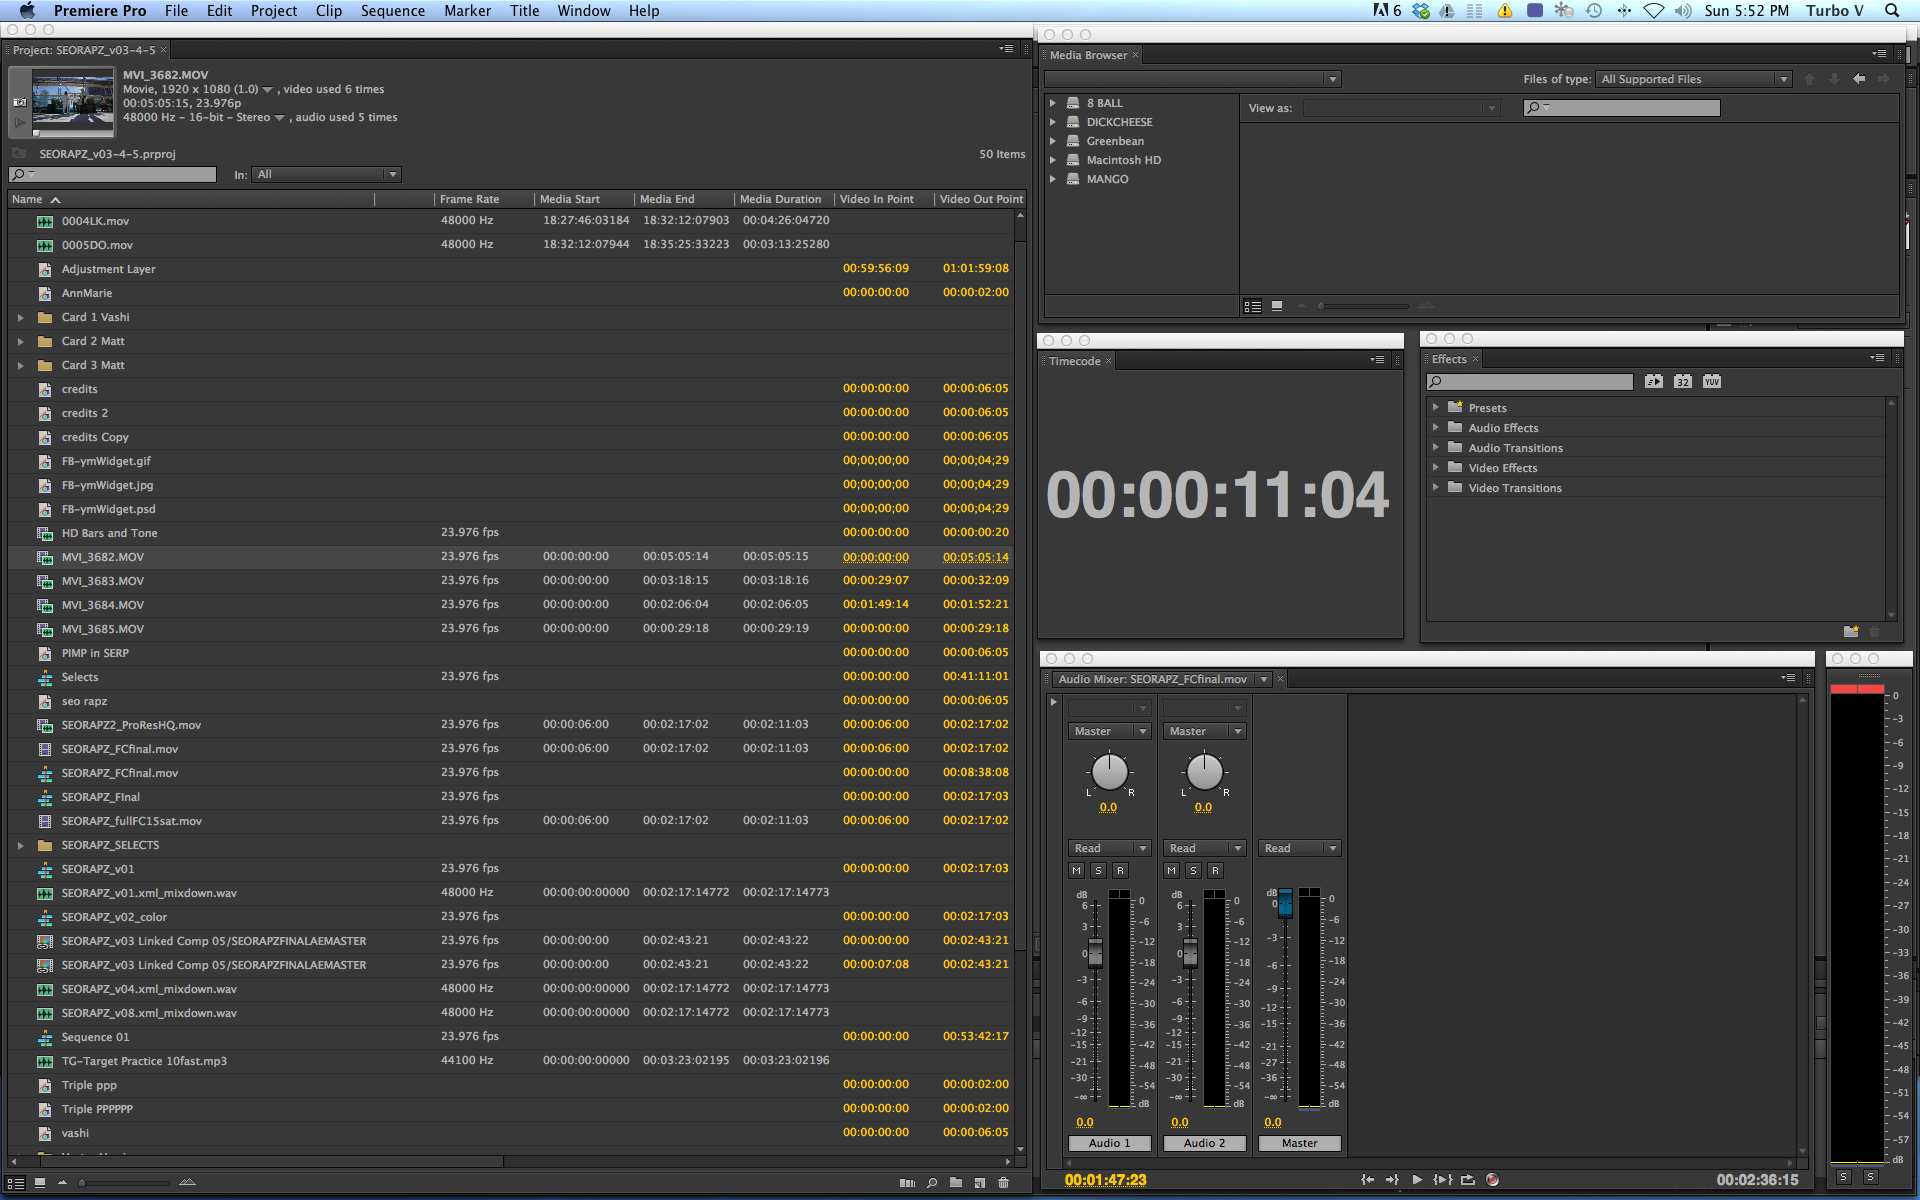
Sharknado 2 had roughly 3000 media files and my boot-up load time was around 30 seconds. I always wait for the indexing of media files to finish before I start editing in Premiere Pro. I know you don’t have to but it only took another 30 seconds. Once up and running, I had to consciously adopt the specific editing pattern and pacing of an Asylum film and that took an adjustment on my end. Instead of hanging on a shot and letting it play…I would cross cut moments more quickly to enhance their inherent drama and stretch these moments out. A wide shot of a shark flying at Tara Reid in a close up would be rapidly cut back and forth to emphasize the danger. I would utilize every frame of both shots to create tension that does not exist in either shot by itself. By dragging out the moment in certain key scenes, I established a cutting pattern that carried through the whole film.
An editor’s job is to drive forward the momentum of the story using manipulation, emotion, cutting technique, edit tricks and pacing. We must protect the story, the director and the actors. We must magnify moments. I had to accomplish this essential task whilst adhering to the essential qualities that make Sharknado 2 and The Asylum films the creatures that they are. These films are cut relatively quickly and keep the action and drama level high. I was grateful to have enough coverage and performances to aid the storytelling with this cutting pattern and not resort to cutting away to hide mistakes or fudge the editing. The opening 10 minute teaser before the credits is a great example of creating a suspenseful situation where the editing becomes invisible because you are invested in the characters and their predicament. I tried to apply this across all the action and drama scenes to keep a coherent and consistent editing pattern.
Audio will often make or break a film…and an action film like Sharknado 2 is no exception. I like to build very deep with my audio tracks and sound effects. Nothing is more flaccid than watching a pre-viz shark chomp on someone with no sound effects. It’s horrible. Add some ripping flesh, screams, bear growls and snapping celery sticks and now you have something! Even though my mix is temporary, the Sound Team will gladly follow the path the editor has laid down and borrow elements of this temp to build upon. I can’t stress how important audio is…often more important than the picture. That is not just a cliche…it’s the absolute truth and every good editor knows this.
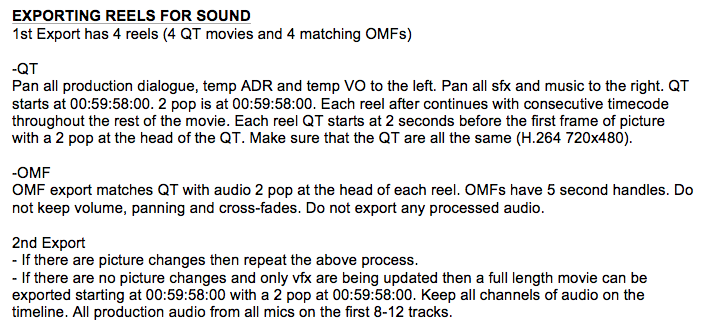
Sharknado 2 was broken up into 4 reels (22 minutes each) so that the other departments (Audio and Color Grading) had manageable chunks to work with. The 20+ track mix was exported in the industry standard OMF format and handed off to the sound gurus so they could impart their sonic wizardry. I also provided an SD and HD h.264 reference video with time-code overlay. I created these files in Adobe Media Encoder and used the time-code overly effect and batch exported those in the background so I could continue editing in Premiere Pro. Very simple and very efficient.
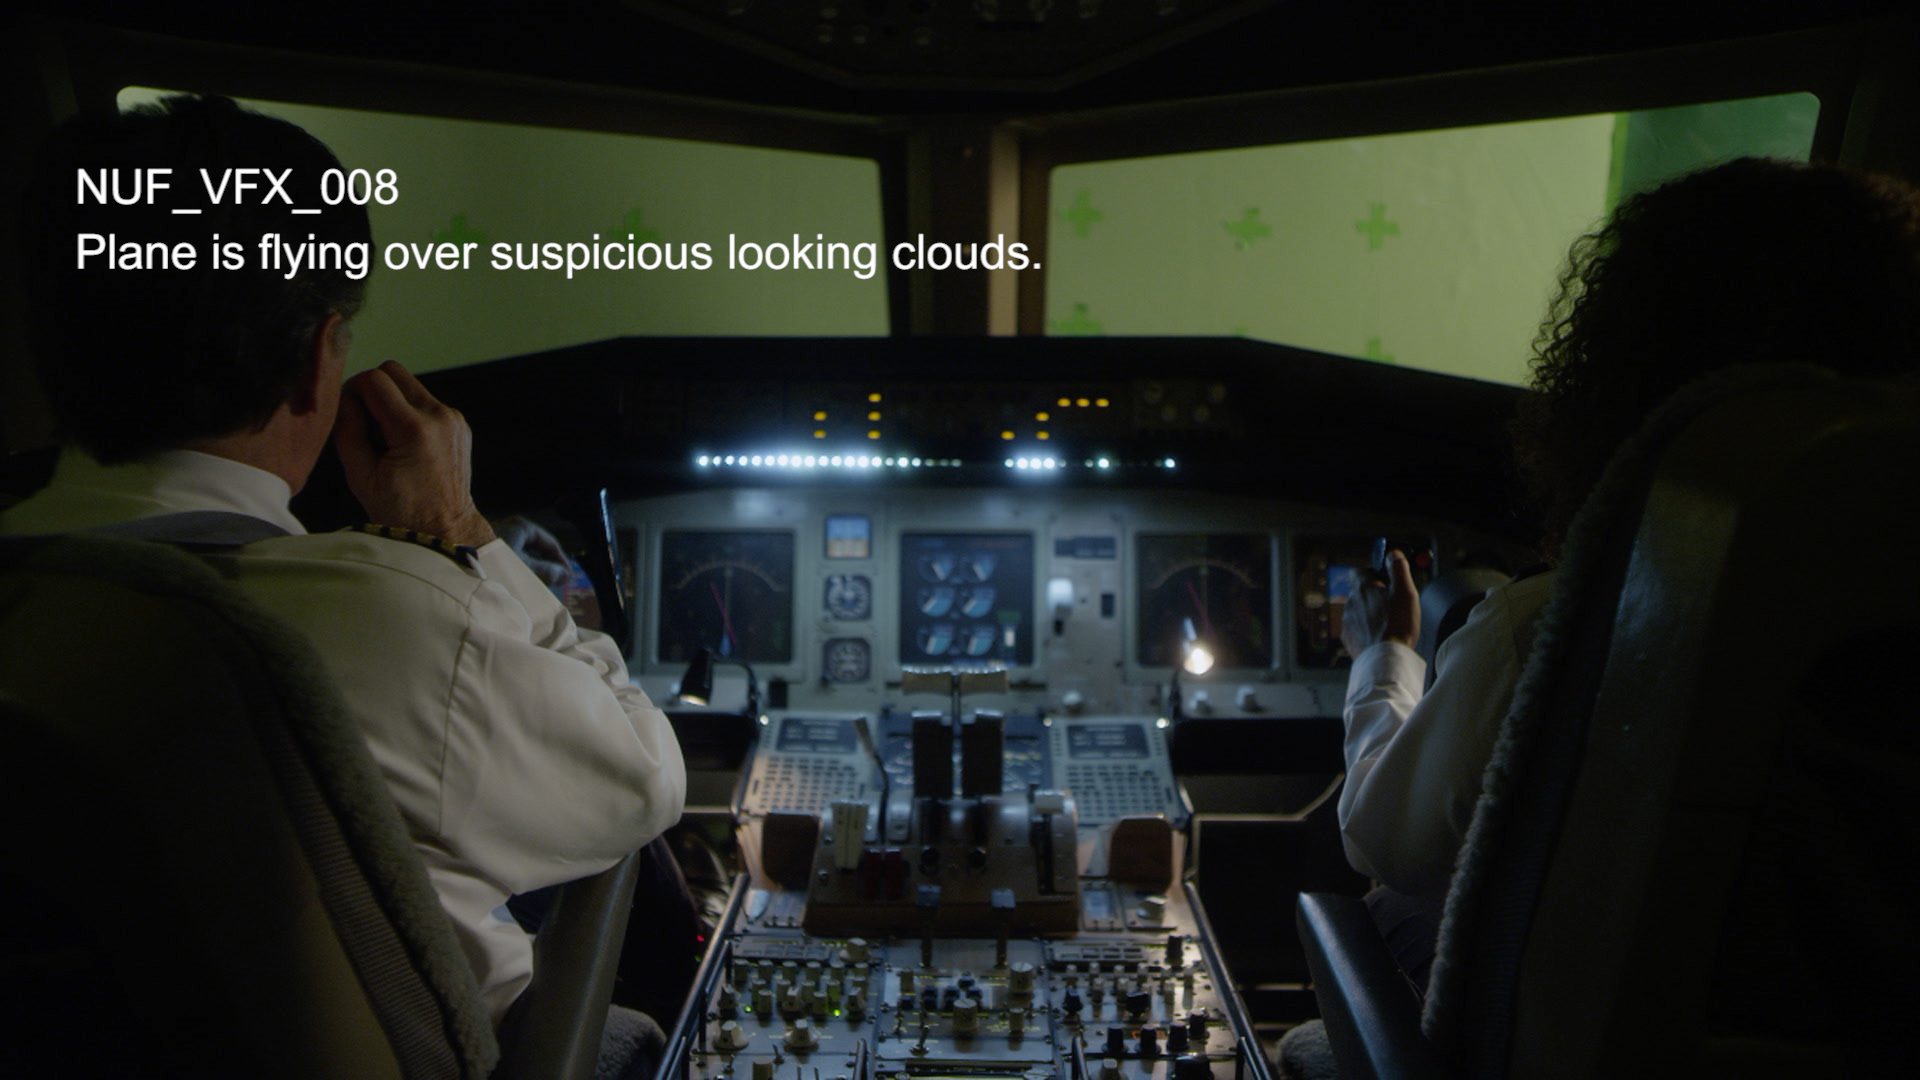
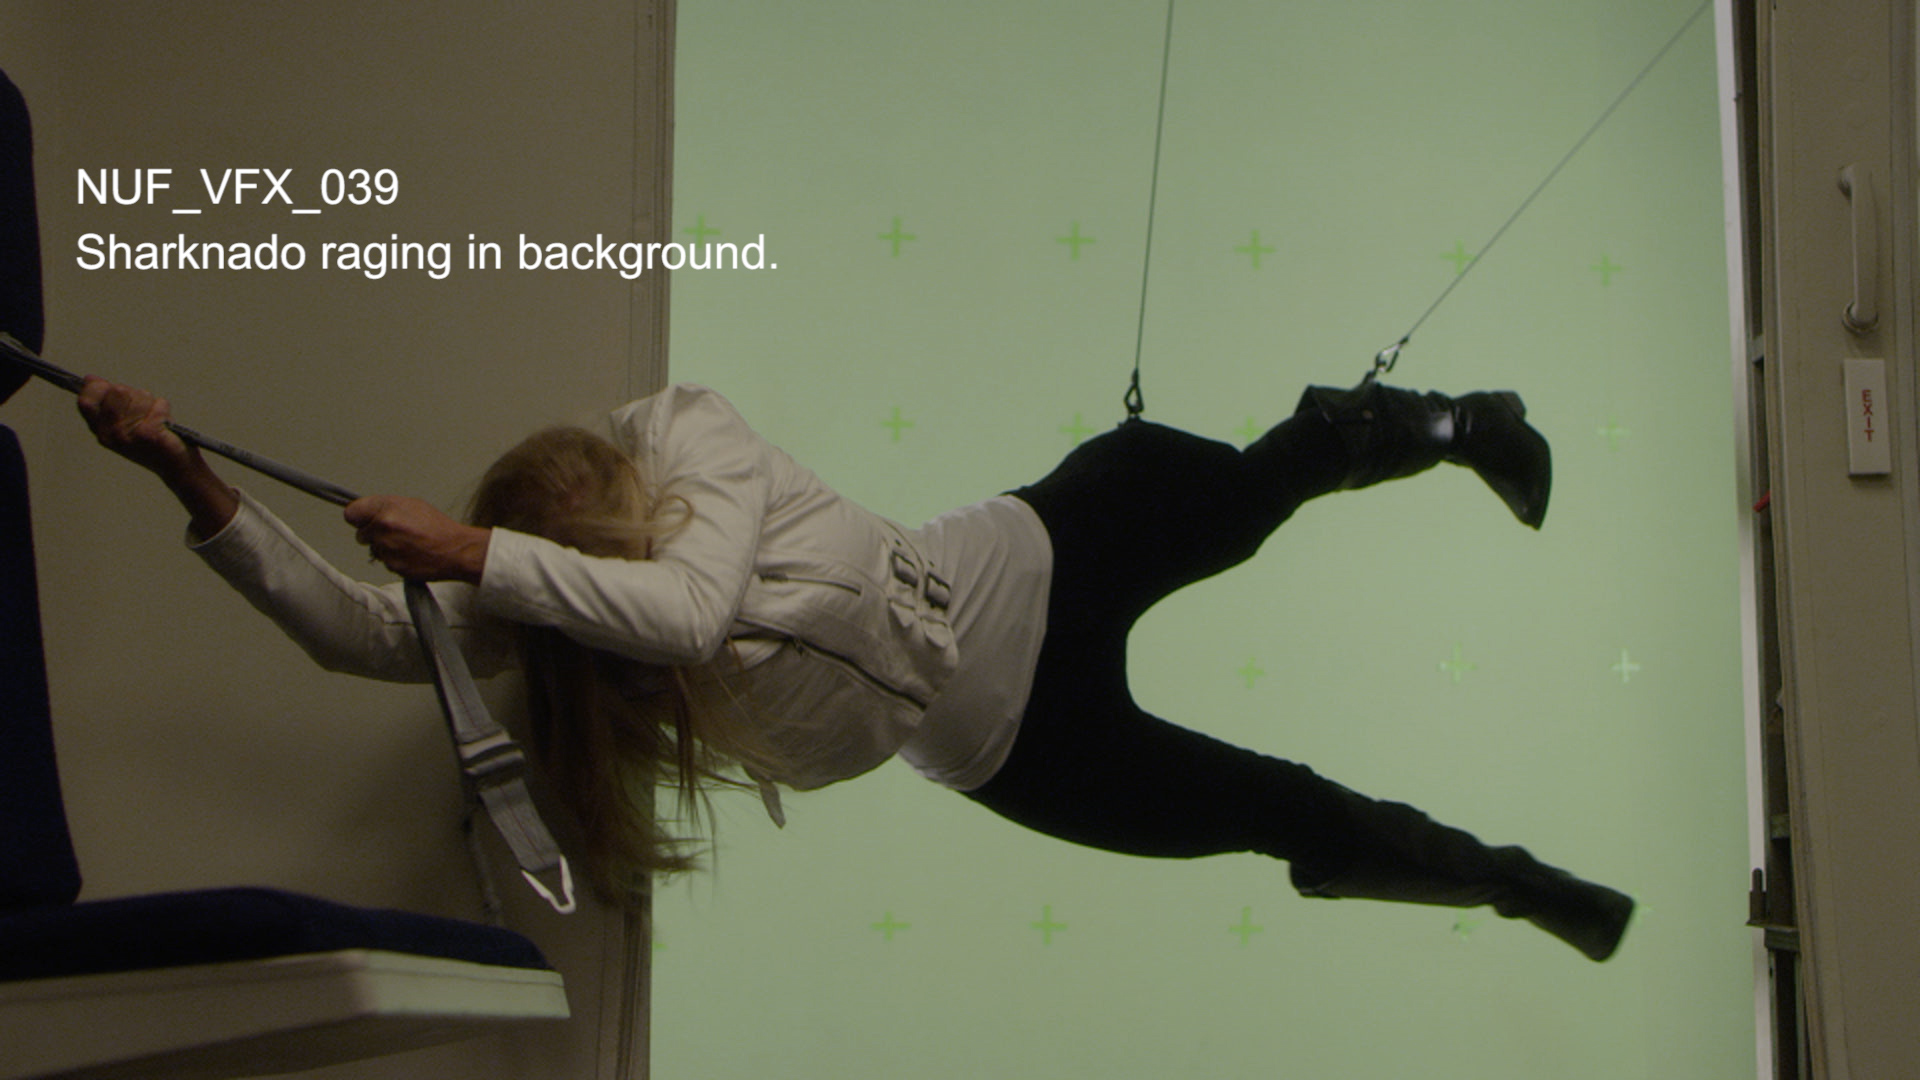
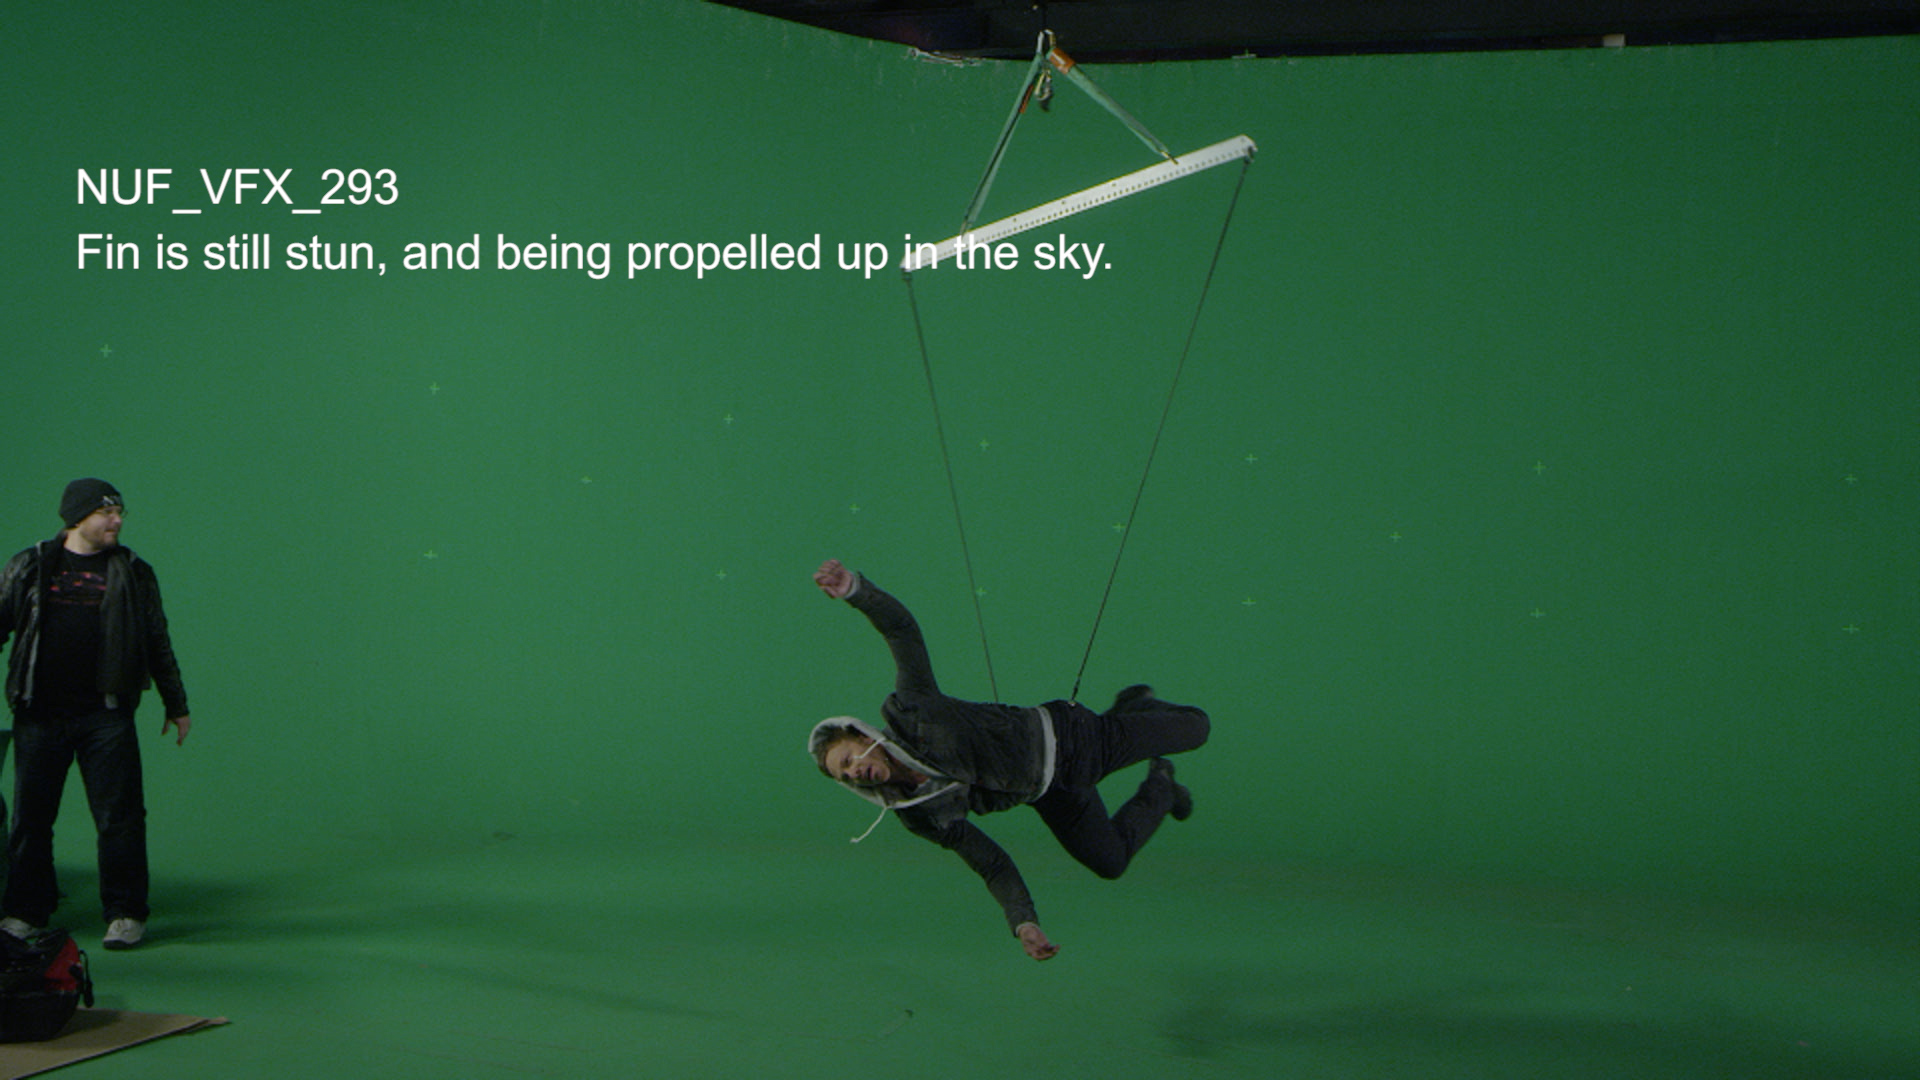
An average Asylum film has 100 VFX shots. There were over 300 VFX shots in Sharknado 2. These VFX shots always lived on video layer 3 in my timeline. As the new versions came in I would swap them out and confirm they were the latest version number. I used an Excel document to keep track of the latest updates and color-coded them to stay current. This is nothing new and nothing spectacular in a regular post-production workflow…but it is very effective.
The VFX artists at The Asylum provided me with updated Previz shots of all the VFX so I could cut them in and get the right timing before they created the final shots. This is a crucial and wonderful bonus as I could provide them with feedback in real-time to help them make adjustments and do their best work possible. The VFX in Sharknado 2 was a quantum step up from the original film and really added to the enjoyment of the spectacle.
After my last pass of Sharknado 2 was done we had almost 400 VFX shots. Word came down from the producers that we had to lose almost 100 of them. For scheduling and budget reasons…they were unattainable. We pulled those shots and had to close the gaps and rework the edit points on almost 100 sections of the film. That is not an easy task. The shot preceding the VFX shot and the shot after now were now “stragglers”. The build-up and after-shot had no pay-off shot between them. The VFX shot was not there to tie them together. Multiply that by 100 and you can see the additional editing that must occur to finesse those moments. All at the 11th hour. Welcome to hard-core editing. No excuses. No complaints. Just get it done.
As an editor you must be creative but equally diligent to stay on top of the minutia of all the tiny components of the film. There is nothing worse than screening a cut for the director or studio and having an old VFX shot pop up. The viewing literally grinds to a halt and the flow is gone. The smallest mistakes can make large and extremely negative impacts. Take the time to QC (quality control) everything that leaves your edit bay. Taking pride in your exports is just as important as creating wonderful edits. Don’t let shit slide. Own it.
Due to my mind-boggling short edit run of 6 weeks, I had to make sure that nothing slowed my progress. I needed to be a tidal wave surging forward and continually crafting the story. I was editing on average 5 minutes of tight footage a day and posting this directly and daily to the director. Once I completed my first pass…we went back to the start and I would address notes from the director, the producers and the network. We then ping-ponged using this method for the rest of editorial. Usually these many points of view and different creative inputs turn the edit into a sword fight of epic proportions. Often times the edit will morph into a multi-headed creature with no cohesiveness. Surprisingly in this case, everyone was working to make it the best Sharknado 2 it could be. Everyone was pulling on the same rope and the notes helped everyone dial in the story with the least amount of fat. The director and SyFy were trying to make a solid film that lived up to the hype of the first Sharknado but that also amplified the experience for the viewers. I feel we accomplished that task.
Sharknado 2 was the quickest edit of the 9 feature films I’ve edited. It was a challenge, invigorating, rewarding and a big bag of fun. My choice to use Adobe Premiere Pro CC was the right one. It removed all technical and workflow issues and allowed me to focus on cutting the story and remaining agile enough to make any adjustments on the fly. I hope this peek into my process will help you in handling all the trials and tribulations you might face in whatever project you are working on…
Sharknado 2 aired on July 30th for 3.9 million viewers. It is the most viewed movie in the history of the SyFy network. The next day on July 31st, it aired in 86 countries around the world. This was another first for the SyFy network or any other network. On August 21st, Sharknado 2 will screen in over 500+ theaters in North America for one night only. If you missed it on TV or the internet…have a couple adult beverages and go watch it with a lively crowd in your city.
I’m extremely proud of the work we all did on this film and I hope you enjoyed this exclusive look into the making of Sharknado 2.
Until next time…
Vashi Nedomansky
vashivisuals.com
@vashikoo
RELATED:
Sharknado 2 – The Super Death Cut – every shark and human death in the film



There are 3 comments
Great post!
You wrote that you make a lot of markers while u edit. So do I, but in Premiere CC are not as good (for me) as they are in Final Cut 7.
Every time they offer me a documentary I choose Final Cut 7 for that reason.
How do you manage them in Premiere?
Thanks for the kind words Antonio and good question. I use markers to break up my scenes when I go through all the raw footage in one timeline. I then use the Markers Tab to jump to whatever scene I need. Because there is a thumbnail and I enter the scene number…it updates in the Marker Tab for really fast locating of everything. These markers work both in the Timeline and in separate clips in the Source window. I wish that Premiere Pro CC had different colored markers like FCP7 as it makes it even easier to classify shots/scenes/specific items.
[…] he was offered the job because he REALLY wanted to work on a shark movie. He goes on to talk about his workflow during the editing process and takes us through most of the post-production work that went into making the sequel to the […]