I wanted to share a quick 30 second shot from the beach next to LAX.
Caught a helicopter, car and plane. Canon 5Dmkii with a Helios 58mm f2 lens.
The VisionColor picture style was applied with recommended settings: Sharpness +1, Contrast -4, Saturation -2, Color tone -1.
The VisionColor picture was not graded or sharpened for this test.
FilmConvert was then applied using 3 Fuji film stock looks (FJ 8563, FJ Super X 400, FJ Velv 100) with identical settings of:
Camera: Canon 5Dmkii VisionColor
Film color: 100%
Film grain: 100% using 35mm full frame grain.
The clip is played 4 times in a row showing each “look” then a split screen with all 4 shots in it.
FilmConvert creates a very pleasing and authentic film look in my opinion.
Let me know your thoughts!


There are 5 comments
I continue to love Filmconvert. It actually saved my last shoot, as the footage entered up being quite poor color-wise due to cinestyle and softer as well. I recentlt switched to Visioncolor\Visiontech for my normal shooting profile, and cant ait till my next project gets to color grading to see how filmconvert and VC\VT work together.
Also, funny enough, i tended to like the Kodak Vision stock for my last shoot, but we will see how it works on my next shoot. Shows how its useful to have numerous stocks. I think of it is digitally “re-exposing” the footage onto film stock (or thats as close as I can explain to the layman, it’s really incredible stuff). I’m very curious how you integrate this into your color grading process, as I found it to do the majority of the heavy lifting once my footage is color corrected. Mind sharing?? 🙂
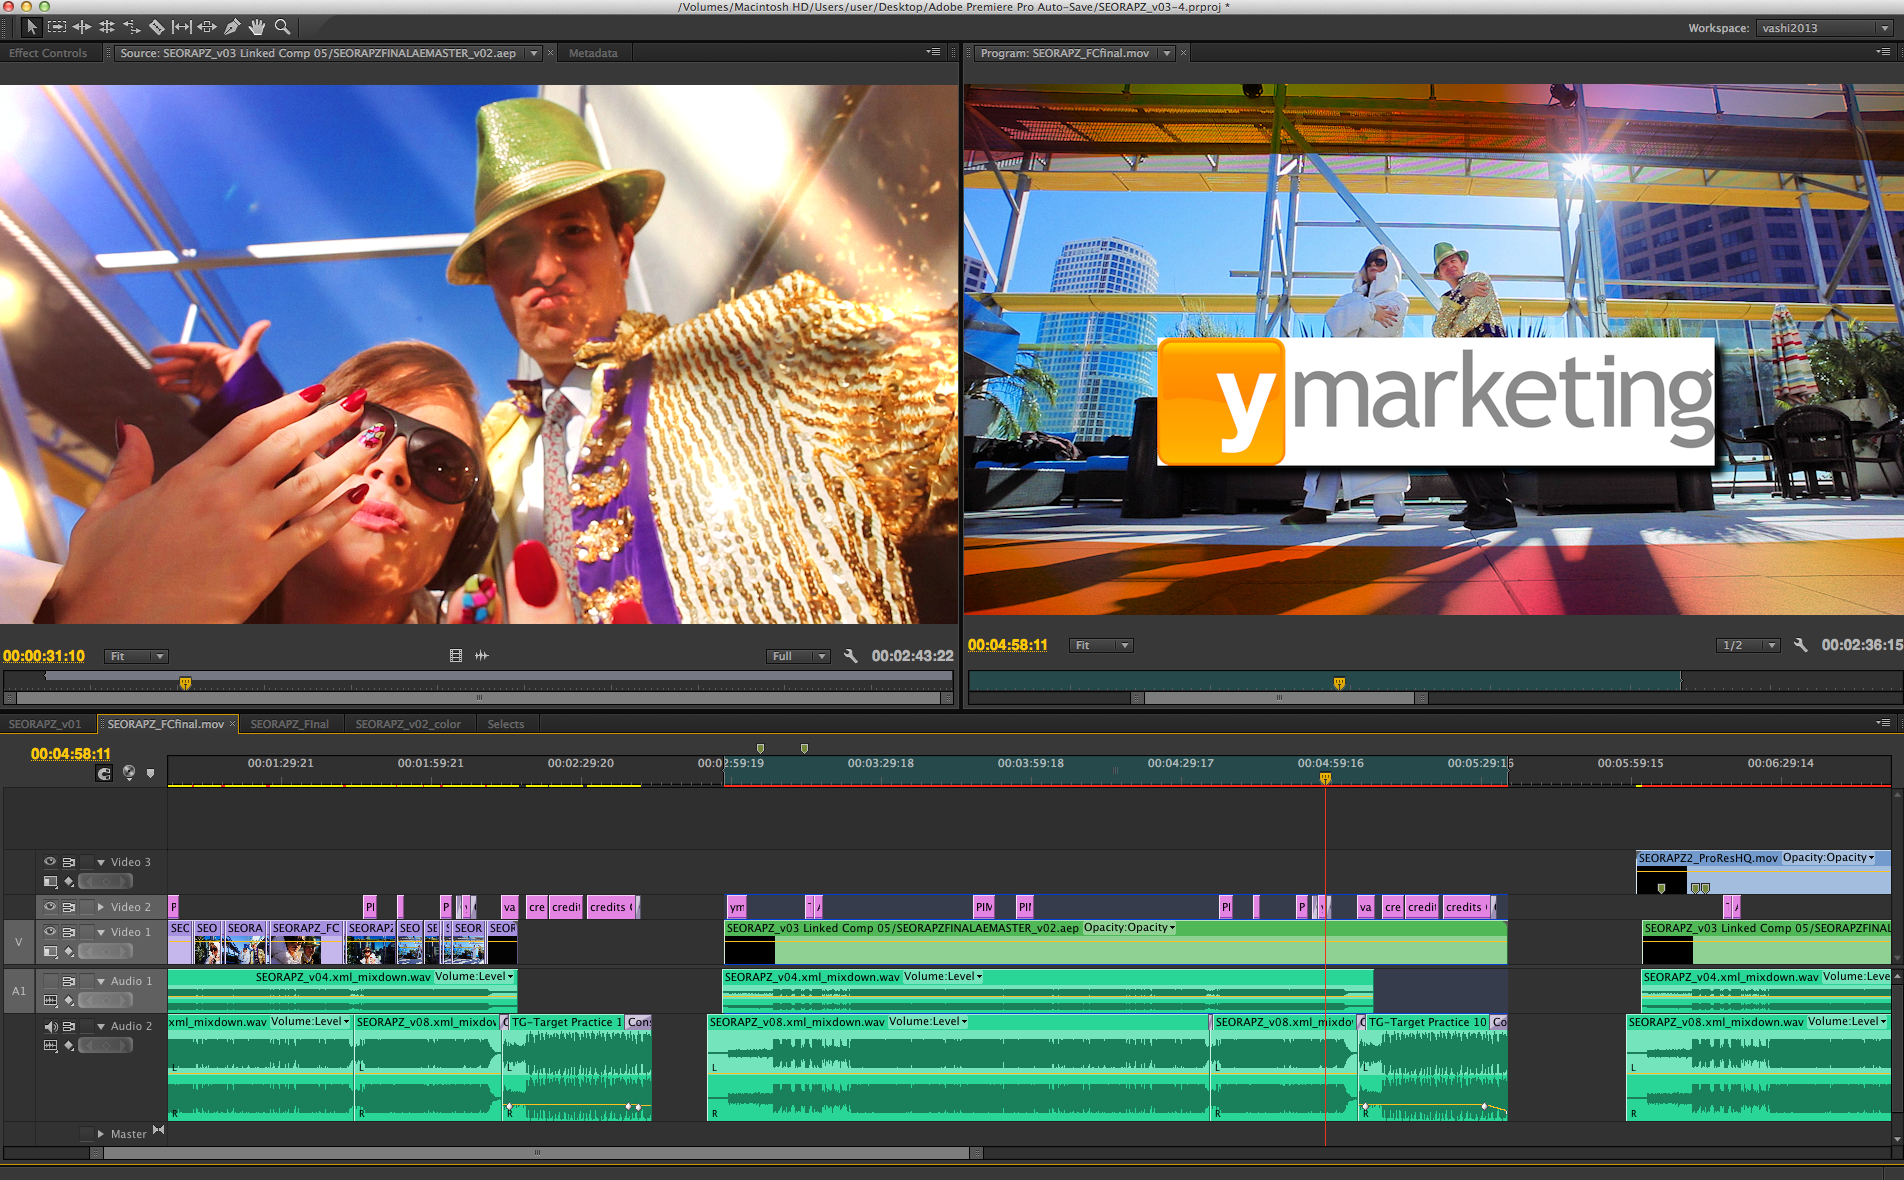
I apply FilmConvert as the last step after I color correct and grade. I make sure that all the shots are balanced and all my secondary work, vignettes and isolations done. I use it as a “coating” that finally gels all the footage together. I dial in the film color to taste (usually 50-80%) and grain at about 40-60%. Film stock will differ but I really like all the FJ options. In Premiere I will apply an adjustment layer over the timeline and apply FilmConvert to that. In that way I can control the whole thing at once.
That combination works wonders for me. Now that they’ve integrated the VisionColor into FilmConvert…it’s even easier to get a rich, beautiful image. Thanks for sharing and best of luck!
[…] on vashivisuals.com Share this:TwitterFacebookMe gusta:Me gusta […]