

I’ve had the luck and pleasure to work with many artists that have uncompromising vision…ones who create stunning images and at the same time tell compelling stories. With the revolution of DSLR cinematography and the proliferation of these cameras into the hands of the masses…everyone now has access to inexpensive technology that can rival 35mm film when used properly.
One particular group of artists…the Photographers…have most benefited and prospered from the addition of HD video to the still cameras they already owned and used day after day. The added bonus of owning and understanding a variety of lenses for their still work…made the transition to motion and filmmaking a much smoother one when compared to most other people making the switch to DSLRs.
Another way in which Photographers stand out when embarking on creating video images is how they harness their innate sensibilities for still photography. Unlike filmmakers that wait for a script, cast and a budget to shoot a project…Photographers are shooting stills everyday. Everywhere they go, anytime of day, they are analyzing light, composition and content in their minds. They are constantly looking, shooting, thinking…always ON even when they are not snapping shots.
This is not to say people who shoot films, music videos, documentaries are not thinking about the frame. I only wish to infer that Photographers live and breathe their quest for capturing the “perfect” moment. They are constantly honing their visual craft as part of their lifestyle.
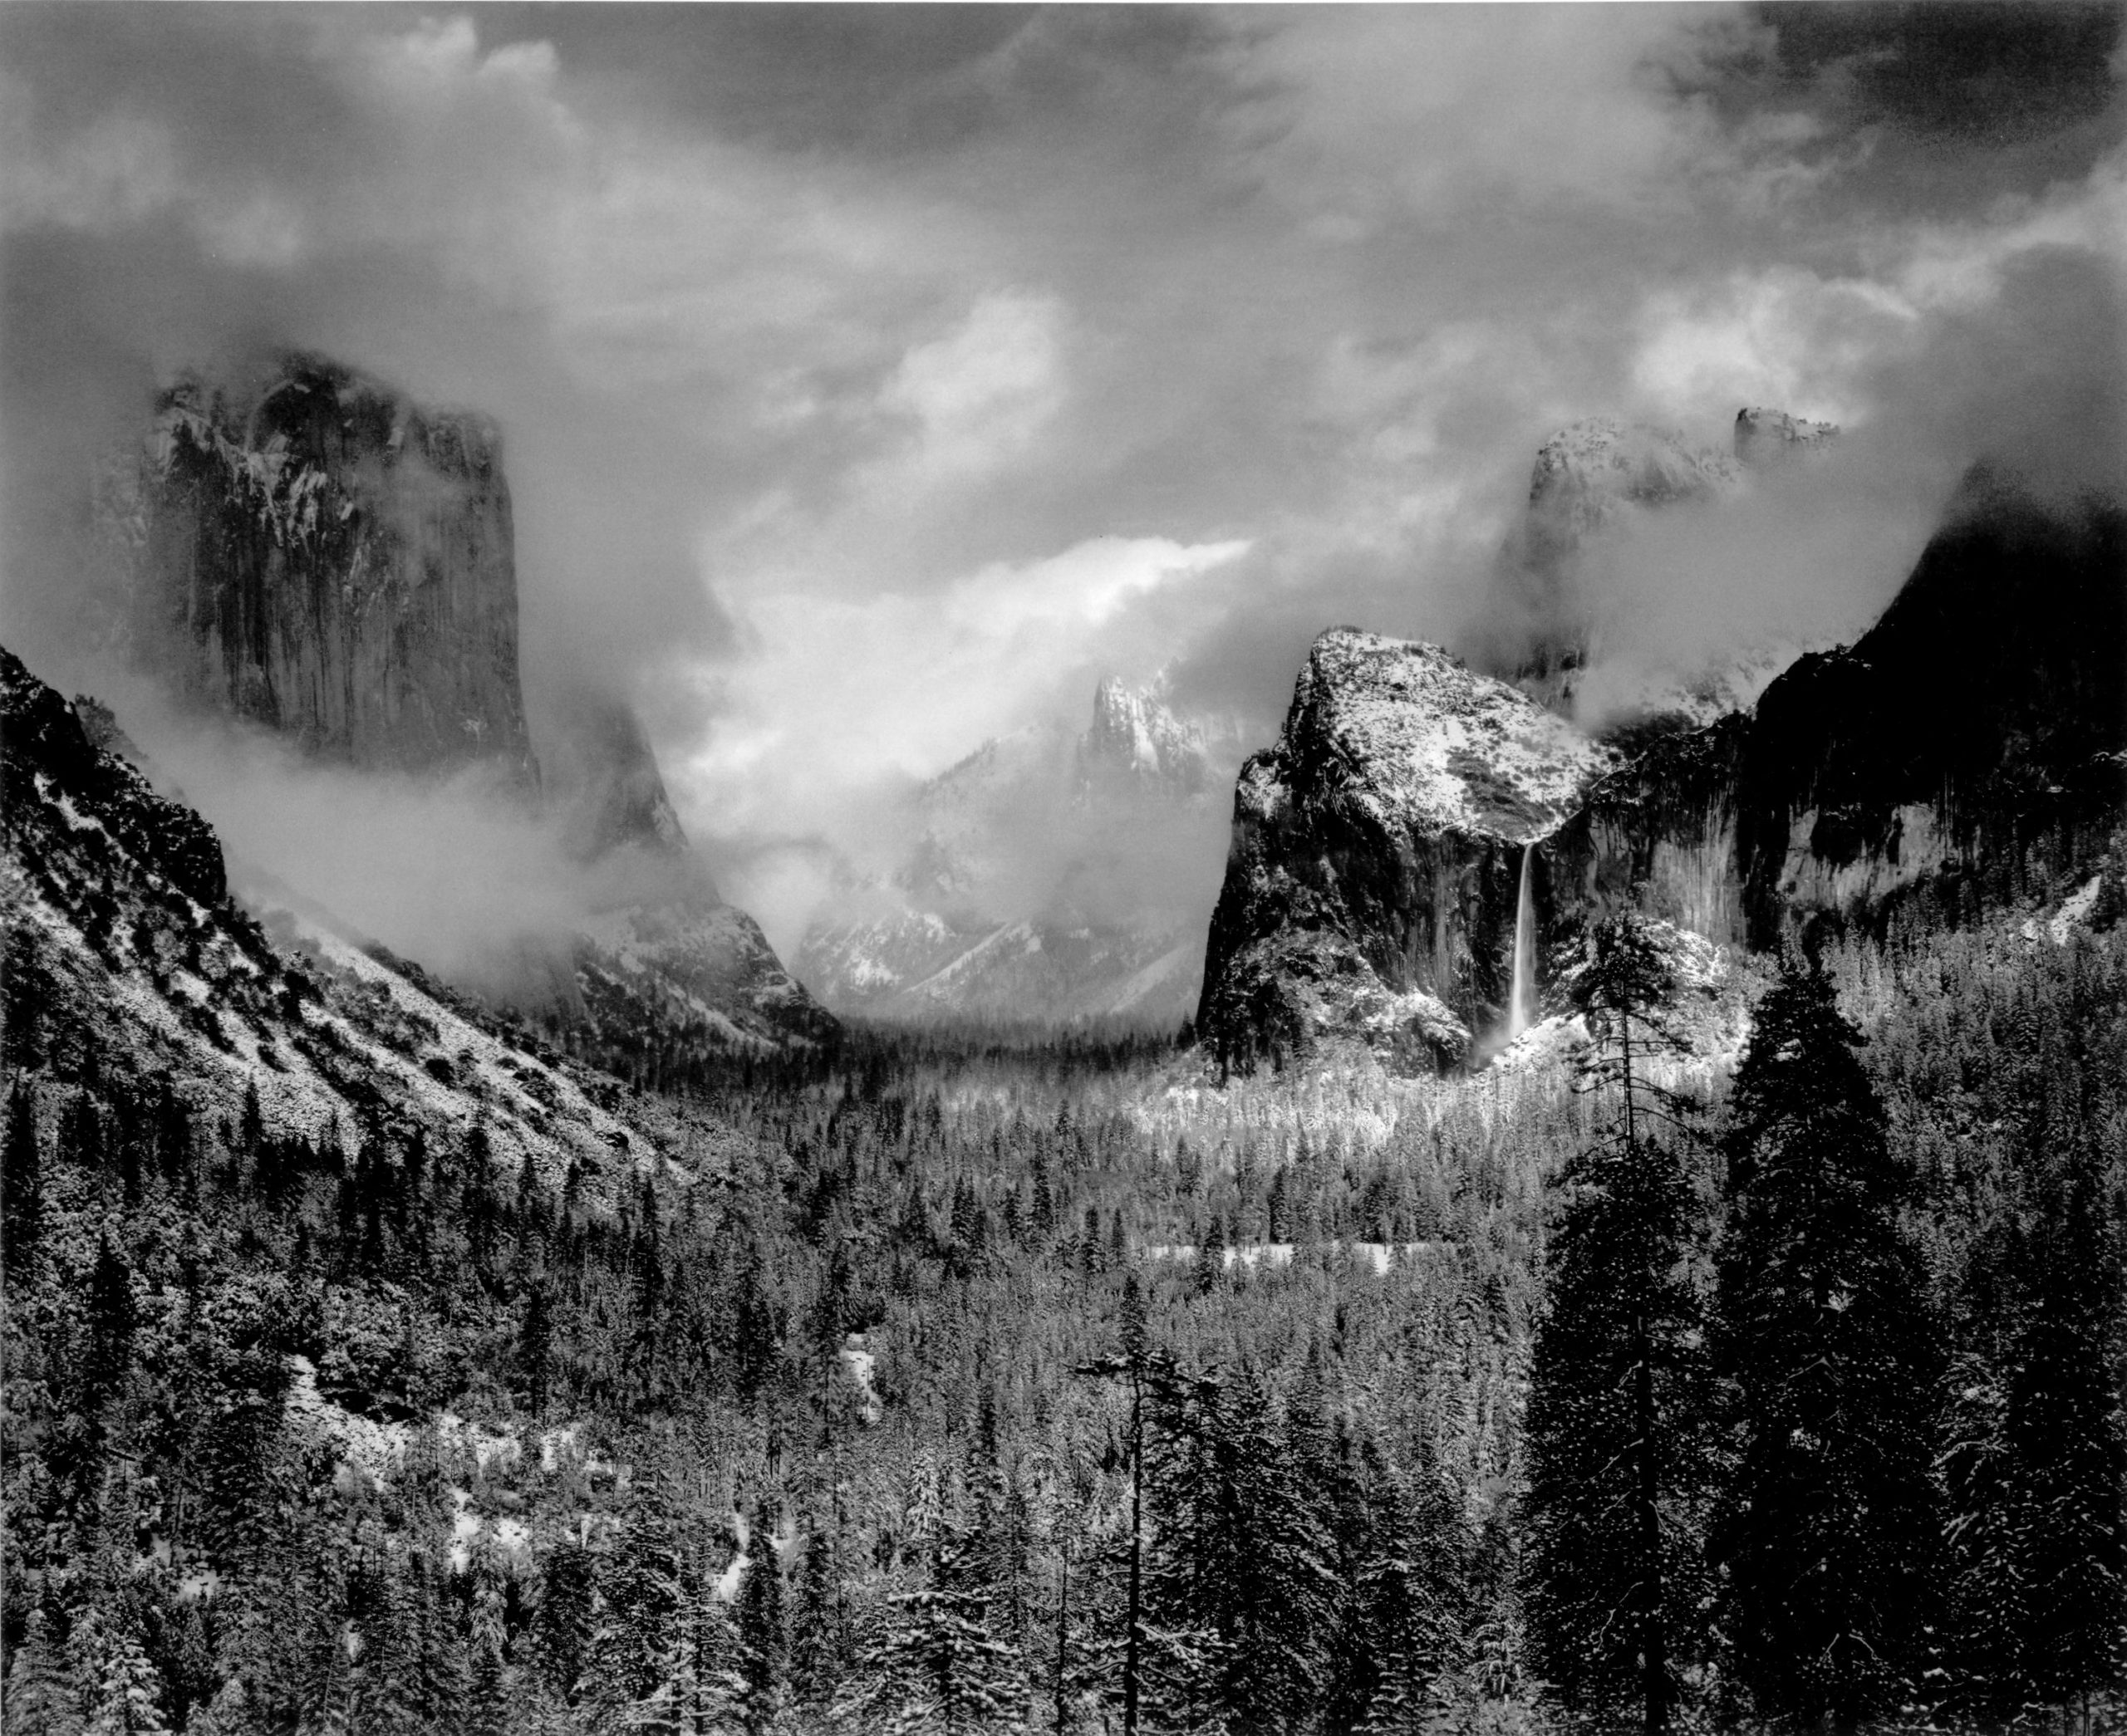
During this journey, a dedicated Photographer can acquire a certain style, that at the highest level…can be attributed only to them. It comes from years of studying, searching, looking and living. It is part technical, part emotional, part intellectual and part mysterious. An Ansel Adams photograph…

Photo Credit: http://camillajanewalker.files.wordpress.com/2012/11/089-yosemite-valley-clearing-winterstorm-1942.jpg
drips with his soul…as does any image by legendary Henri Cartier-Bresson…

Photo credit: http://erickimphotography.com/blog/wp-content/uploads/2011/08/henri_cartier_bresson_bicycle.jpg
A Caravaggio painting…

Photo Credit: http://2.bp.blogspot.com/_sJdsGdk3Ri0/TAfvQ3YNLZI/AAAAAAAABOU/29CVklAvTvM/s1600/caravaggio-the-calling-of-saint-matthew.jpg
is a revelation and his style has been used as inspiration for countless DPs. Every artist aspires to infuse a piece of them into their work…to make it live…to give it emotion. This brings me to a project I recently edited for 2 photographers that have successfully made the transition to filmmaking.
Christophe Rihet and Michael Evanet are two young Photographers who have each amassed an impressive body of work. Their respective websites clearly demonstrate their skills and passions…and both of them have been hired by companies to create numerous video campaigns. I worked with Michael Evanet on his short film HWY I edited and colored his visually sumptuous 16-minute film that is currently making the festival rounds across the globe. Both Rihet (France) and Evanet (United Kingdom) share a European sensibility in their visuals that harkens back to the artistic imagery of the 1960’s and 1970’s. Their images are bold, intimate, sensitive and often utilize a healthy dose of natural sunlight as the only light source. This aesthetic was carried over into the spot I cut and colored for the co-directors on their Shopbop commercial.
Shopbop is a contemporary fashion site with over 10,000 designs available. Christophe and Michael filmed the ad during a sunny afternoon at Coney Island, New York with the 2 models. The duo shot on a pair of Canon 5Dmkii cameras and Leica R lenses with adaptors. The one-day shoot went from late afternoon into early evening to capture a range of light and moods. The goal was to deliver a 60-second spot for web broadcast that featured some of the latest women’s fashions.
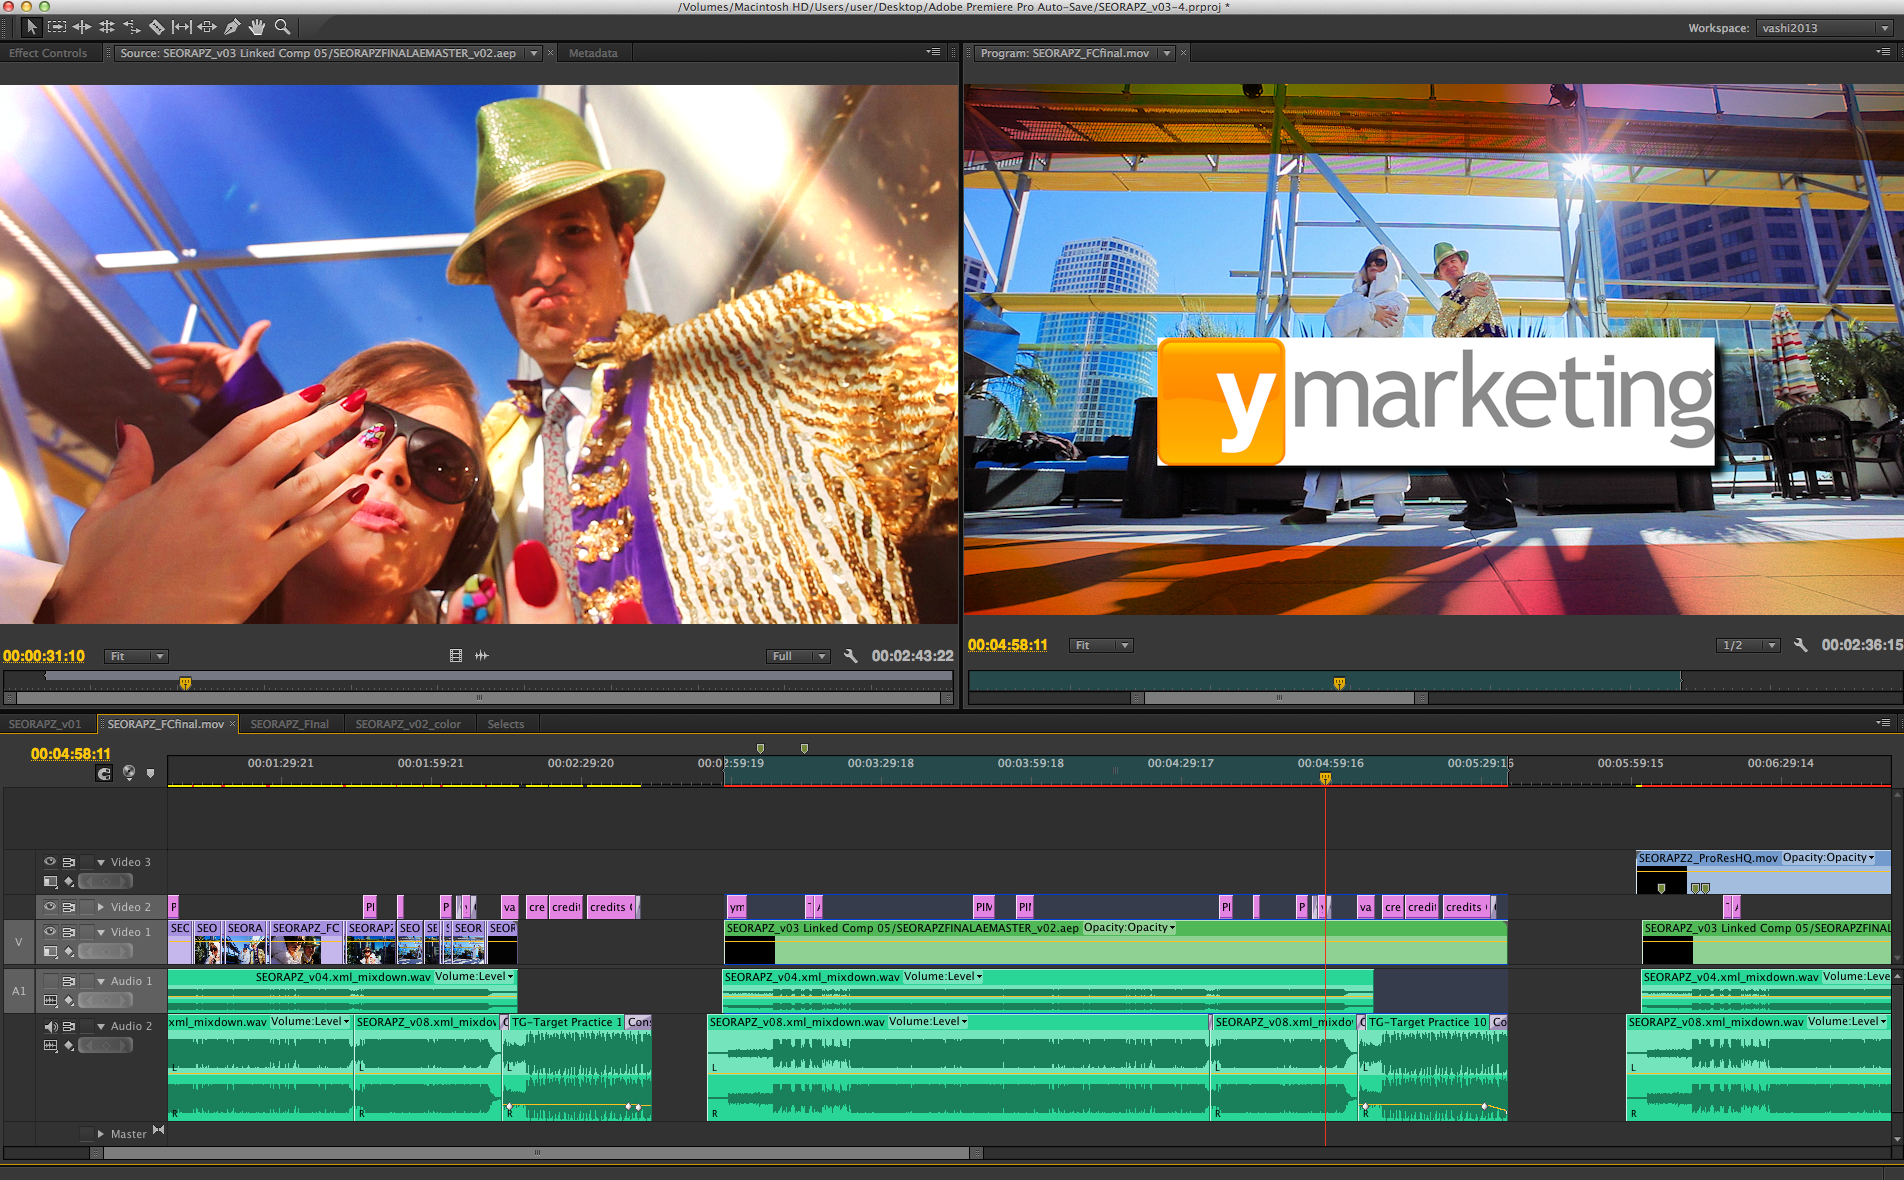
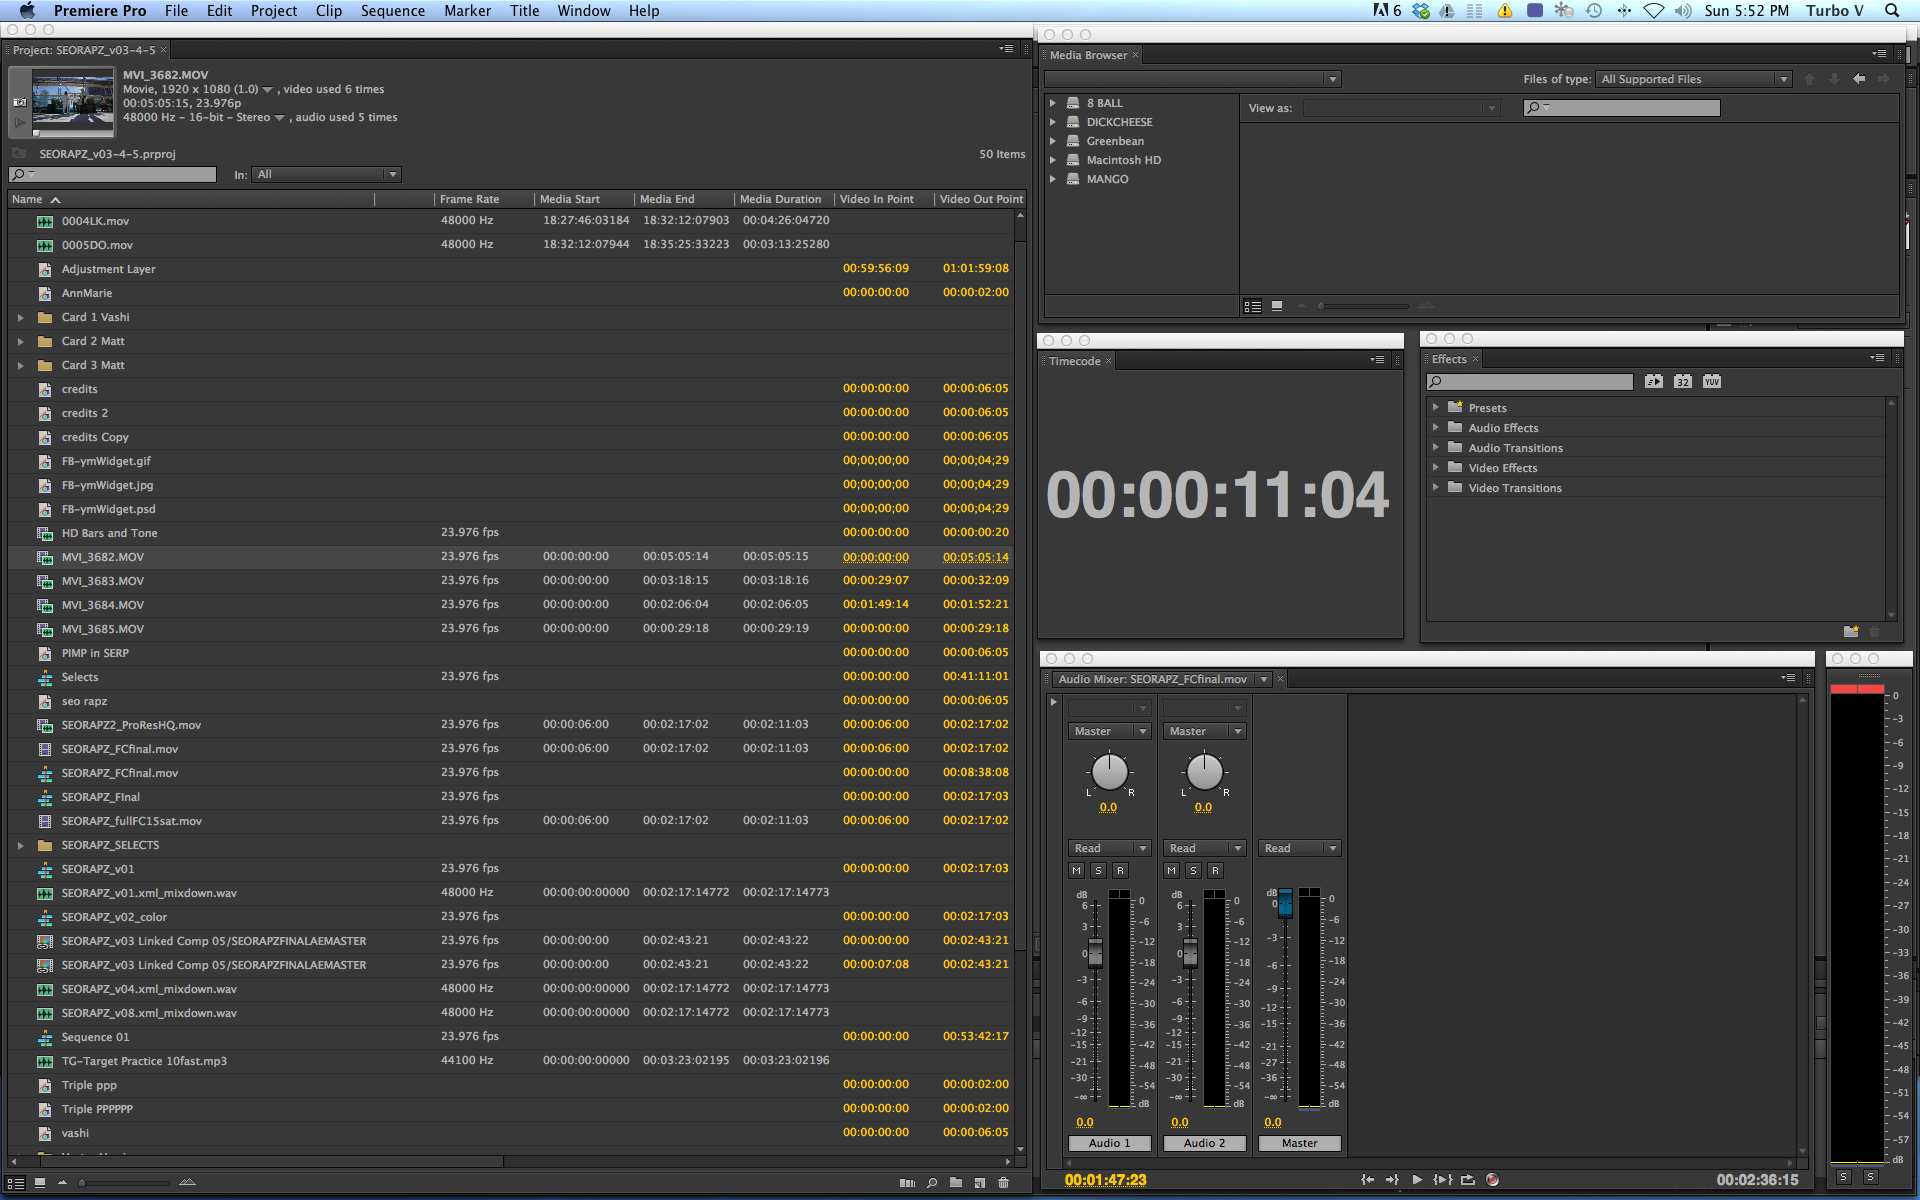
The 2 hours of h.264 footage were ingested into Adobe Premiere CS6 and needed no transcoding (Mercury Playback Engine) so I could begin digging through the footage and pulling my selects. I used my “Pancake Timeline” (FREE inside Vashi’s Premiere Pro Template) to make it easier to grab selects and dump that into my main timeline.

The directors shot with flat camera profiles to help them achieve a final “low contrast” look both quicker and in-camera. The limited dynamic range and 8-bit space of the h.264 files meant exposure was crucial and their mastery of the cameras from still photography was evident. I received excellently exposed footage that kept blown highlights to a minimum…even when the sun was fully in frame and flaring beautifully. The Leica R lenses have an amazing character, both creamy and sharp. It’s obvious why they pair so well with DSLRs and are utilized on higher end cameras like RED, Alexa and the Canon C-series.
For my first cut, I made sure every shot had excellent visual impact. That could mean an elegant head turn by one of the models or a whip-pan following one of the rollercoasters. I like to look for variety in the size of shots, camera movement (or lack of), variance in amount of light and shadow and other elements when picking my “A” takes. The goal is to amass a large pool of approved shots that help tell the story while also being visually stimulating when strung together in an interesting way.

In my edit, the shots did not play out chronologically. They did not adhere to continuity. It doesn’t need to make sense. It just has to work. It has to make you feel something. Your gut will tell you when something is working. Trust it. Gain experience by cutting the most diverse amounts of projects you can, as this will help you feed your gut…and allow you to make unconscious decisions with more assurance.
My first cut was about 90-seconds, which I shared with the directors via our shared Dropbox account. I left it fat (long) so they could see my favorite selects in a narrative flow I felt best conveyed the feel they were striving for. It had to be whimsical but not silly, elegant but not forced. Carefree and fun was the vibe I was looking for as I reviewed all the footage.
We auditioned some music and dug through some royalty free tracks. A lot of it felt too slick and processed…lacking that raw vibe of an analog tape found in a closet. I went to my archive folder of lo-fi music I’ve acquired over the years. It consists mostly of unsigned bands with Creative Commons licenses that allow free usage with only attribution needed. The right music will set the right tone and is just as important as the visuals in any project. I choose the track “Family Expectations” by the immensely talented Josh Fuller. He is not only a sonic genius, but also a chicken farmer living in Canada.
After a couple rounds of notes (rather painless for once!) we had a 60 second cut. Boom! The elusive “Locked Cut” was secured with no bloodshed or bruised egos.

It doesn’t often happen that quickly and it’s a testament to being on the same page as Michael and Christophe, even though continents separated us. I can’t stress enough how important the communication is up front before you start the edit. Present your ideas for the edit and the story as you see it and be adaptable to any suggestions or criticisms. Serve the story and get into the head of the director(s) so you can see what it is they want. If you run with the ball in the wrong direction as an editor…it will only mean more work for yourself. Also, when the post budget is an unchangeable number…it will be the editor who will eat the time needed to get back on track. The bleary-eyed 4:00am race to the finish line for delivery does often happen…but try to make sure it’s not because of your decisions! Be clear, confident and concur before you move forward.
The color pass on Shopbop was not an aggressive one. With a “low-contrast” aesthetic the goal…I first went through and balanced/matched each shot so it felt like they all lived in one world. The first half of the cut was in bright sunlight and to keep it from being washed out, I concentrated on lowering blacks to add back some contrast. As we progressed through the cut, the sun had set and more attention had to be paid to the raising blacks and lifting gamma. Because of the relative ease of the color pass…I choose to stay in Premiere for the grade. My secret for this edit was a free preset package for Premiere Pro that I stumbled upon last year and I now use for every project I take on.
Jarle’s Premiere Pro Presets Version 1.0 is a completely free and extensive package that consists of 63 Adobe Premiere CS6 presets. Everything from saturation boosts to S-curves to Alexa Log-Lin conversions and even Bleach Bypass presets can be found in this package. The beauty of Jarle’s Presets is that they are mostly based on the Fast Color Correct effect, Levels or Curves. This means on a modestly powerful computer…your playback is in REAL-TIME.

Click to enlarge.
Only once I stacked several of the presets on a clip did it not stay in real-time. This is wonderful for playback to clients (instant gratification) as you are experimenting with grades and looks. Another common practice I employ is to drop an adjustment layer above your video tracks and apply an S-curve or a specific look to it. Now all the footage underneath is affected and you can use the opacity of that adjustment layer to “dial back” the amount of the grade. Simple, effective and very well organized. Thank you Jarle Leirpoll for your amazing and generous contribution!
My straight-forward color correction pass consisted of using the Fast Color Correction effect on each cut of the Locked Edit while the reference monitor panel was open on another monitor. Next, I applied a gentle S-curve on an adjustment level above my cut.

It added the contrast and saturation I felt would give it a slightly more cinematic feel…yet adhered to the color grade style (low-con) that Christophe and Michael asked for. Lastly, I implemented the FiImConvert Pro plug-in on its’ own adjustment layer to “filmify” the footage and add a dose of grain to unify and dither the final images. I found the Fuji 8553 ET stock best complemented the existing colors of the footage as shot by Christophe and Michael. Here’s a screencap of the exact setting I used on this project.

Click to enlarge.
I exported a 1080p master and it was time to pour some wine!
I was happy and the directors were happy. Today was a good day. I didn’t have to use my AK.
Thank you for taking the time to listen to my ramblings and I hope you learned at least one new technique or trick from my article. Please share your thoughts and comments below!
Are there other free plug-ins or presets you use on your projects?
Any FilmConvert recipes you really like and want to share?
My next article will include a give-away of 10 items so check back here soon.
Until then…please share this post if you enjoyed it!
There are 7 comments
So glad I stumbled upon your blog! I’m a stills photographer, and I’ve been getting requests from clients to add video to the mix…from clips in slide shows to full blown corporate video and commercials. Color correction and grading is the one thing I’m struggling with. When you take RAW out of the equation (at least for now) it’s like taking a step backwards for a stills guy. Your posts are helping demystify in video what I take for granted when editing my stills. Thanks!!
BIll thank you so much for the kind words. Congrats on adding more weapons to your arsenal and I hope that my articles will help make the transition smoother. Color correction is one part of the puzzle but it can really make a huge difference as you know from the stills side. Best of luck and stop by anytime!
Vashi, man I love reading your stuff. I’m a still shooter by trade but have been learning more about shooting moving pictures as my clients over the last few years have demanded it. Between you and Shane, I’m constantly inspired by the work that you do and more importantly, the things that you share with the community. Keep up the great work!!!!!!
Dude thank you for taking the time and sharing your kind words. It really means a lot and I love writing about my experiences and contributing my thoughts with the community and anyone who wants to listen! I have my next 10 blog posts in the pipeline and look forward to putting them up for everyone once a week if possible. Thank you again for leaving such a nice comment…makes it all worthwhile.
wow is wonderful image
Thanks G for the kind words! Glad you enjoyed it…
[…] https://vashivisuals.com/editing-adobe-cs6-shopbop-… […]